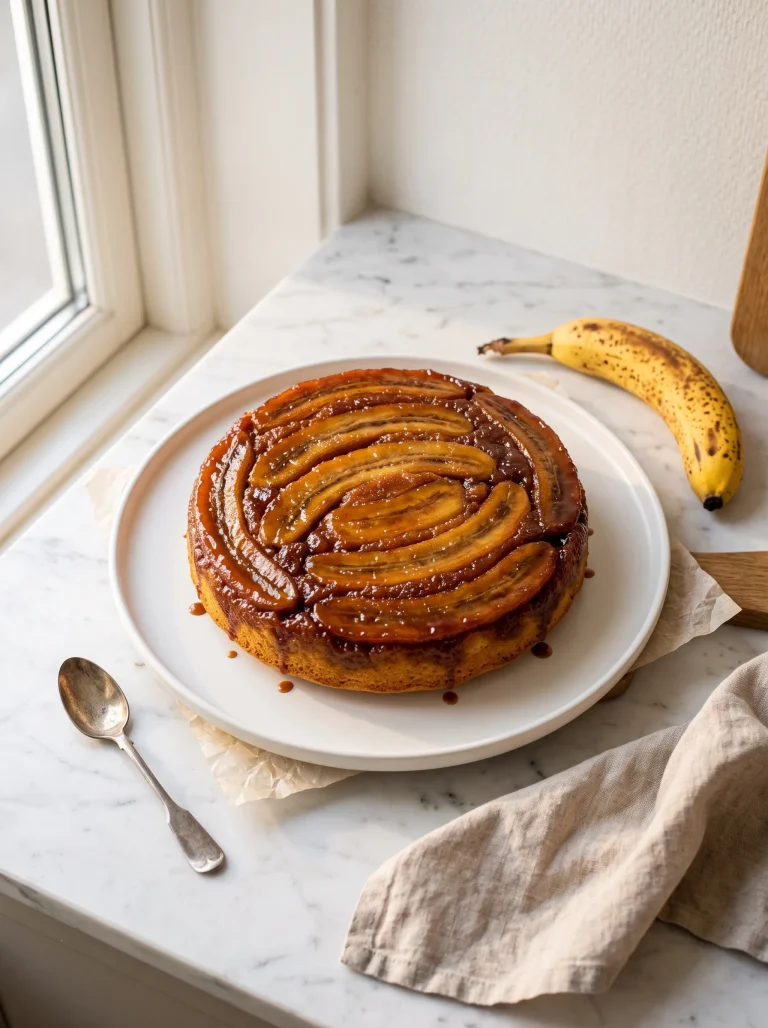

It was a Friday evening. My youngest wanted something sweet, I had one overripe banana on the counter and four minutes before bath time. That’s how this banana mug cake became a permanent fixture in our kitchen — one mug, one fork, 60 seconds in the microwave.
If you’d rather have a flourless breakfast version, our healthy banana oat mug cake is made with oats, an egg and a molten peanut butter center.
Why You’ll Love This Banana Mug Cake
This banana mug cake recipe checks every box for a weeknight dessert — or honestly, a Tuesday morning treat.
- Ready in 60 seconds. One minute in the microwave — no oven, no baking dish, no waiting.
- No egg needed. The ripe banana binds the batter naturally, giving you a tender, moist crumb with none of that rubbery mug cake texture.
- One mug. One fork. Zero mess. Everything mixes and cooks in the same mug. My kids make this themselves.
- Naturally sweet. Ripe bananas do most of the sweetening — just one tablespoon of brown sugar to round it out.
- A cozy dessert for one. No sharing required, no leftover cake on the counter, just one warm mug when the craving hits.
Ingredients & Notes
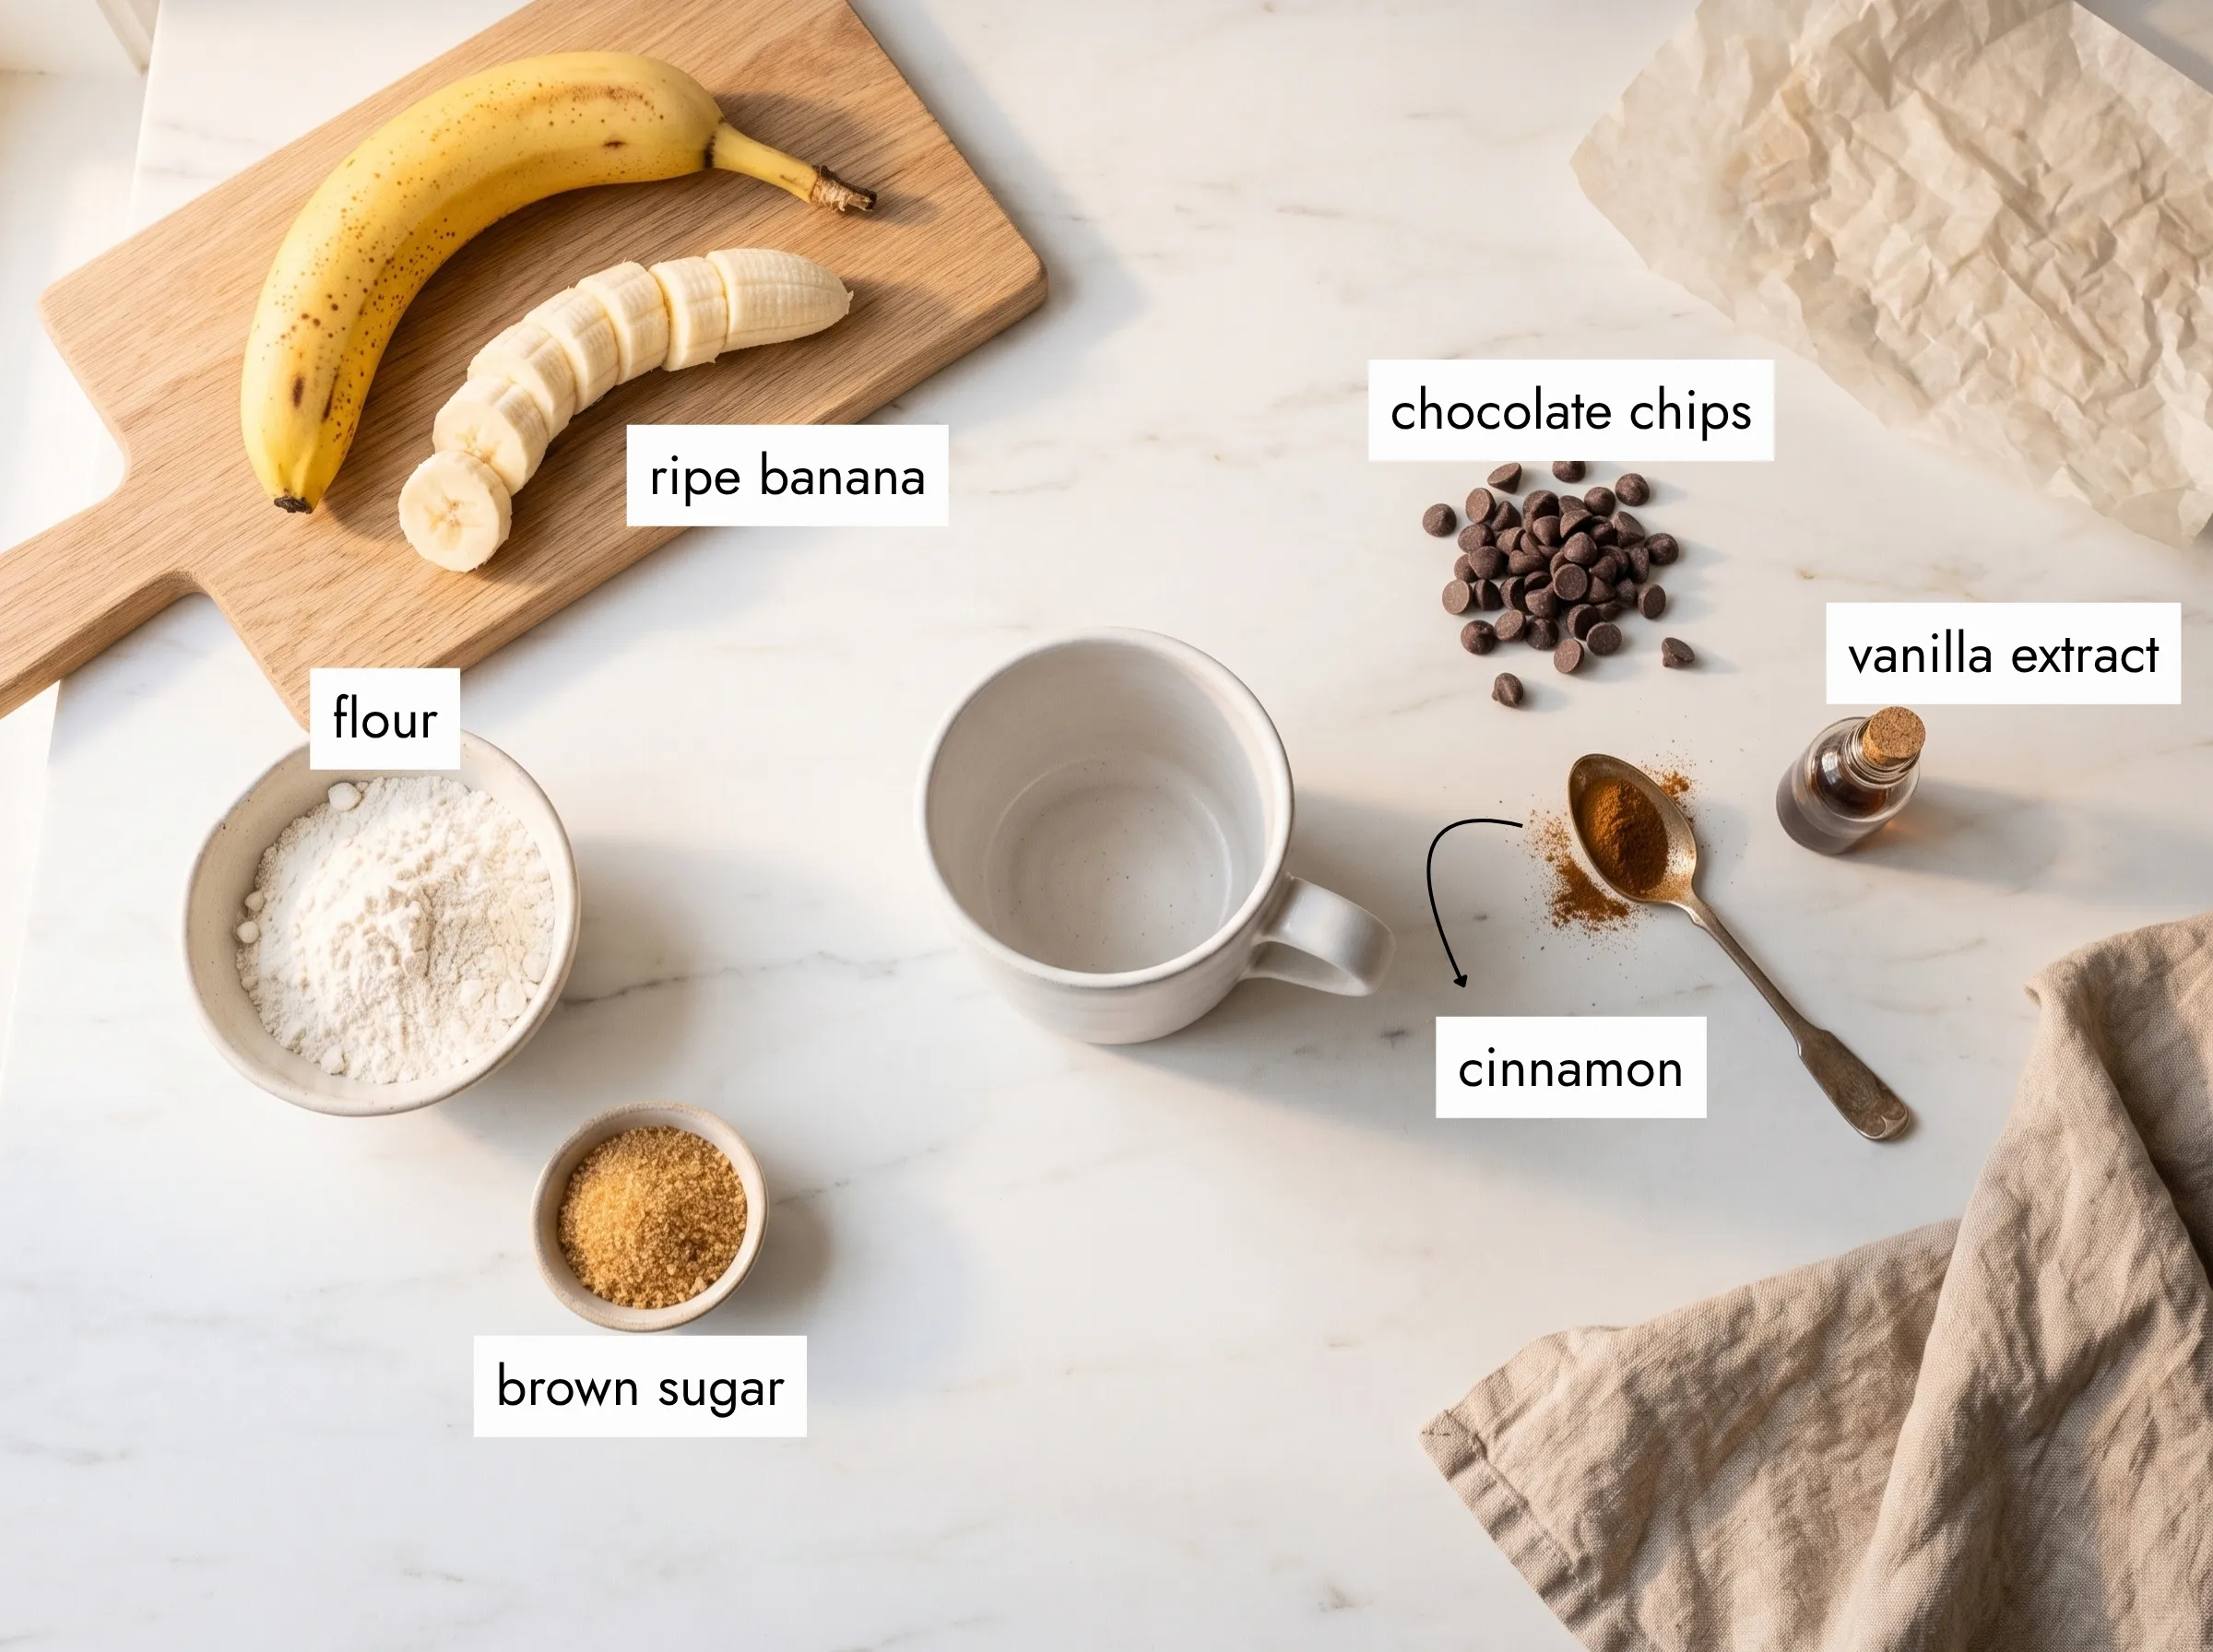
Simple pantry staples are all you need here. Here’s what goes into this banana mug cake recipe and why each one matters.
Wet Ingredients
Ripe banana (½ medium banana, mashed). The riper, the better — I look for a banana with plenty of brown spots. It’s sweeter, softer, and blends into a silky purée that binds the whole batter together without a single egg.
Brown sugar (1 tablespoon). Just enough to round out the natural sweetness of the banana. You can swap for coconut sugar or maple syrup — same quantity works well.
Milk (1 tablespoon). Any milk works here — whole, oat, almond. It keeps the batter loose enough to rise gently in the microwave.
Neutral oil (1 tablespoon — sunflower or melted coconut oil). This is the secret to a moist, tender crumb. Don’t skip it or substitute with butter — butter can make the texture dense when microwaved.
Vanilla extract (⅓ teaspoon). A small amount goes a long way. It ties the banana and chocolate together beautifully.
Dry Ingredients
All-purpose flour (3 tablespoons). Spoon your flour into the measuring spoon and level it off — don’t pack it. Too much flour is the number one reason mug cakes turn out dry. For a gluten-free version, a 1:1 gluten-free flour blend works well in this ratio.
Baking soda (⅛ teaspoon). Just a pinch gives the cake enough lift to be soft and light rather than dense.
Ground cinnamon (¼ teaspoon). This is optional, but it adds a cozy warmth that pairs so well with banana. Don’t skip it if you have it.
Salt (1 pinch). Salt balances the sweetness and makes every other flavor taste more like itself.
Mix-Ins
Chocolate chips or chunks (2 tablespoons). Press a few into the center of the batter right before microwaving so they melt into pockets of warmth throughout. Semi-sweet is my favorite here, but dark chocolate makes this feel like a real dessert.
How to Make a Banana Mug Cake
This banana mug cake recipe comes together entirely in one mug — no extra bowls, no equipment. Here’s exactly how I make it every time.
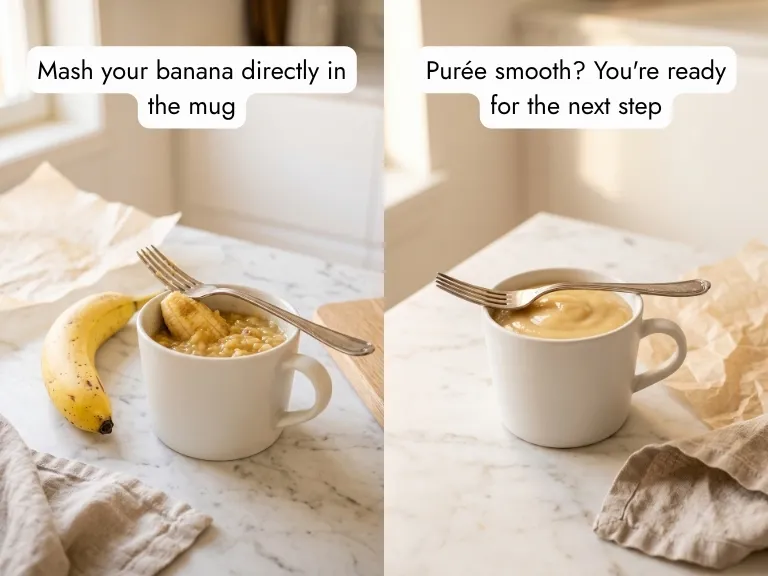
Step 1 — Mash the Banana
Mash half a ripe banana directly in your mug using a fork. Work it until you have a smooth, lump-free purée — this takes about 20 seconds of gentle pressing. The smoother the banana, the more evenly it distributes through the batter.
Use a mug that holds at least 250–300ml (8–10 oz). Anything smaller and the batter will overflow as it rises.
Step 2 — Add the Wet Ingredients
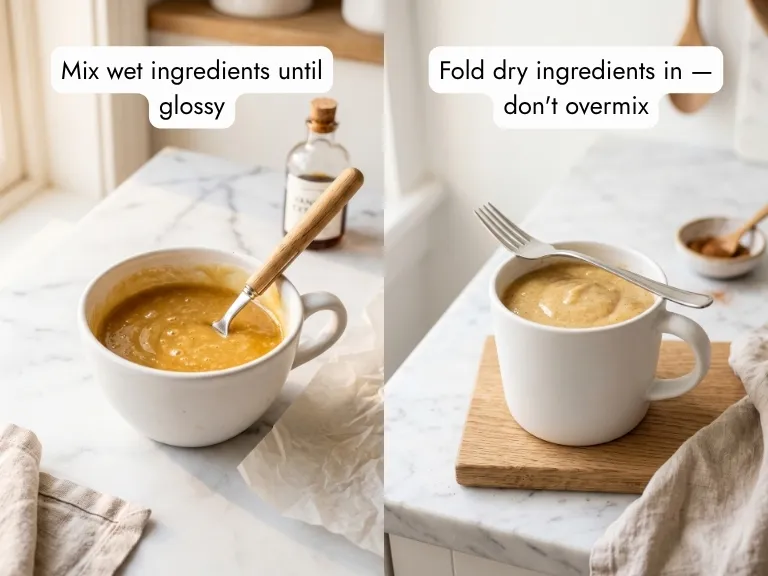
Add the brown sugar, milk, oil, and vanilla extract directly to the mashed banana. Stir everything together with a fork until the mixture looks emulsified and slightly glossy — about 15 seconds. This is your wet base and it should feel cohesive before the dry ingredients go in.
Step 3 — Add the Dry Ingredients
Spoon in the flour, baking soda, cinnamon, and salt. Fold gently with your fork until just combined — a few strokes are enough. Overmixing activates the gluten and leads to a tough, chewy result. Stop as soon as you no longer see dry streaks.
Step 4 — Add the Chocolate
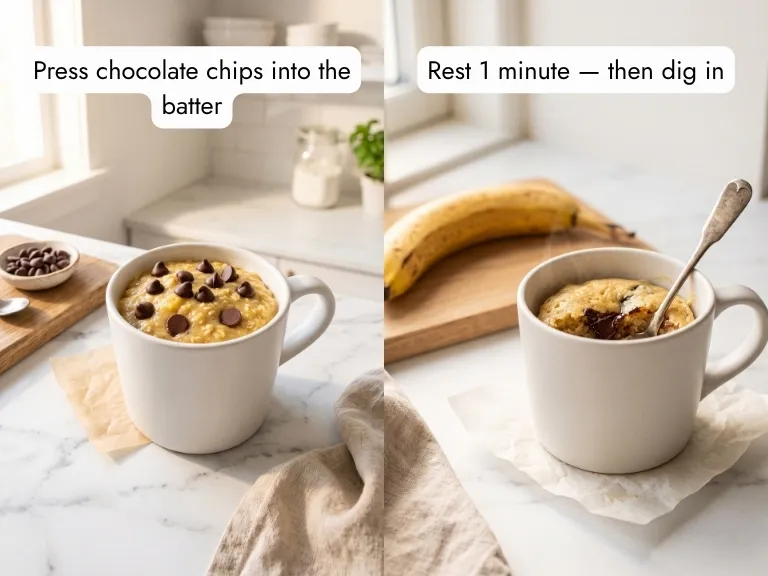
Fold in one tablespoon of chocolate chips and stir to distribute. Press the remaining tablespoon into the top of the batter, pushing a few pieces down into the center so they melt into warm pockets during cooking.
Step 5 — Microwave for 60 Seconds
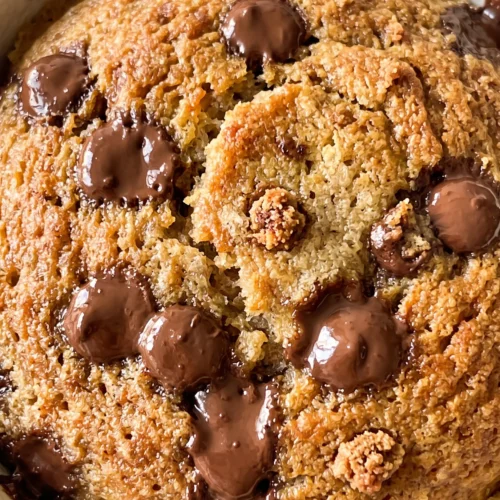
Cook on full power for exactly 60 seconds (800–900W microwave). The cake should look just set on top — slightly domed, not wet. If the very center still looks liquid, add 10 seconds at a time, checking between each burst. Overcooking by even 15–20 seconds will dry it out.
Every microwave is different. The first time you make this, watch it — you’ll know your machine’s sweet spot after one try.
Step 6 — Rest & Serve
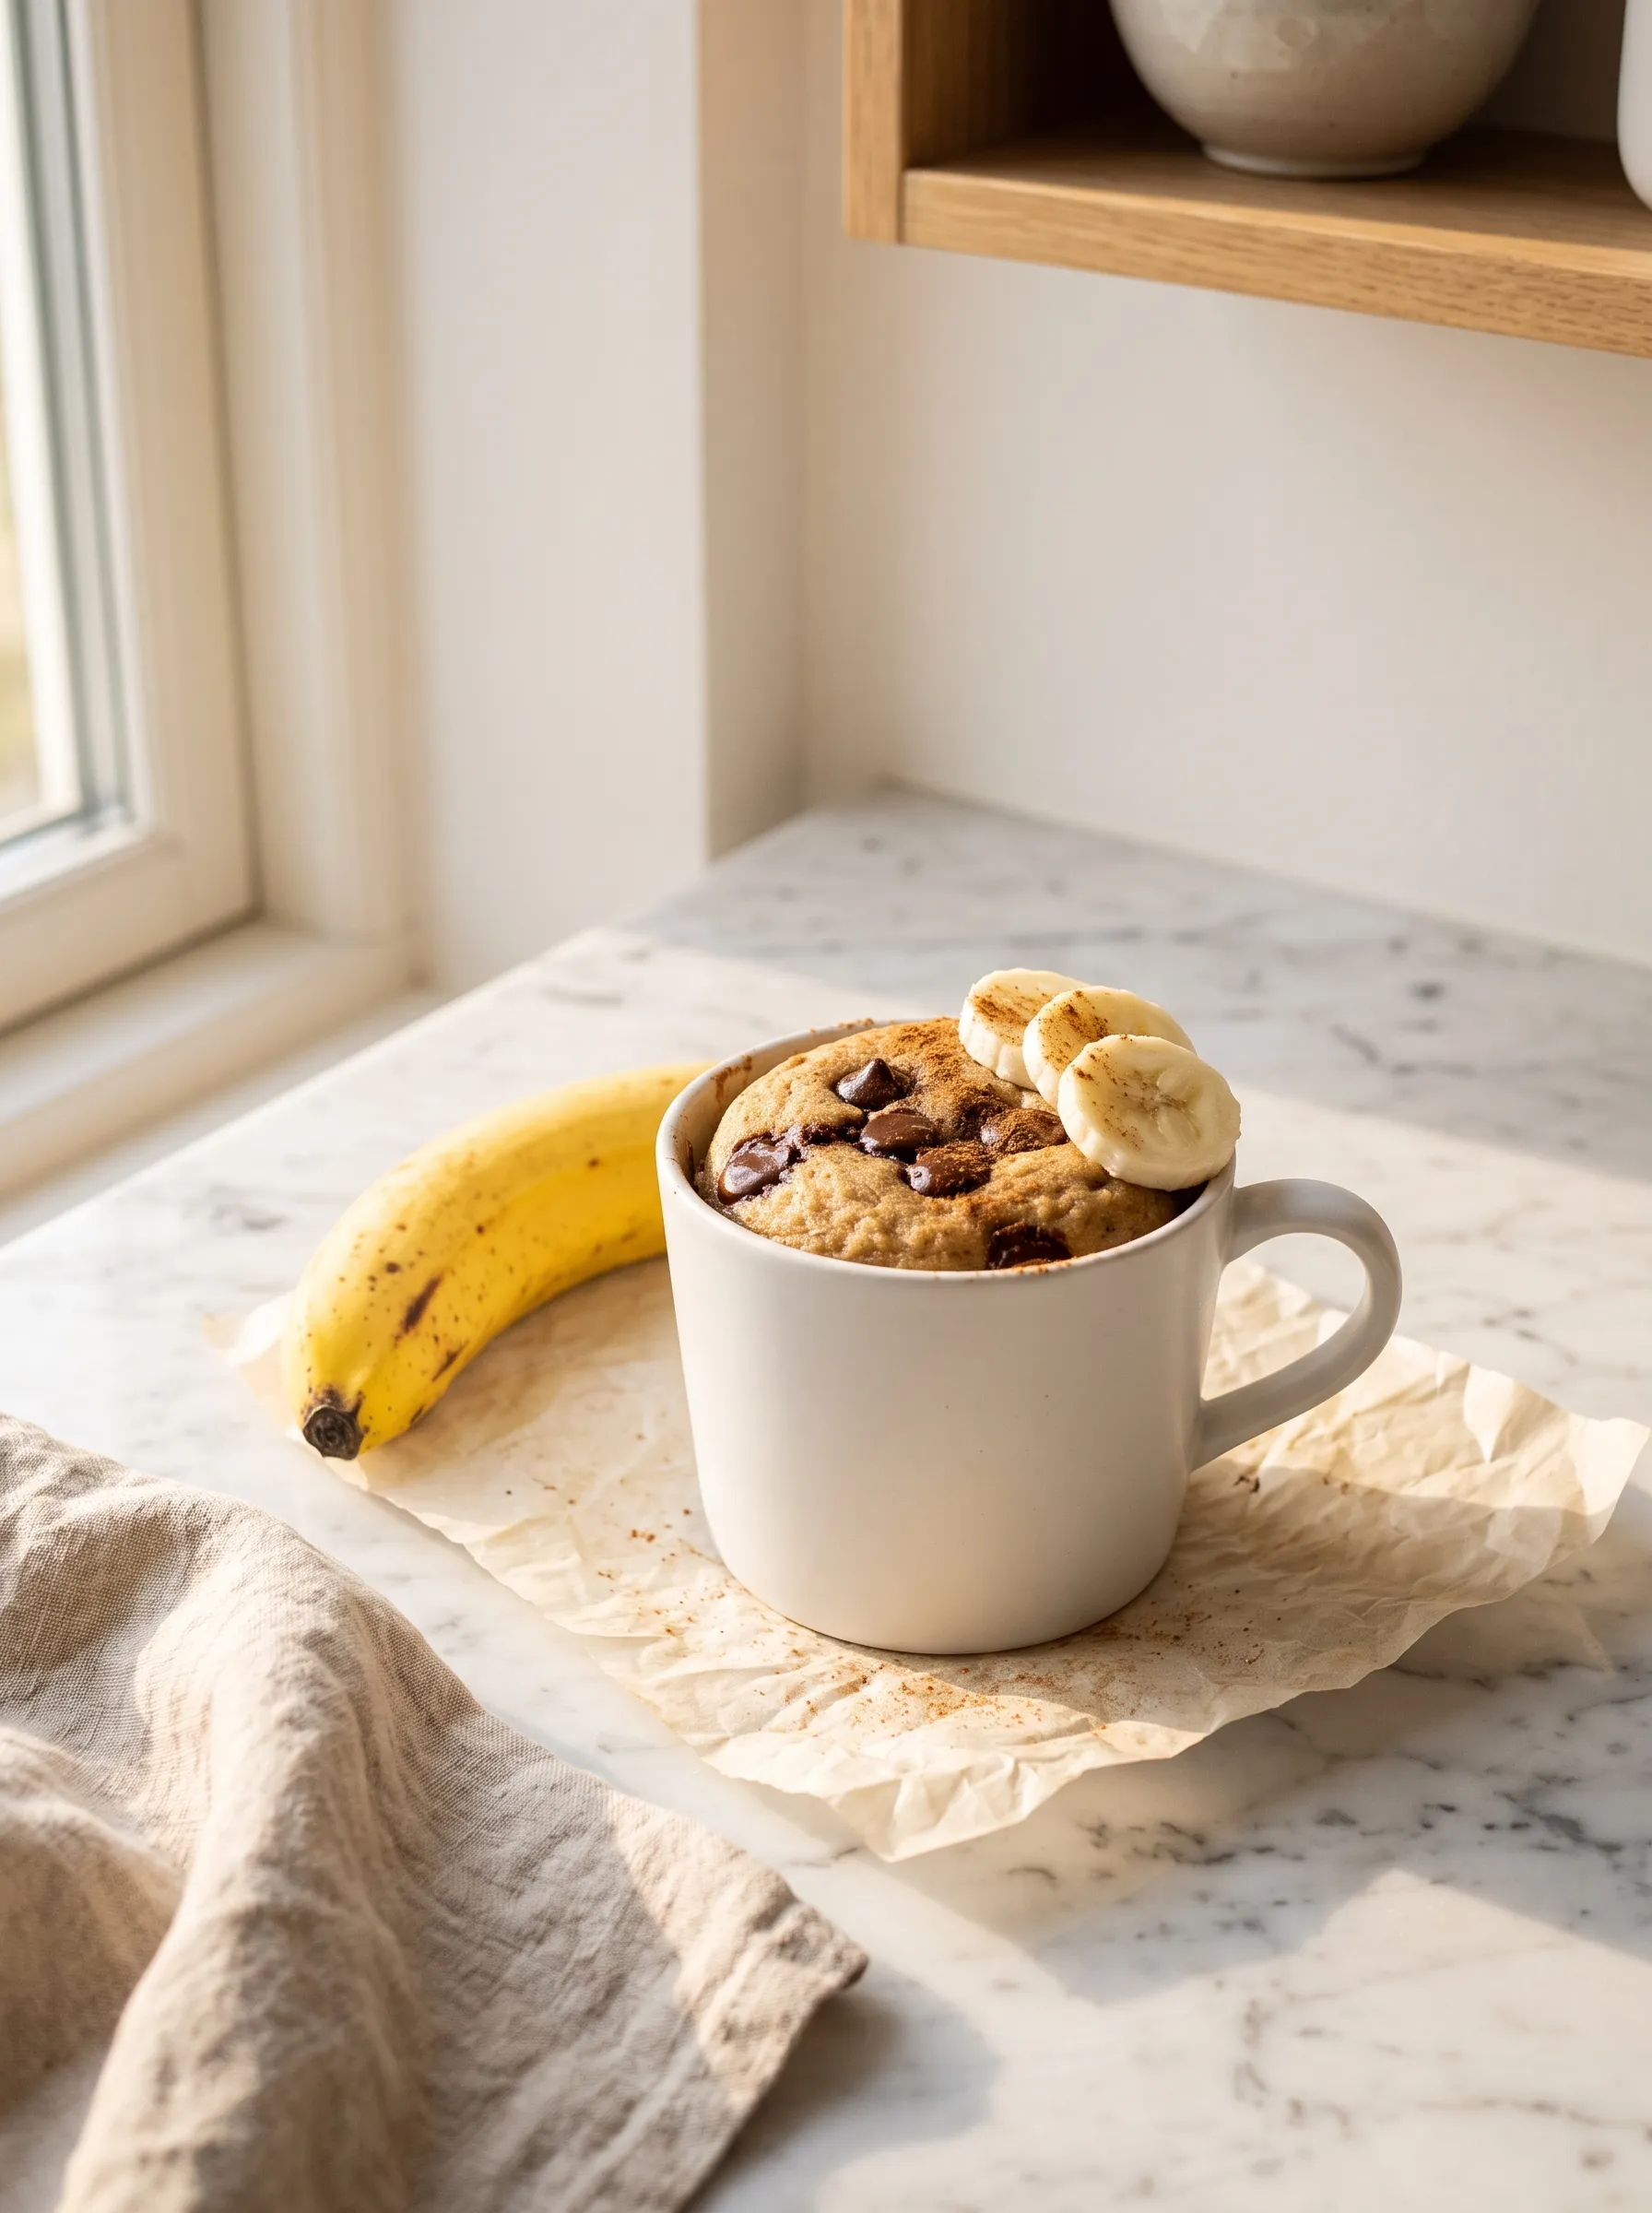
Let the mug sit for 1 full minute before eating. The cake continues to cook and set as it cools — this is what gives it a tender, moist crumb instead of a rubbery one. Top with a few fresh banana slices and a pinch of cinnamon, and eat it straight from the mug.
Lily’s Tips for the Best Banana Mug Cake
A few things I’ve learned after making this more times than I can count.
Use a truly ripe banana. I mean spotted. I mean almost-black-on-the-outside ripe. “The riper your bananas, the less sugar you’ll need — nature does the sweetening for you.” A yellow banana will work but the flavor will be flat and you’ll wish you’d waited another day.
Don’t overmix the dry ingredients. Fold, don’t stir. The moment the batter looks smooth, stop. Ten extra stirs is the difference between tender and chewy.
Start with 60 seconds and adjust. Every microwave is calibrated differently. At 800W, 60 seconds is just right. At 1000W+, try 50 seconds. The cake should feel just set — not sticky on top, not hard around the edges.
The 1-minute rest is not optional. I know it’s hard to wait when the smell hits. But that resting minute is when the center finishes cooking from residual heat. Cut it short and you get mush. Trust the process.
Did you know? One ripe banana contains about 12g of natural sugar and 3g of fiber — which means it genuinely sweetens and binds this batter without needing much else.
Variations
This base recipe is a canvas. Once you’ve made it once, it’s easy to make it your own.
Chocolate Banana Mug Cake
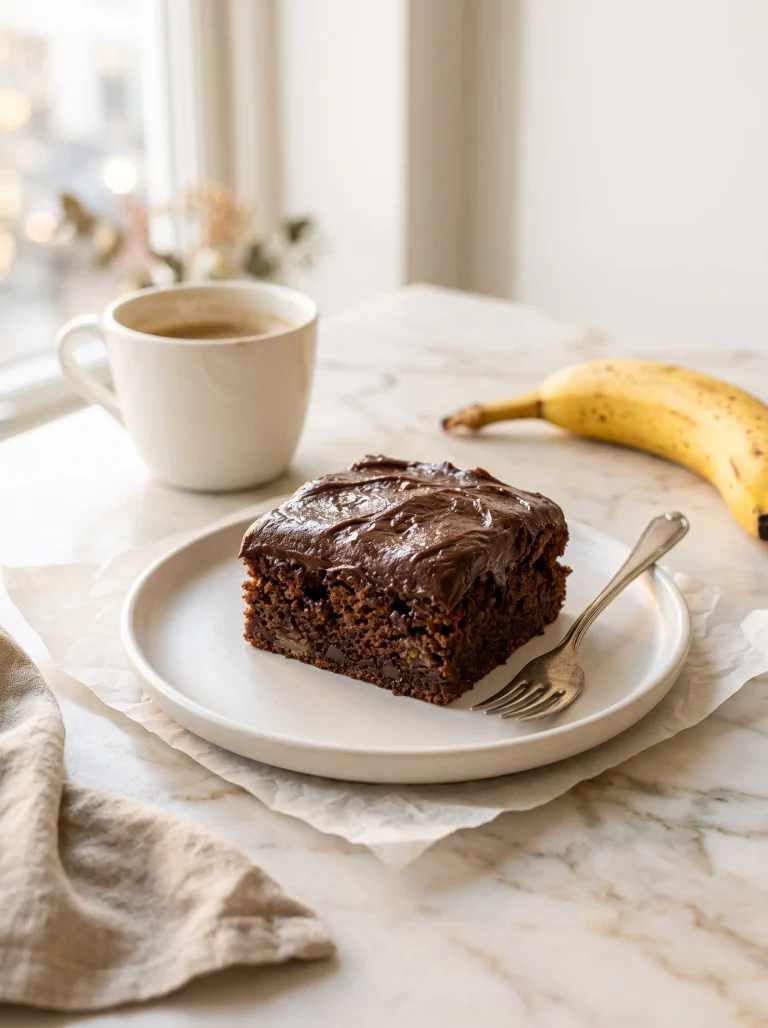
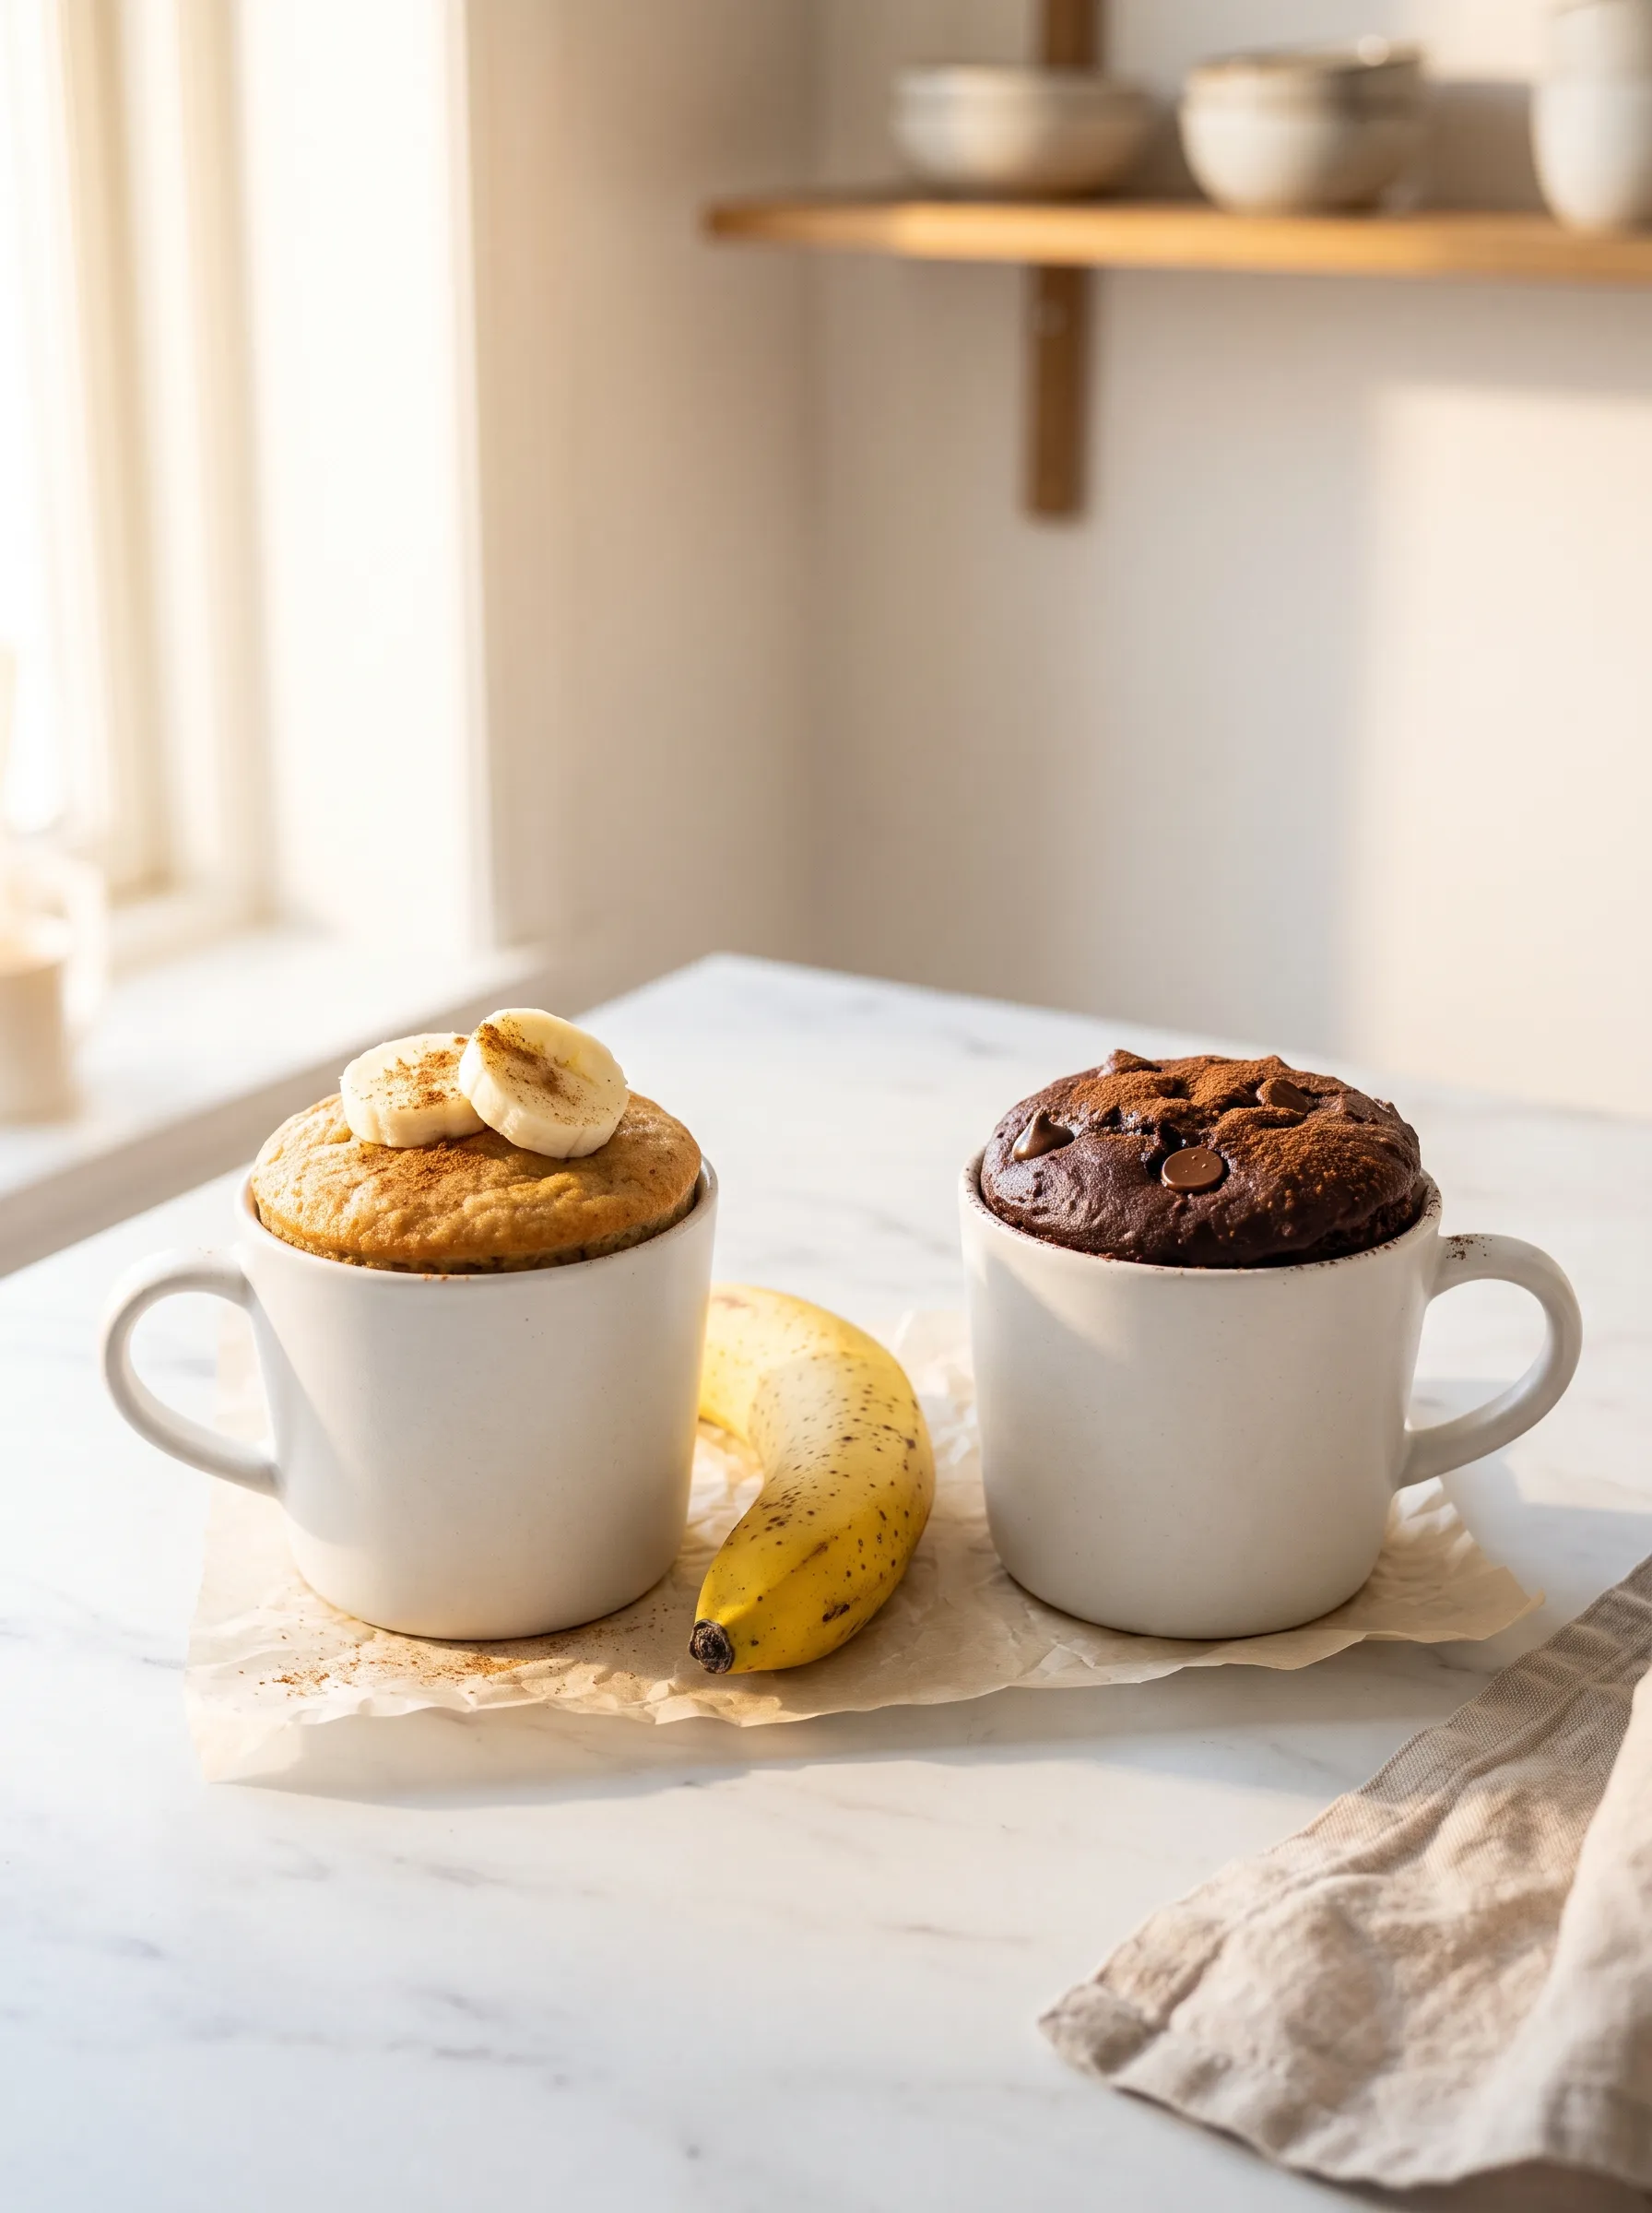
Double the chocolate. Use 3 tablespoons of chocolate chips and add 1 teaspoon of unsweetened cocoa powder to the dry ingredients. This version tastes like a warm brownie and it is absolutely what my kids request on Friday nights. If you love this combo and want to go all-in, our rich chocolate banana fudge cake is the full-size version for when you’re feeding the whole family.
Peanut Butter Banana Mug Cake
Add 1 tablespoon of peanut butter to the wet ingredients and reduce the oil to ½ tablespoon. The peanut butter makes the batter slightly denser and incredibly satisfying — almost like a warm peanut butter cookie in a mug. Skip the chocolate chips or keep them. Both are good.
3-Ingredient Banana Mug Cake
No flour, no oil, no sugar — just banana, one egg, and cocoa powder. It’s a completely different texture (more like a steamed soufflé than a cake) but if you’re looking for the most minimal version possible, it works. For an even simpler no-bake banana fix, our one-ingredient banana nice cream is worth knowing about — especially with a scoop on top of this warm mug cake.
Oat Flour Swap
Swap the all-purpose flour for oat flour (same quantity) and the brown sugar for 1 teaspoon of honey. The cake turns a little denser and nuttier. For a version built around oats from the start, with an egg and a molten peanut butter center, try our healthy banana oat mug cake, my go-to breakfast mug cake.
How to Store Your Banana Mug Cake
This recipe is designed to be made fresh and eaten immediately — and honestly, it’s so quick that making it ahead doesn’t make much sense. But here’s everything you need to know just in case.
Counter: Not recommended — the texture softens and turns gummy within a few hours at room temperature.
Fridge: Up to 2 days in the mug covered with plastic wrap or transferred to an airtight container. Reheat in the microwave for 20 seconds before eating — it comes back to life beautifully.
Freezer: Not ideal for this one. The delicate mug cake texture doesn’t survive freezing and thawing well. If you want a freezer-friendly banana dessert, If you want a freezer-friendly banana treat, our banana bread muffins freeze well for up to 3 months.
Meal prep tip: You can pre-mix the dry ingredients (flour, baking soda, cinnamon, salt) in a small jar and keep it on the counter. When the craving hits, mash your banana, add the wet ingredients, dump in the dry mix, and you’re cooking in under 2 minutes.
Frequently Asked Questions
Yes — and that’s actually the whole point of this recipe. Many mug cakes use a whole egg, which can turn rubbery if the cake is cooked even a few seconds too long. Here, the mashed ripe banana acts as both binder and moisture source, giving you a soft, tender crumb without any egg at all.
Three things cause a rubbery mug cake: overmixing the batter, overcooking in the microwave, or skipping the resting minute. Fold the dry ingredients in gently, cook for 60 seconds at 800–900W only (less if your microwave runs hot), and let the mug sit untouched for a full minute before eating. The cake finishes cooking from residual heat during that rest — cut it short and you’ll get a gummy center.
Yes, with one adjustment. Thaw the frozen banana completely and pat it dry with a paper towel before mashing — frozen bananas release a lot of liquid as they defrost, and too much moisture will make the batter too wet to set properly. The flavor is actually excellent with frozen banana since the freezing process intensifies the sweetness.
Made This Recipe?
This is the recipe I reach for when I need something warm and real in under five minutes — no planning, no cleanup, just a ripe banana and a mug. I hope it becomes your go-to too.
Tag me on Instagram @eatwithmellow or leave a star rating below — it genuinely helps more people find this recipe.
If you love this, try our soft banana cupcakes with buttercream frosting next, or keep it simple with these 3-ingredient banana cookies when you want something effortless to share.
Love, Lily 🍌
Want to save this recipe?
Banana Mug Cake
Equipment
- 1 microwave-safe mug (min. 250–300ml / 8–10 oz)
- 1 fork
- Measuring spoons
Ingredients
WET INGREDIENTS
- ½ medium ripe banana approx. 50g, mashed to a smooth purée
- 1 tbsp 12g brown sugar
- 1 tbsp 15ml milk of choice (whole, oat, or almond)
- 1 tbsp 14g neutral oil (sunflower or melted coconut oil)
- ⅓ tsp vanilla extract
DRY INGREDIENTS
- 3 tbsp 24g all-purpose flour
- ⅛ tsp baking soda
- ¼ tsp ground cinnamon
- 1 pinch salt
MIX-INS
- 2 tbsp 30g chocolate chips or chunks (semi-sweet or dark)
Instructions
- Mash the banana directly in your mug with a fork until completely smooth and lump-free.
- Add the brown sugar, milk, oil, and vanilla extract. Stir with the fork until the mixture looks emulsified and glossy.
- Add the flour, baking soda, cinnamon, and salt. Fold gently until just combined. Do not overmix.
- Fold in 1 tablespoon of chocolate chips. Press the remaining tablespoon into the top of the batter, pushing a few pieces toward the center.
- Microwave on full power for 60 seconds (800–900W). The top should look just set. Add 10 seconds at a time if the center appears liquid.
- Rest for 1 full minute before eating. Top with fresh banana slices and a pinch of cinnamon.
Notes

Hi, I’m Lily — the home baker and recipe creator behind Eat With Mellow.
Mom of three, design lover, and completely obsessed with turning overripe bananas into something golden and cozy. I started this blog one Sunday morning when I had three brown bananas on the counter and three hungry kids at the table. What came out of the oven that day became the recipe that started everything.
Every recipe here is tested in my real kitchen, written for real mornings, and made with simple ingredients you already have. No fancy equipment, no complicated techniques — just honest, naturally sweet baking that actually works.