
One Tuesday afternoon, my kids came home from school demanding ice cream. No cream in the fridge, no machine on the counter — just three very ripe bananas sitting there with their brown spots. Five minutes later, they were eating scoops of the creamiest frozen banana ice cream I’d ever made. They asked me what brand it was.
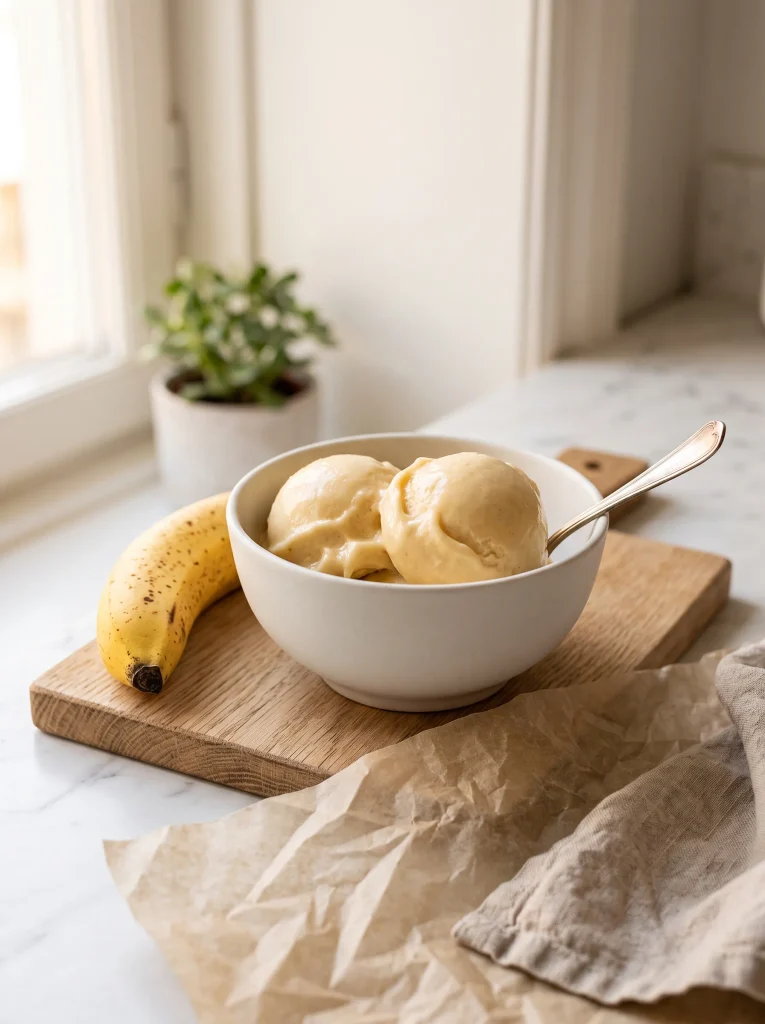
That’s what ripe bananas do when you freeze and blend them. Something a little miraculous happens with the texture — soft, silky, cold. We call it banana nice cream. My kids call it dessert. And now I always keep spotted bananas in the freezer on purpose, just for this.
If you love easy frozen treats, our frozen banana pops are worth bookmarking too.
Why You’ll Love This Recipe
Honest reasons this recipe stays in our weekly rotation:
- One ingredient, zero compromise. Just frozen ripe bananas — no dairy, no added sugar, no machine required.
- Naturally sweet without trying. The riper the banana, the more fructose — and the silkier the texture.
- Five minutes of active time. Freeze overnight, blend when you need it. That’s the whole recipe.
- Effortlessly customizable. Swirl in peanut butter, cocoa, or amlou — it holds every flavor beautifully without losing its creaminess.
- Wholesome enough for breakfast, comforting enough for dessert. My kids don’t know the difference. I love that about it.
Ingredients & Notes
You only need one thing to make this. Everything else is optional — but worth knowing about.

The 1-Ingredient Base
Ripe bananas (3 large, about 360g). Peel them, slice into ½-inch coins, freeze flat on parchment — and you’re ready. The word ripe matters here. You want bananas with small brown spots on the skin. Those spots are sugar. The more spots, the sweeter and creamier your result. Under-ripe bananas are starchy and won’t emulsify into the same silky texture no matter how long you blend.
No ripe bananas yet? Leave them on the counter a few more days, or peel and freeze them as they ripen over the week — they keep for up to 3 months. For another great way to use frozen bananas, our frozen banana pops are a simple, kid-friendly option.
Optional Flavor Boosters
These are entirely optional — the banana handles everything on its own. But if you want to make it your own:
Peanut butter (1 tbsp). Blends right in during the last few seconds. Warm and nutty without overpowering the banana.
Unsweetened cocoa powder (1 tbsp) + cacao nibs (1 tbsp). For a chocolate banana soft serve that tastes like a frozen fudge pop. Deeply satisfying.
Pure vanilla extract (½ tsp) + pinch of sea salt. The simplest flavor deepener. Makes it taste like real homemade ice cream.
Amlou (1–2 tbsp). My personal favorite. Amlou is a Moroccan spread made from toasted almonds, argan oil and honey. Swirled into banana nice cream, it adds a caramel-like richness with a faintly nutty finish — completely unexpected and really good.
How to Make Frozen Banana Ice Cream
This recipe has no baking, no cooking, and no machine. What it does have is a three-phase blend that goes from crumbly to creamy in under two minutes. Here’s exactly what to expect at each stage.
Step 1 — Slice and Freeze Flat
Peel and slice the bananas into coins about ½ inch (1–1.5 cm) thick. Line a small baking sheet or flat plate with parchment paper and spread the coins out in a single layer — no overlapping, no stacking.

This step is non-negotiable. Bananas frozen in a pile or a zip-lock bag turn into a solid block that can jam your blade. Individual coins freeze through evenly and release cleanly into the processor.
Freeze for at least 3 hours, until the coins are completely solid. Overnight works even better.
Before blending, let the frozen coins rest on the counter for 2–3 minutes. This tiny thaw protects the blade and helps the emulsion start faster.
Step 2 — Blend in Three Phases
Transfer the frozen coins to a food processor fitted with the S-blade, or a high-powered blender with a tamper. Then work through these three phases — don’t rush, don’t add liquid:

Phase 1 — Crumble (0–30 seconds). Pulse several times. The banana breaks into icy, grain-like pieces that look nothing like ice cream. That’s exactly right. Keep going.
Phase 2 — Clumpy paste (30–75 seconds). Stop the machine, scrape down the sides with a silicone spatula. Blend again for about 45 seconds. The texture will be thick and slightly gummy. This is the point where most people panic and add milk. Don’t.
Phase 3 — The magic (75–120 seconds). Blend continuously. Watch carefully. The friction from the blade warms the banana’s natural pectin and sugars just enough to create an emulsion — and suddenly you have a smooth, glossy, soft cream. No dairy. No machine. Just banana.
“When in doubt, blend your bananas instead of mashing them. It changes everything.”
Step 3 — Add Flavor and Serve
Add your flavor booster now if using. Drop it in and pulse 10 seconds — just enough to create streaks, not full incorporation.
For soft-serve texture: Scoop immediately into bowls. This is our favorite way — light, cold and impossibly creamy.
For firm scoops: Transfer the mixture to a small airtight container and freeze for 30–45 minutes. Let it sit on the counter for 5 minutes before scooping.

Lily’s Tips
A few things I’ve learned after making this more times than I can count:
Use a food processor over a blender when you can. The S-blade processes frozen banana more evenly than blender blades. A high-powered blender works too — but use the tamper, and never add liquid.
Do not add liquid during blending. I know it feels stuck. It isn’t. The moment you add oat milk or water, you’ve made a smoothie. Trust the process, scrape the sides, and keep the motor running.
Riper bananas, better texture — every time. Frozen bananas blend into creamy ice cream in under 5 minutes with just a food processor — but only when they’re ripe enough. Yellow-green bananas are still starchy. You want yellow with brown spots on the skin.
Freeze flat, always. One banana chunk frozen solid can jam a food processor blade. Coins on parchment, spread in a single layer, is the only safe and effective method.
Brown-spotted bananas contain up to 80% more natural sugar than yellow ones. That’s why this recipe needs zero added sweetener — the banana does it all.
Make it a build-your-own bowl night. Set out small ramekins of toppings — cacao nibs, granola, honey drizzle, shredded coconut — and let the kids build their own. It disappears in four minutes flat.
Variations
The base recipe is just bananas. These variations are where it gets interesting.
Moroccan Amlou Nice Cream
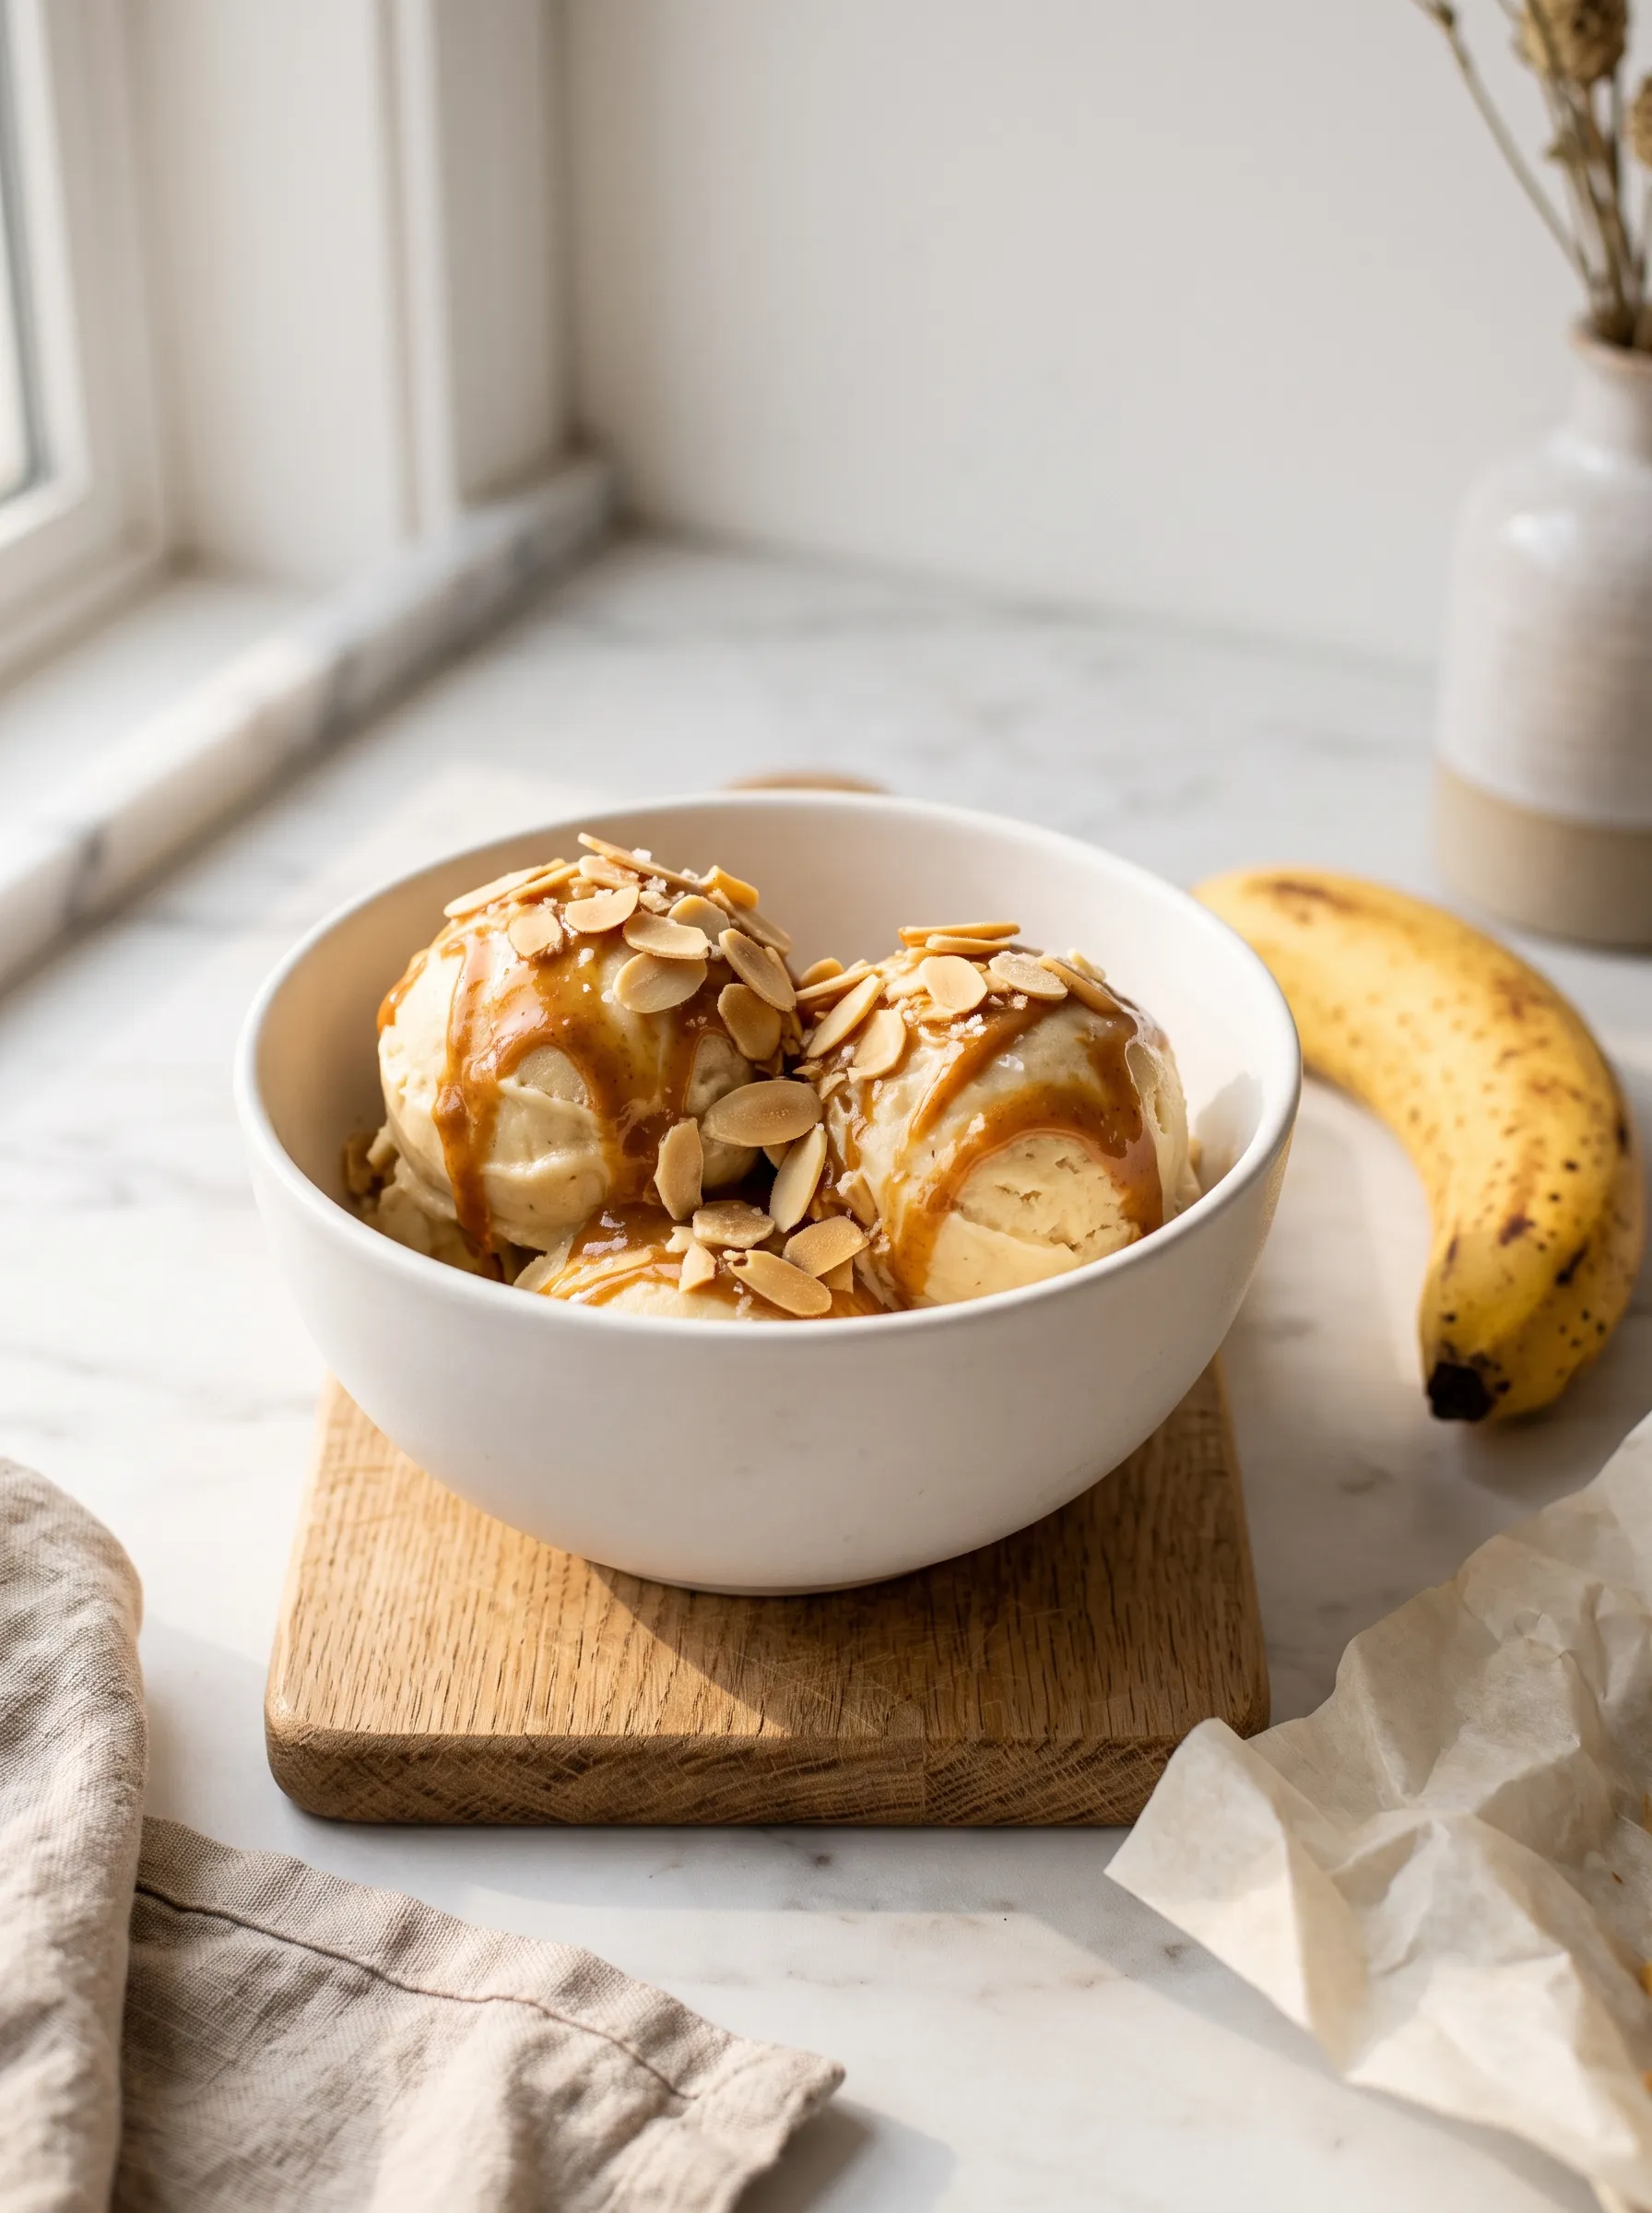
Swirl in 2 tablespoons of amlou during the last pulse. Serve topped with toasted almond slivers and a small pinch of fleur de sel. The argan oil gives it a richness that feels completely different from anything you’d expect from one ingredient. This is the version I make when I want something that feels a little special without being any more work.
Chunky Monkey
Add 1 tablespoon of natural peanut butter and pulse to combine, then fold in 2 tablespoons of roughly chopped dark chocolate and a handful of walnut pieces by hand after blending. Serve immediately. If you love this flavor pairing, these chocolate-dipped frozen bites are worth making alongside.
Berry Banana Swirl
Blend ½ cup of frozen strawberries or blueberries in with the banana coins. The color turns a soft blush pink or pale lavender, the flavor is bright and fruity, and the texture stays just as creamy. Great for summer. Great for kids who are skeptical of the plain version.
Chocolate Nice Cream
Add 1 tablespoon of unsweetened cocoa powder and 1 tablespoon of cacao nibs in the last 10 seconds of blending. Tastes like a frozen fudge bar. My son asks for this one every Friday — and honestly, so do I.
How to Store
Counter: Serve immediately for the best soft-serve texture. This is when it’s at its finest — airy, light and cold.
Fridge: Not recommended. Without dairy fat or stabilizers, the texture becomes uneven and mushy within a few hours.
Freezer: Up to 2 weeks in an airtight container. Because there are no stabilizers in this dairy free banana ice cream, it will freeze harder than store-bought. Let it sit on the counter for 8–10 minutes, then re-blend for 20 seconds to restore the original creaminess.
Meal prep tip: Keep a bag of pre-frozen banana coins (up to 6 bananas) in the freezer at all times. You’ll have nice cream ready to blend in under 5 minutes — just as fast as blending up a quick banana smoothie when you’re short on time.
Make It Once. You’ll Never Stop.
This one surprises people every single time. One ingredient. Five minutes. And somehow it tastes like something you’d order at a real ice cream shop.
Make it once and you’ll keep ripe bananas in your freezer on purpose — just for this. That’s what happened in our kitchen, and we haven’t stopped.
Tag me on Instagram @eatwithmellow or leave a star rating below — I love seeing your bowls.
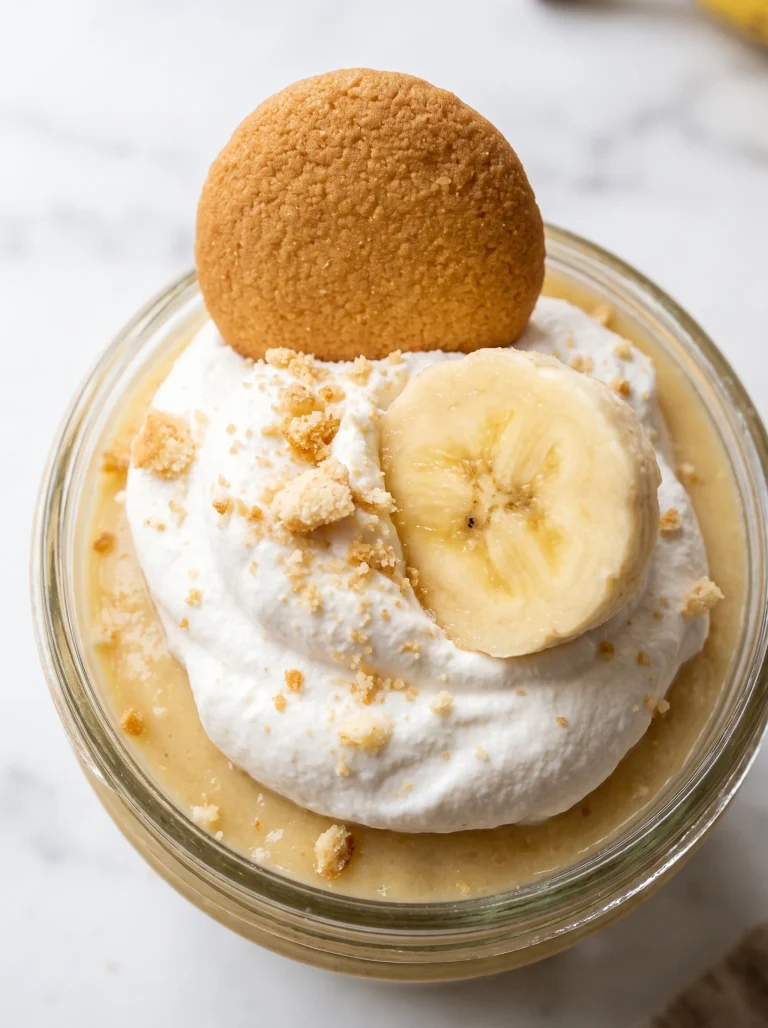
If you love this, try our silky vegan banana pudding or these simple banana bites next!
Love, Lily 🍌
Want to save this recipe?
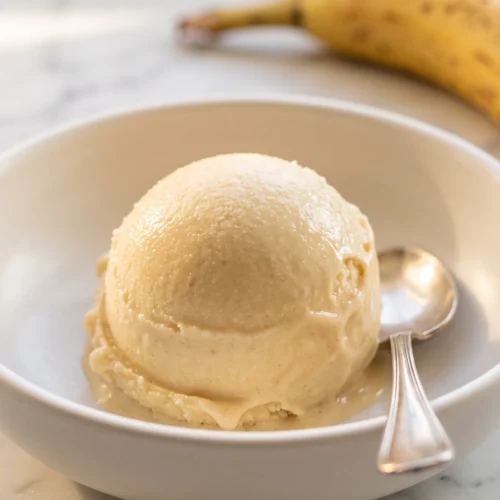
One-Ingredient Banana Nice Cream
Equipment
- Food processor with S-blade (or high-powered blender + tamper)
- Baking sheet or flat plate
- Parchment paper
- Silicone spatula
- Ice cream scoop
Ingredients
BASE
- 3 large ripe bananas 360g / 12.7 oz, peeled and sliced into ½-inch coins
OPTIONAL FLAVOR BOOSTERS (choose one)
- 1–2 tbsp 15–30g amlou
- 1 tbsp 16g natural creamy peanut butter
- 1 tbsp 6g unsweetened cocoa powder
- 1 tbsp 8g cacao nibs
- ½ tsp pure vanilla extract
- Pinch of fine sea salt
Instructions
- Line a baking sheet with parchment paper. Peel the bananas and slice into coins about ½ inch (1–1.5 cm) thick.
- Spread the banana coins flat on the parchment in a single layer without overlapping. Freeze for at least 3 hours, until completely solid.
- Remove from the freezer and let rest on the counter for 2–3 minutes. Transfer the frozen banana coins to a food processor fitted with the S-blade.
- Pulse for 30 seconds. The banana will crumble into icy, grain-like pieces.
- Stop and scrape down the sides with a silicone spatula. Blend again for 45 seconds. The texture will become thick and clumpy.
- Blend continuously for another 60–90 seconds, scraping the sides once if needed. The mixture will suddenly become smooth, glossy, and creamy like soft serve.
- Add the flavor booster, if using, and pulse for 10 seconds to swirl through.
- Serve immediately for a soft-serve texture, or transfer to an airtight container and freeze for 30–45 minutes for firmer scoops. Let sit on the counter for 5 minutes before serving.
Notes
container. Let sit 8–10 minutes at room temperature before scooping,
or re-blend for 20 seconds to restore original creaminess. Note 2 — No liquid: Never add milk or water during blending — even a
small amount will turn this into a smoothie. The banana emulsifies on
its own; trust the process and scrape down the sides instead. Note 3 — Ripeness is everything: Only use bananas with brown spots on
the peel. Yellow-green bananas are too starchy and will not create the
same silky texture regardless of blending time.