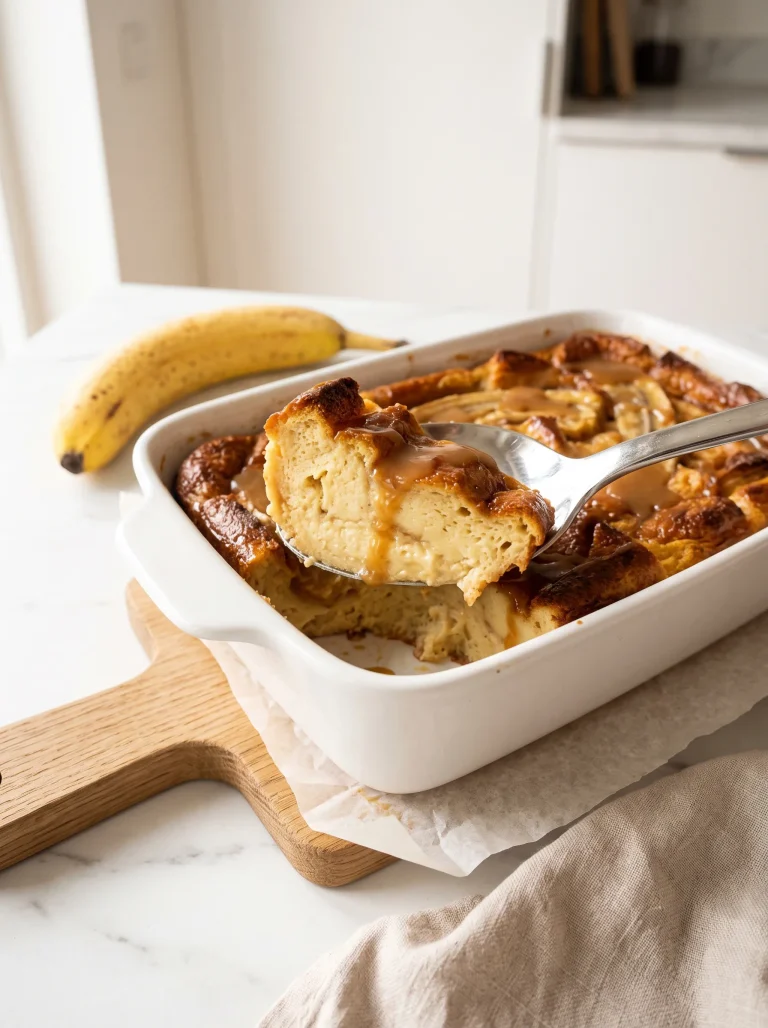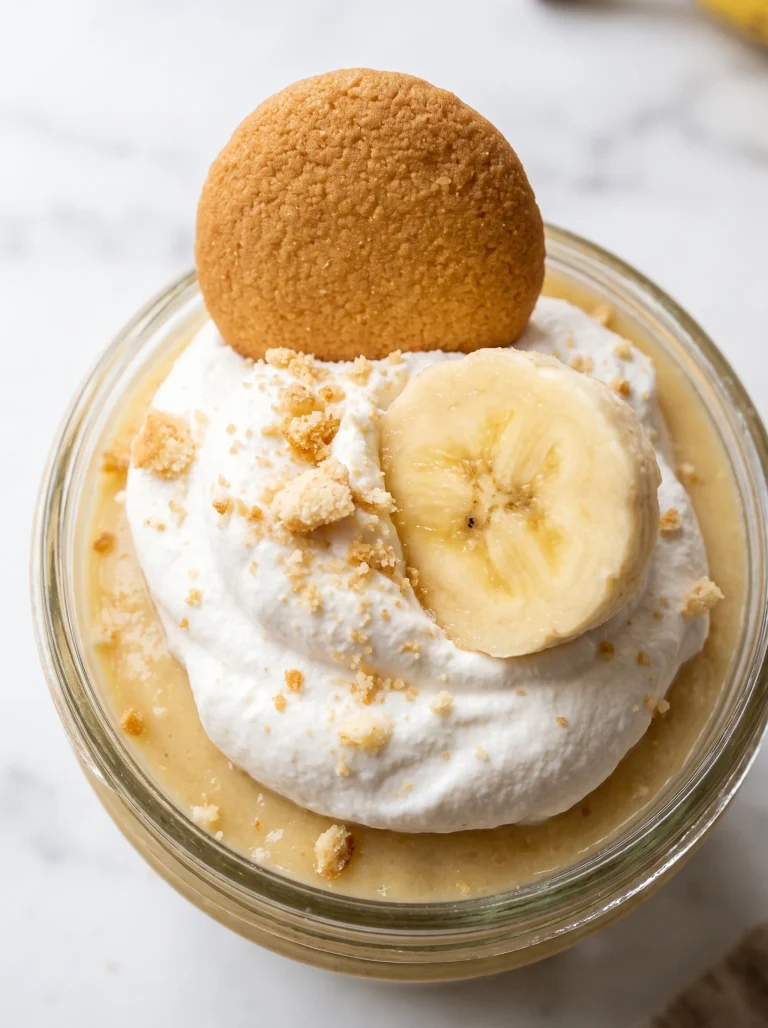

You know that moment when your bananas have gone a little too far and you’re not sure what to do with them? This is it. This no-bake banana pudding recipe is the one I make when I need something warm, comforting, and completely effortless — layers of silky vanilla cream, ripe banana slices, and soft Nilla Wafers that melt into something almost like a dream after a few hours in the fridge. My kids ask for it every single weekend. I can’t blame them.

If you love creamy no-bake desserts, you’ll also adore our no-bake banana cheesecake — it uses a very similar base and comes together just as easily.
Why You’ll Love This Banana Pudding Recipe
This isn’t just another banana pudding. It’s the kind of dessert people ask you for the recipe after the first spoonful.
- No baking required. Just whisk, fold, layer, and chill. Done.
- Naturally sweet from ripe bananas. The riper your bananas, the less work the sugar has to do.
- Creamy without being heavy. The homemade whipped cream folded into the pudding makes it light, airy, and irresistibly smooth.
- Feeds a crowd. Made in a trifle dish, it serves 10 generous portions and looks stunning on a table.
- Make-ahead friendly. It actually gets better after a few hours in the fridge — the wafers soften into something magical.
Ingredients & Notes
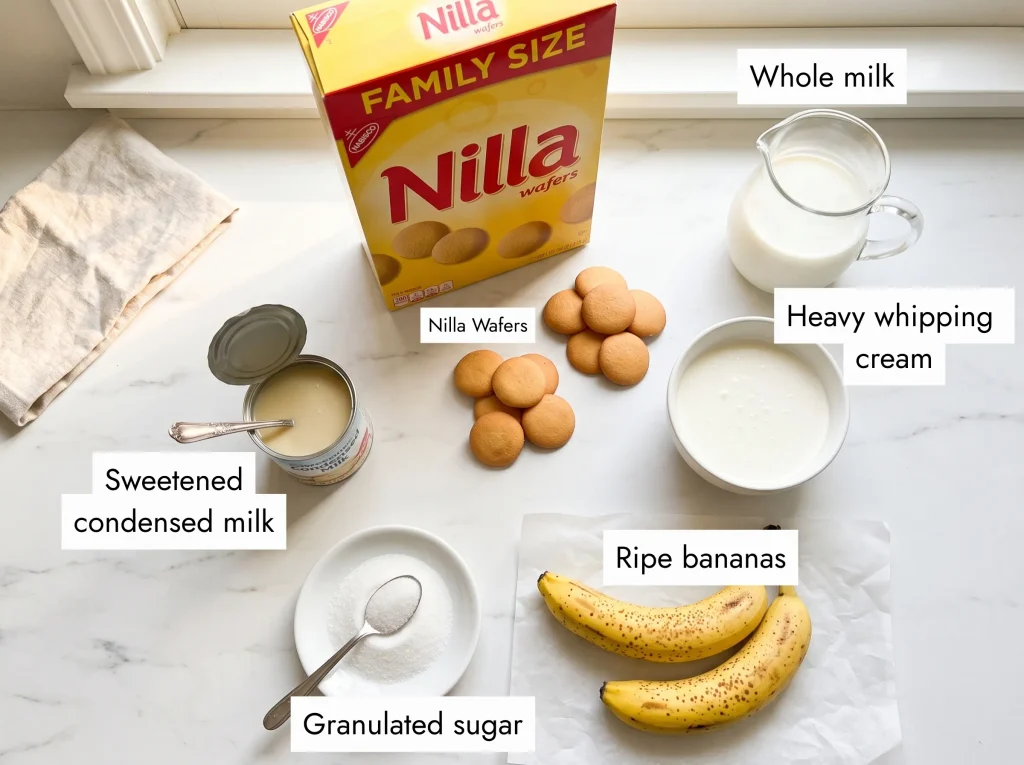
A simple list, every ingredient pulling its weight. Here’s what you need and why it matters.
For the Pudding Base
Whole milk (2 cups / 480 ml), cold. Full-fat is non-negotiable here — it gives the base that thick, velvety texture. Skim milk will make it too thin.
Sweetened condensed milk (1 can / 397 g). This is the secret to that deep, caramel-like sweetness. It replaces added sugar entirely and makes the cream richer than anything else could. If you love what condensed milk does to a dessert, wait until you try our no-bake banana cheesecake — same magic, different texture.
Instant vanilla pudding mix (1 box / 144 g). The binder that holds everything together. Use a 5.1 oz box — the larger size. Don’t make it with milk separately first; whisk it directly into the condensed milk mixture.
For the Homemade Whipped Cream
Heavy whipping cream (2 cups / 480 ml), cold. Keep your bowl and beaters in the freezer for 10 minutes before whipping — it makes a real difference in how fast and how stiff the cream gets. Minimum 30% fat.
Granulated sugar (2 tbsp). Just enough to balance the cream without making it cloying.
Pure vanilla extract (2 tsp). Use the real thing. Imitation vanilla works, but pure extract adds a warmth you’ll notice.
For the Assembly & Topping
Ripe bananas (5 large). Yellow-gold with small brown spots — that’s the sweet spot. Slice them just before assembling to keep them bright. Green bananas will taste starchy; overripe black ones will turn to mush in the layers.
Nilla Wafers (1 box / 425 g). The classic choice for a reason — they absorb just enough moisture to turn soft and cake-like overnight. I always grab the Nabisco Nilla Wafers Family Size — one box is exactly the right amount for this recipe, with a few left over for snacking. Chessman cookies work beautifully too, giving a richer, more buttery bite. I wrote a full post on this Biscoff banana pudding twist if you want to go that route.
For the topping: 1 cup (240 ml) heavy cream + 1 tbsp sugar + 1 tsp vanilla, whipped to soft peaks. Plus a handful of crushed Nilla Wafers for that golden finish.
How to Make Banana Pudding
This comes together in four simple stages. No mixer needed for the base — just a whisk and a bowl.
Step 1 — Make the Pudding Base
Whisk the cold whole milk and sweetened condensed milk together in a large bowl until completely smooth and no streaks remain, about 1 minute. Sprinkle in the instant vanilla pudding mix while whisking continuously to avoid lumps. Keep whisking until the mixture is silky and just starting to thicken — about 2 minutes. Refrigerate for 5 minutes to let it set slightly before folding in the cream.
Step 2 — Whip the Cream
Pour the cold heavy cream into a chilled bowl. Beat with an electric hand mixer on medium-high speed until it begins to thicken. Add the sugar and vanilla extract, then continue beating until you reach firm but silky peaks — the kind that hold their shape when you lift the beaters but aren’t stiff or grainy. This takes about 3 to 4 minutes. Don’t over-beat or it will turn buttery.
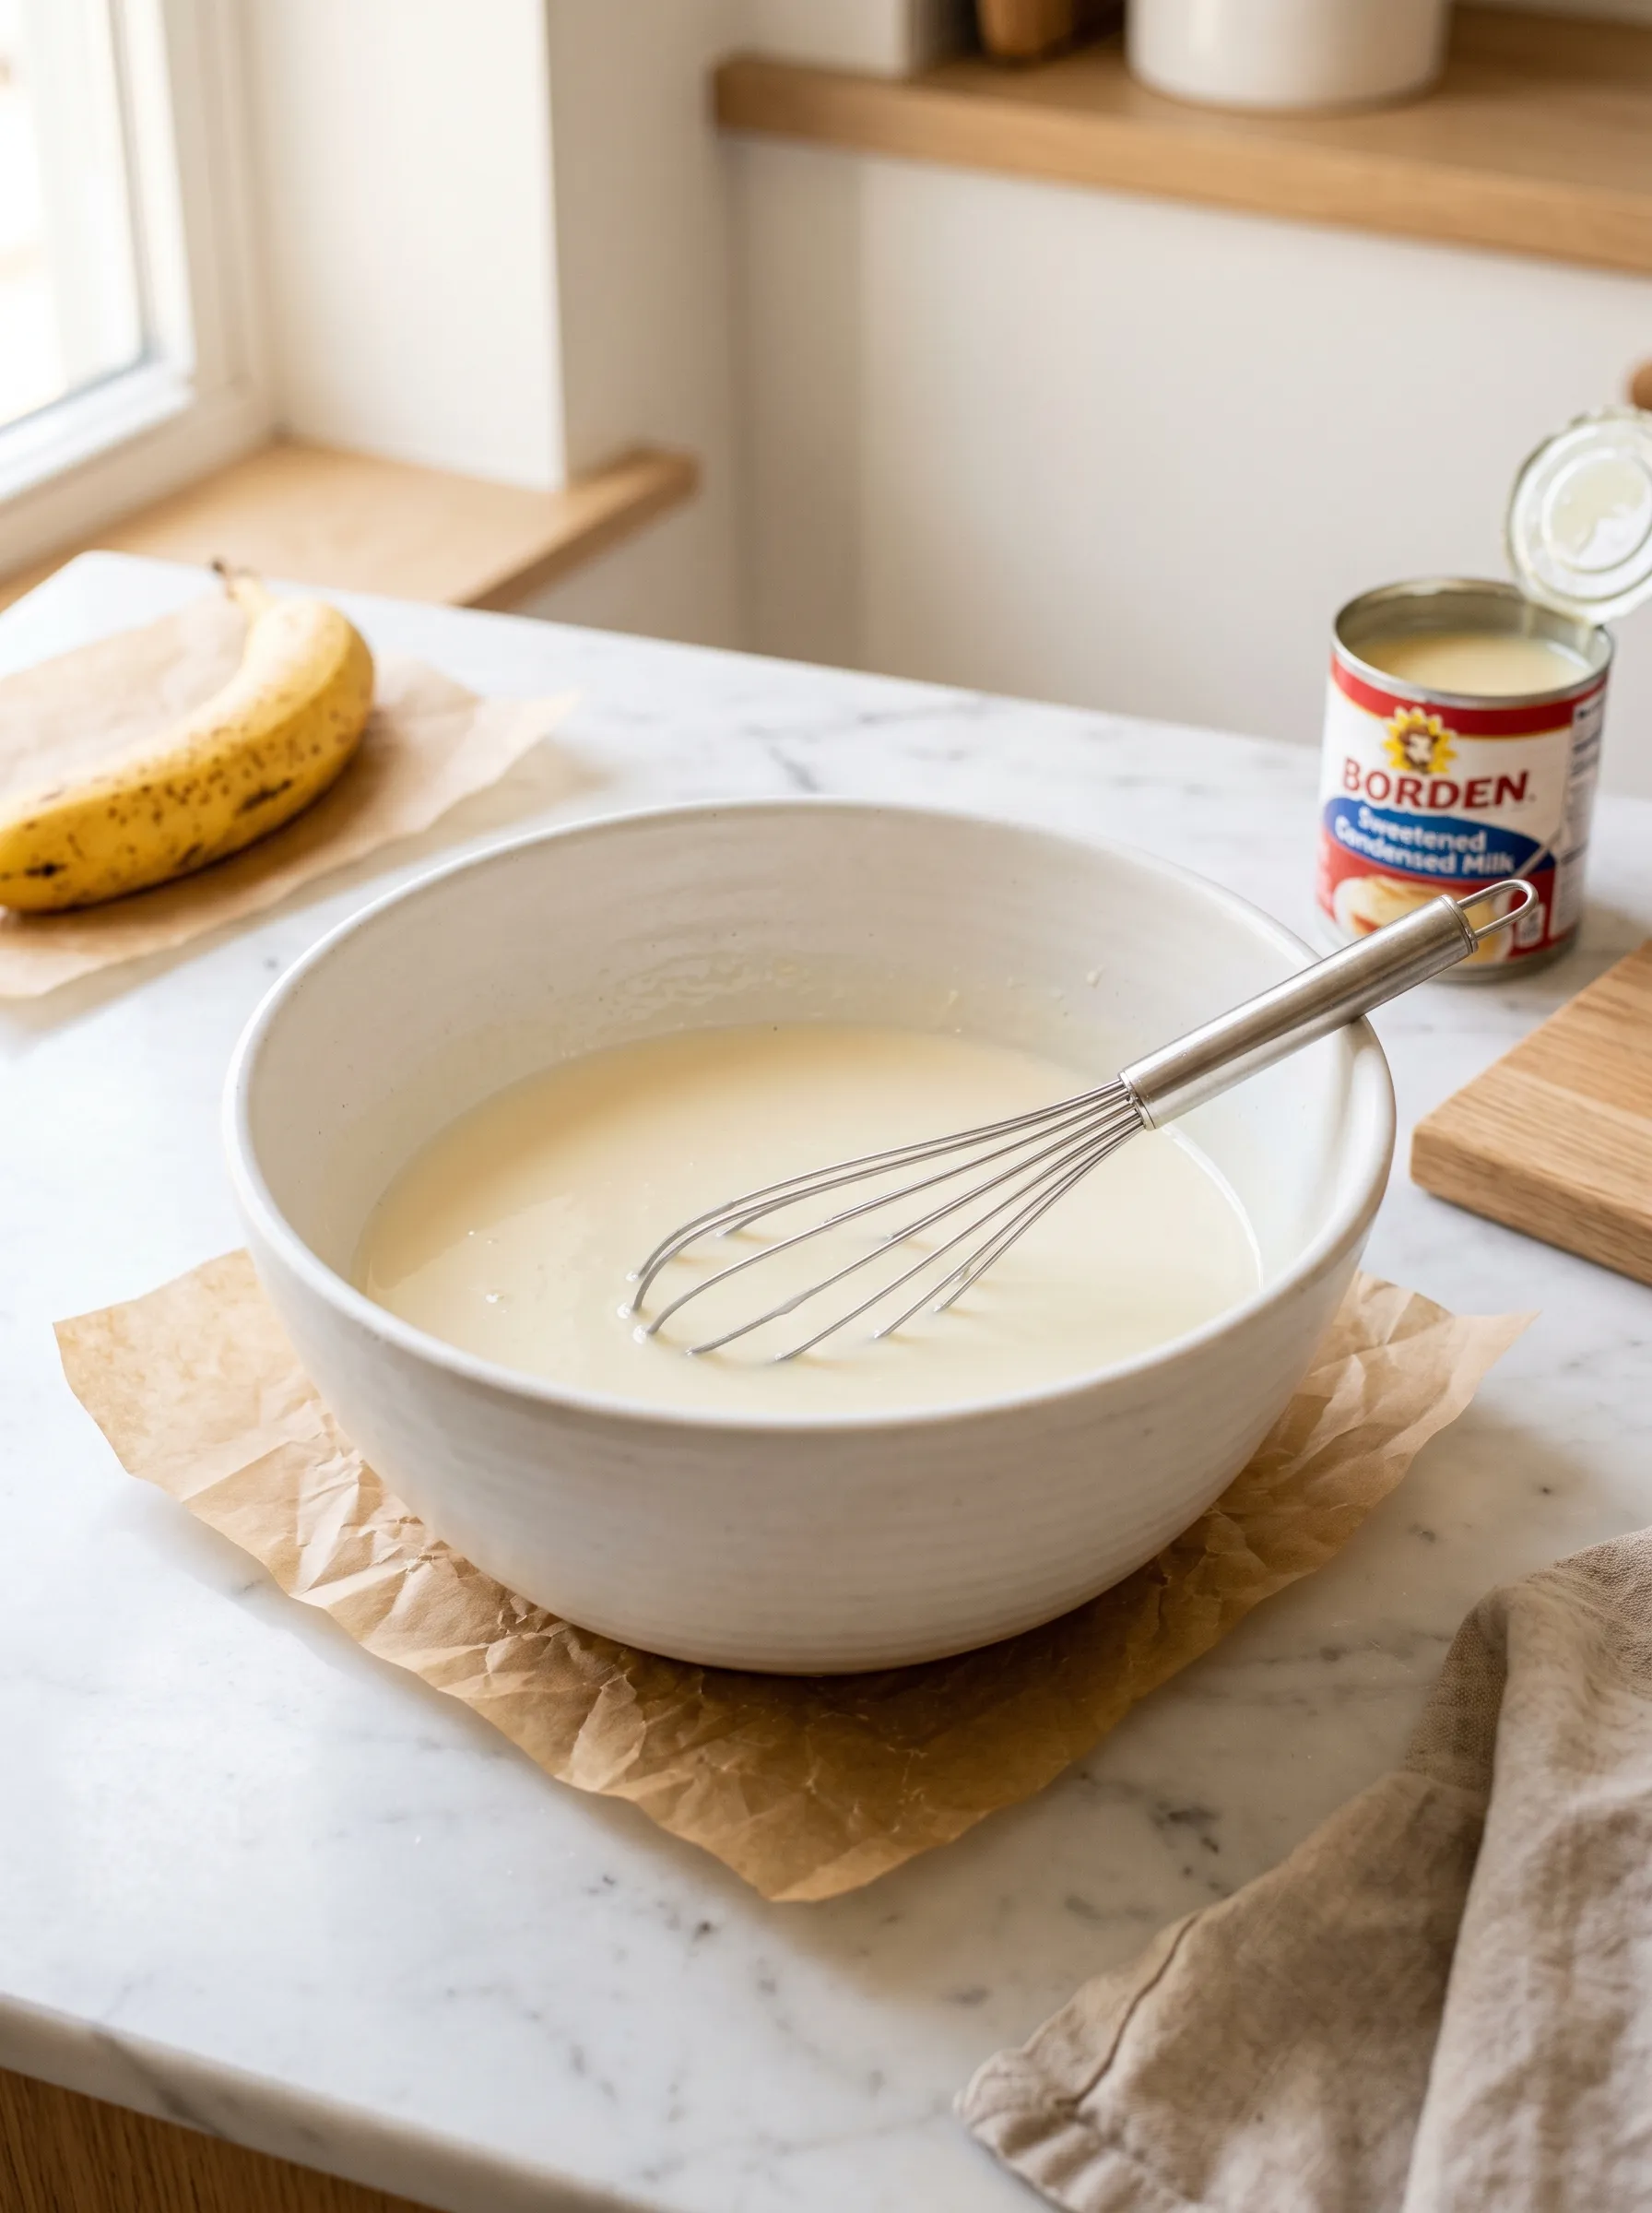
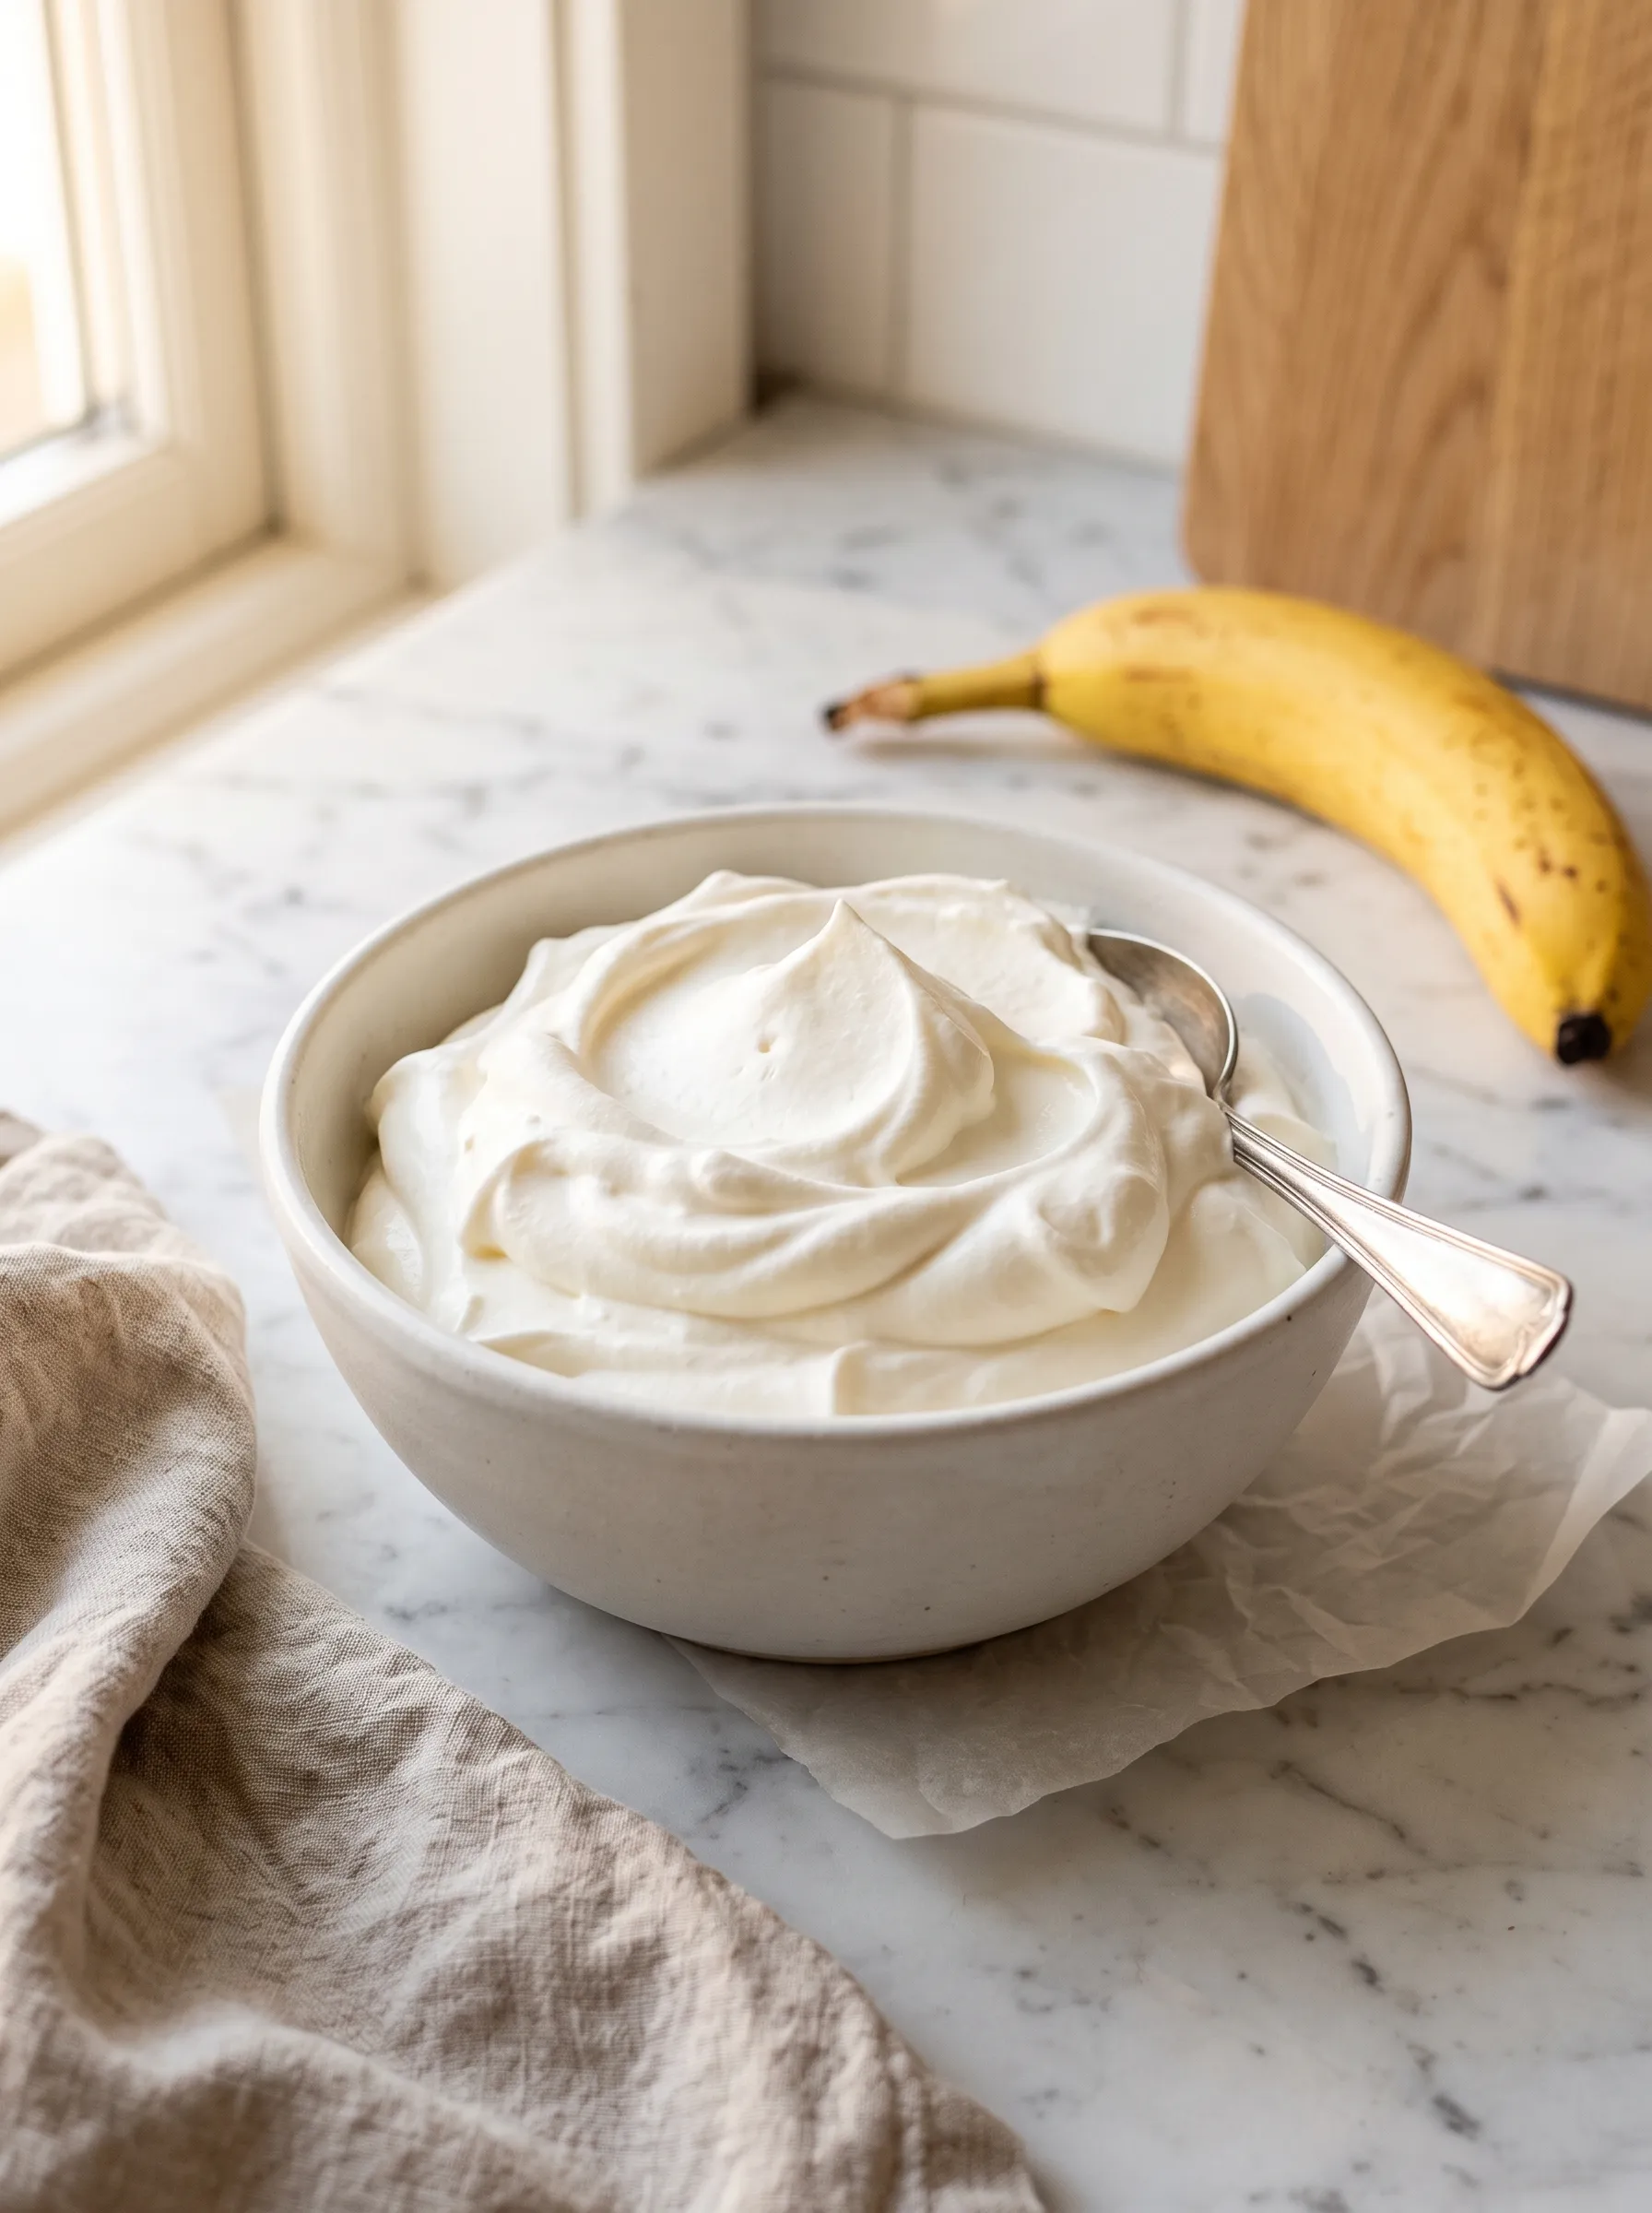
Fold the whipped cream into the chilled pudding base in two additions using a spatula. Use slow, sweeping motions from the bottom of the bowl up — you want to keep as much air in the cream as possible. The result should be light, mousse-like, and pale ivory.
Step 3 — Slice the Bananas
Peel and slice 4 of the 5 bananas into rounds about ½ inch thick just before assembling — not earlier, or they’ll start to brown. Save a few pretty slices from the 5th banana for the top decoration.
Tip: a very light brush of pineapple juice or lemon juice on the slices will keep them bright for longer if you need to prep ahead.
Step 4 — Layer the Pudding
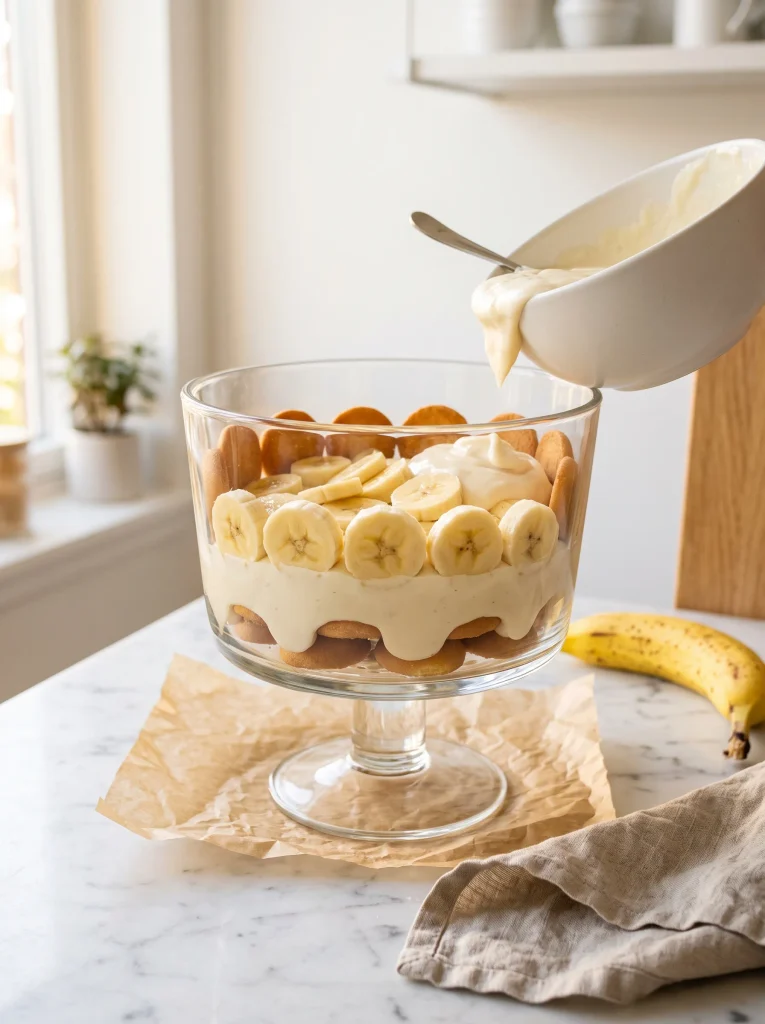
Cover the bottom of your trifle dish or large glass bowl with a single layer of Nilla Wafers. Spread about one-quarter of the pudding cream evenly over the wafers. Arrange whole Nilla Wafers upright along the inner walls of the dish — this creates that beautiful visible border.
Lay a generous layer of banana slices over the cream. Repeat — wafers, cream, bananas — until you’ve used everything, finishing with a layer of cream on top.

Step 5 — Chill
Cover the dish tightly with plastic wrap, pressing it gently against the surface of the cream to prevent a skin from forming. Refrigerate for at least 3 hours — overnight is even better. The wafers will absorb the cream and transform into something soft and tender, almost like sponge cake.
Step 6 — Top & Serve
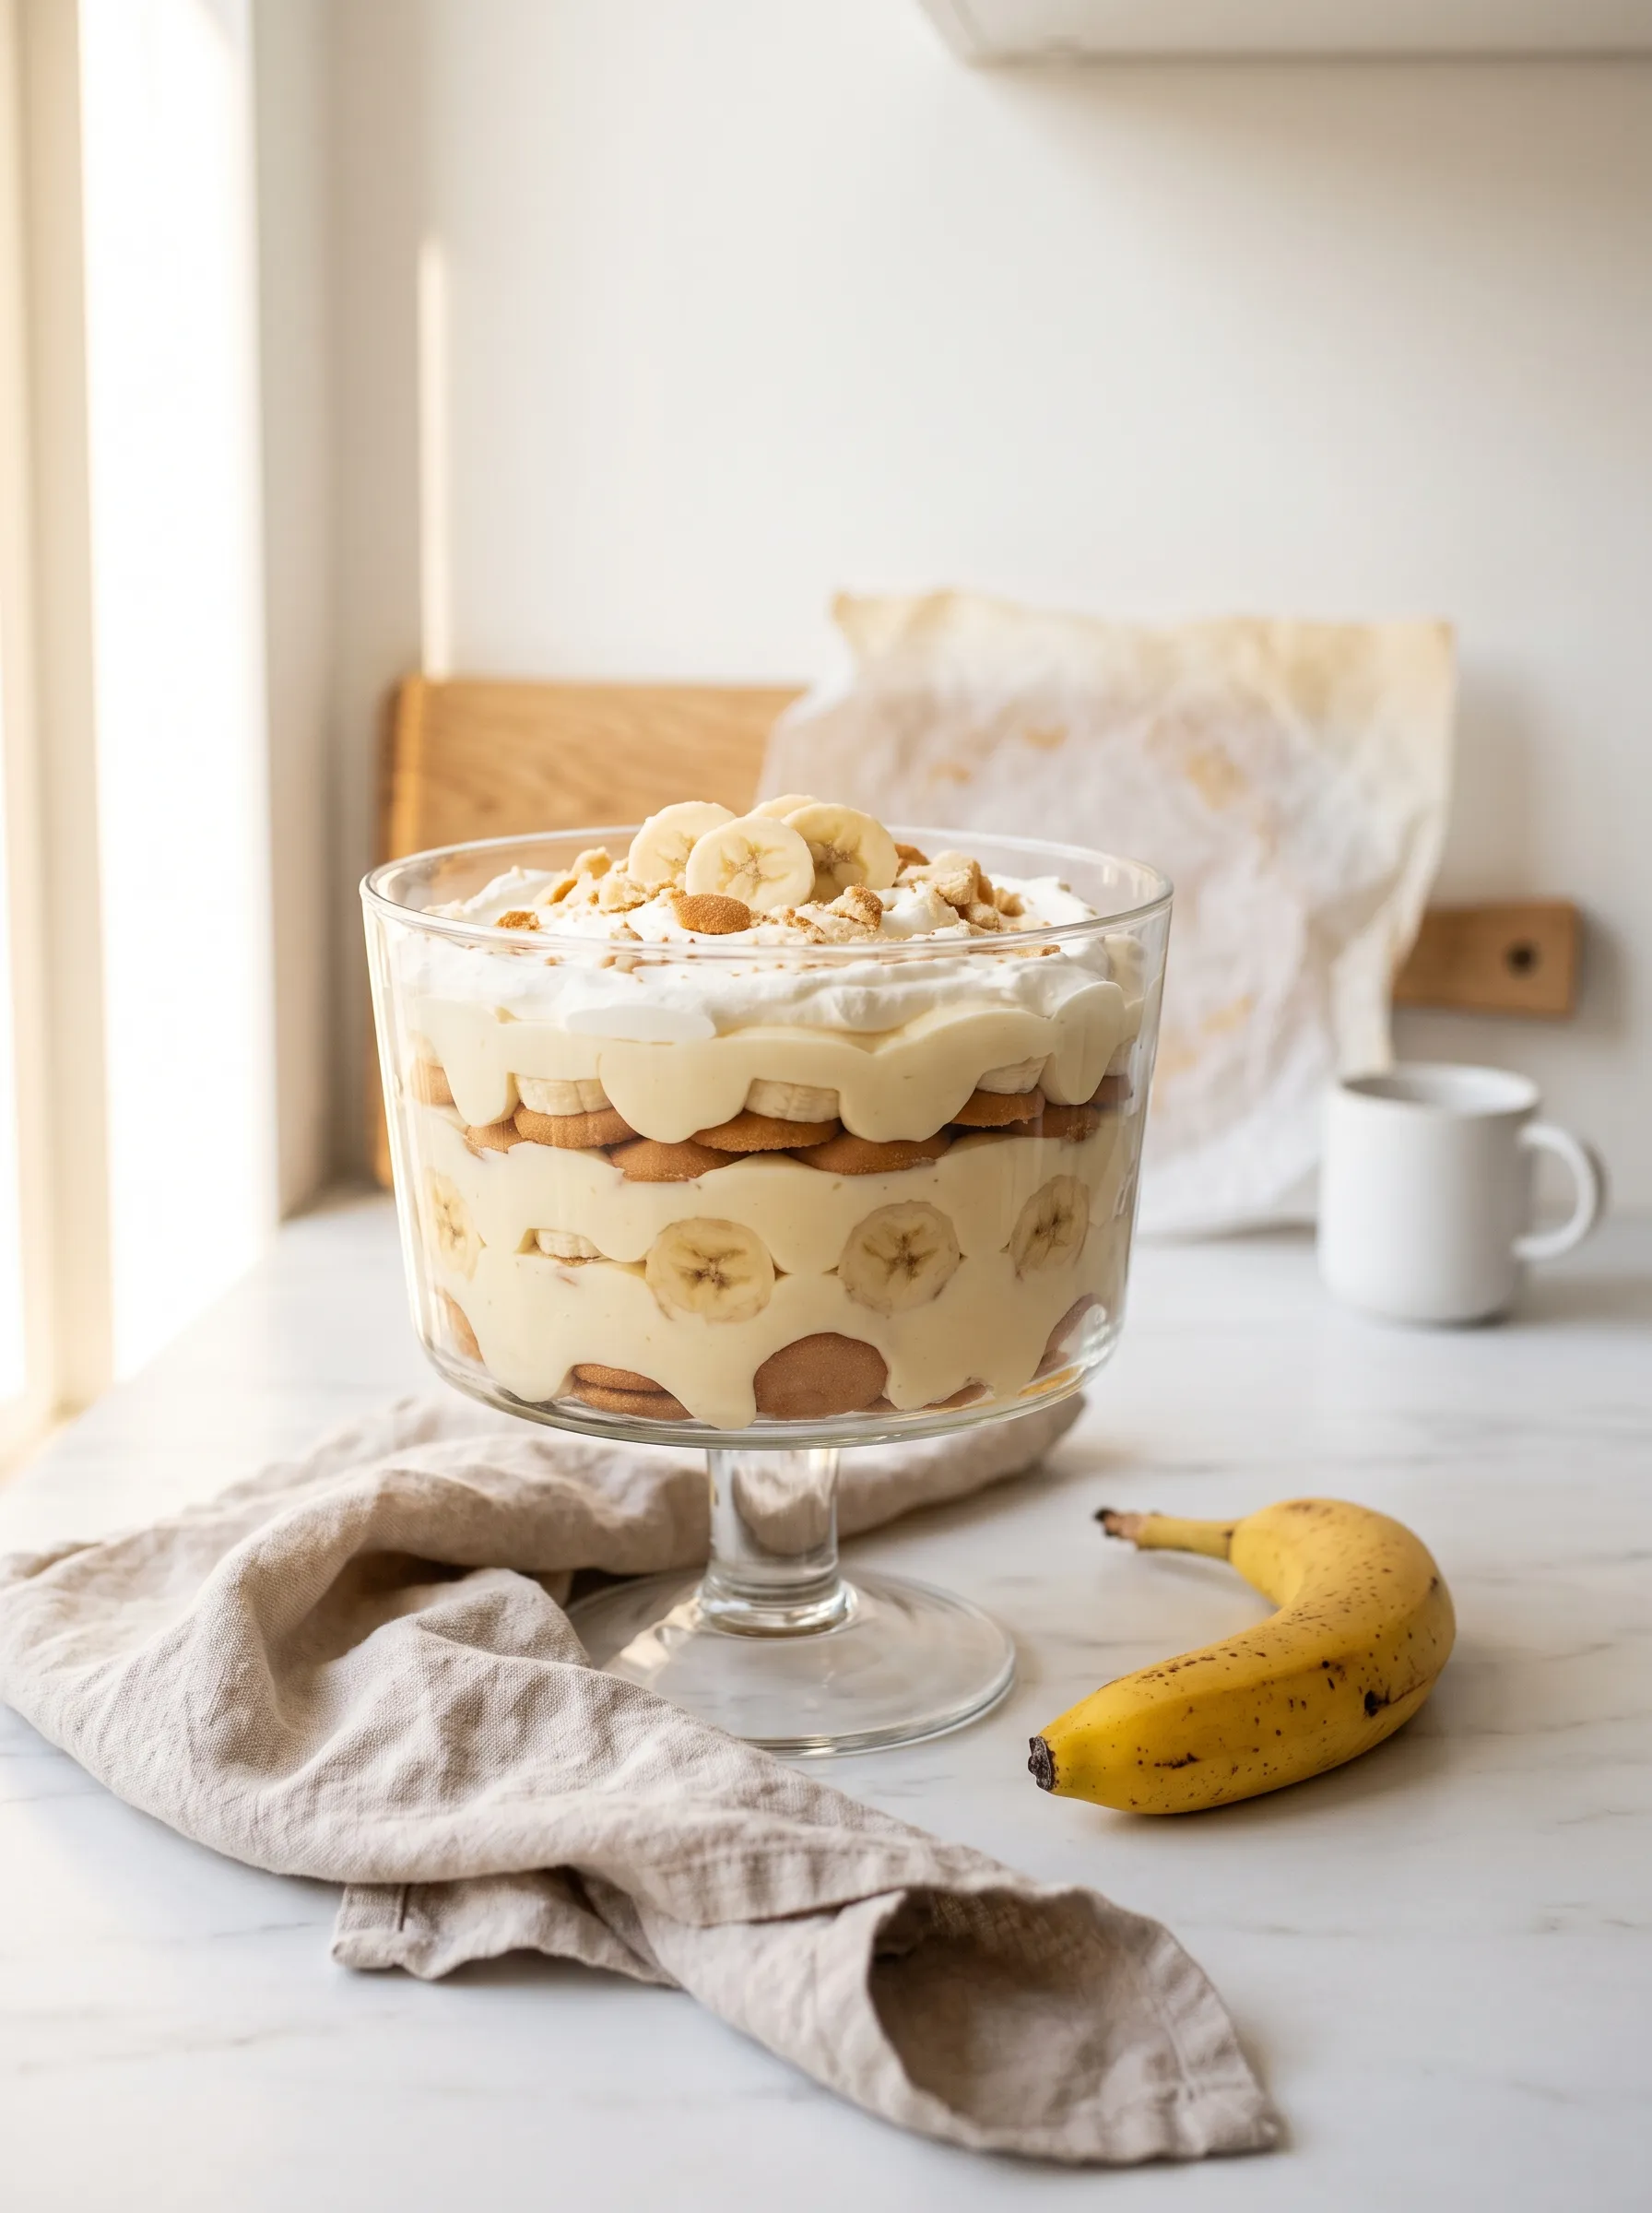
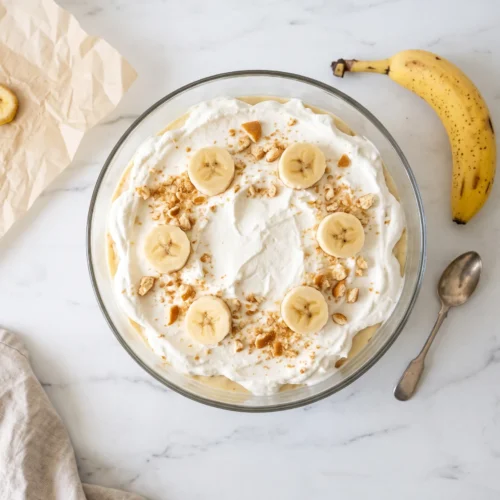
Whip the final cup of cream with 1 tbsp sugar and 1 tsp vanilla to soft peaks. Spread or pipe it over the chilled pudding. Scatter crushed Nilla Wafers and the reserved banana slices on top just before serving.
The finished pudding, ready to serve — golden, creamy, and impossible to resist.
Lily’s Tips for the Best Banana Pudding
A few things I’ve learned from making this more times than I can count.
Choose the right bananas. Yellow-gold with small brown spots is the sweet spot. Avoid anything green — they won’t be sweet enough and will taste starchy in the layers. “The riper your bananas, the less sugar you’ll need — nature does the sweetening for you.”
Keep everything cold. Cold milk, cold cream, cold bowl. The colder your dairy, the faster and more stable your whipped cream will be. I pop my bowl and beaters in the freezer for 10 minutes before I start.
Don’t skip the chill time. Three hours is the minimum. Overnight is the goal. The magic happens as the wafers absorb the cream and become soft and almost cakey — that texture is everything.
Slice bananas at the last minute. Cut them right before layering — not 30 minutes before, not the day before. If you need to prep ahead, a light brush of lemon or pineapple juice will slow the browning. This also answers a question I get constantly: yes, bananas will start to brown in the pudding overnight, but they’ll still taste wonderful. The cream slows the process significantly.
Fold, don’t stir. When you combine the whipped cream with the pudding base, use a gentle folding motion. Stirring will deflate all the air you just worked to build, and you’ll lose that light, mousse-like texture that makes this pudding special.
Get the Family Size box. A standard box sometimes runs short once you account for the border layer standing upright along the dish walls. I always use the Nabisco Nilla Wafers Family Size — 425g is the sweet spot for this recipe, and you’ll have a few left to crush over the top.
💡 One ripe banana contains about 12g of natural sugar and 3g of fiber — which means the riper they are, the more natural sweetness they bring to every layer.
Variations
This recipe is a great base to riff on. Here are my favourite ways to change it up.
Biscoff Banana Pudding
Swap the Nilla Wafers for Lotus Biscoff cookies and add 2 tablespoons of Biscoff spread swirled into the cream. The caramelised, spiced flavour against the banana is genuinely stunning. I wrote a whole post about this Biscoff banana pudding twist if you want the full recipe and all the details.
Banana Pudding Cupcakes
Spoon the pudding cream into a piping bag and fill vanilla cupcakes with it for an individual party version. Want to serve individual portions at a party? These filled banana pudding cupcakes use the same cream and are absolutely worth it.
Vegan Banana Pudding
Replace the condensed milk with coconut condensed milk, the heavy cream with full-fat coconut cream (chilled overnight), and the Nilla Wafers with any vegan vanilla cookie. It works better than you’d expect. I have a full post for this dairy-free version with coconut cream that walks through every swap.
Chessman Cookie Version
Use Pepperidge Farm Chessman butter cookies instead of Nilla Wafers. They’re thicker, richer, and give the pudding a slightly more buttery, shortbread-like layer. A nod to the classic Southern version.
Chocolate Banana Pudding
Add 2 tablespoons of unsweetened cocoa powder to the pudding base and scatter dark chocolate chips between the layers. Rich, deep, and still very much a banana pudding.
How to Store Banana Pudding
One of the best things about this recipe is how well it keeps — and how much better it gets the longer it chills.
Counter: Not recommended — the cream and bananas need to stay cold. Never leave banana pudding at room temperature for more than 2 hours.
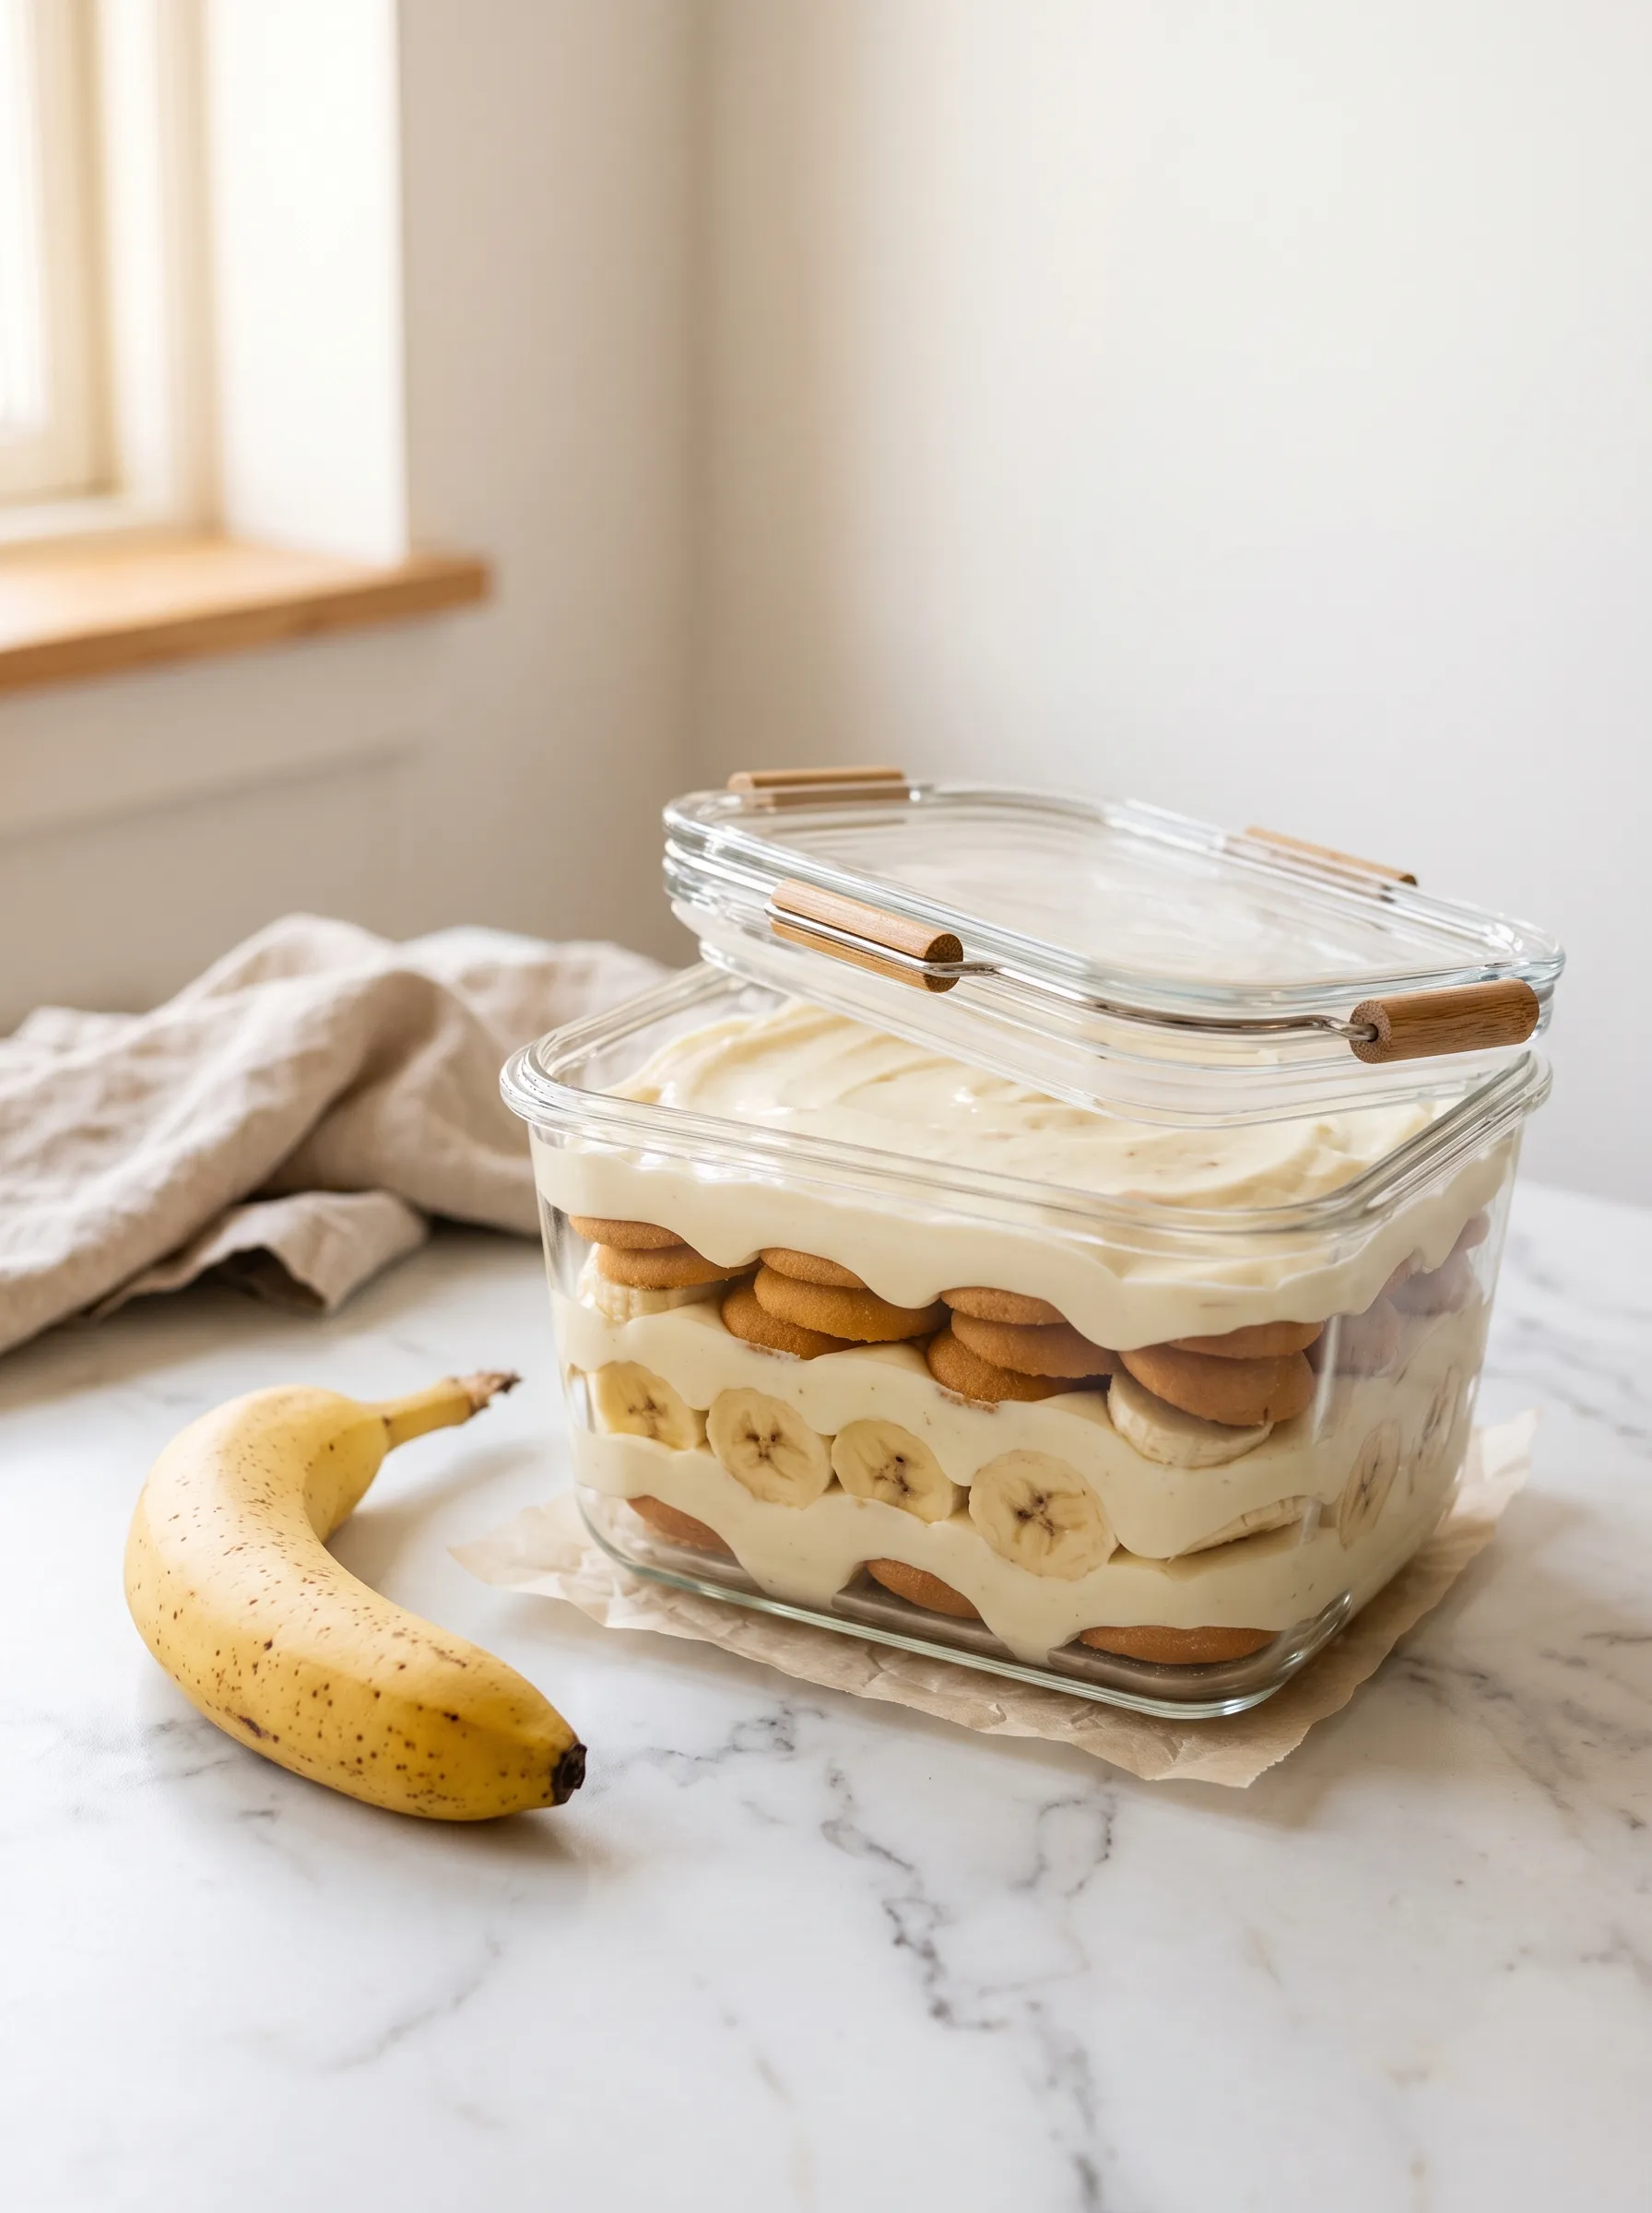
Fridge: Up to 3 days in the trifle dish covered tightly with plastic wrap, or transferred to an airtight container. The bananas will darken slightly by day 2 but will still taste wonderful. Serve straight from the fridge — no reheating needed.
Freezer: Not ideal for the assembled pudding — the cream texture changes when thawed and the wafers go soggy. If you have leftover bananas going soft, don’t let them go to waste. Freeze them whole and blend them into our one-ingredient banana nice cream instead — 5 minutes and zero effort.
Meal prep tip: Make the pudding cream up to 24 hours ahead and keep it covered in the fridge. Slice the bananas and assemble the layers the day you plan to serve it — this gives you the best texture and the brightest bananas.
Love, Lily 🍌
There is something about banana pudding that just feels like a hug in a bowl. It’s the dessert I bring to every potluck, the one my kids request on their birthdays, and honestly the one I make on a quiet Sunday when I just need something warm and real.
Make it the day before. Let it chill. Watch it disappear in minutes.
Tag me on Instagram @eatwithmellow or leave a star rating below — I genuinely love seeing your kitchens.
If you love this, try our layered banana pudding parfait next — same cozy vibes, served in individual glasses for a prettier presentation.
Love, Lily 🍌
This post contains affiliate links. If you purchase through my links, I may earn a small commission at no extra cost to you. I only recommend products I actually use in my own kitchen.
Want to save this recipe?
Classic Banana Pudding
Equipment
- Large glass trifle dish (4 qt / 3.8 L)
- 2 large mixing bowls
- Electric hand mixer
- Rubber spatula
- Whisk
- Nabisco Nilla Wafers Family Size 15 oz
Ingredients
WET INGREDIENTS
- 2 cups 480ml whole milk, cold
- 1 can 397g / 14oz sweetened condensed milk
- 2 cups 480ml heavy whipping cream, cold
- 2 tbsp 25g granulated sugar
- 2 tsp pure vanilla extract
DRY INGREDIENTS
- 1 box 144g / 5.1oz instant vanilla pudding mix
ASSEMBLY & TOPPINGS
- 5 large ripe bananas sliced ½ inch thick
- 1 box (425 g / 15 oz) Nabisco Nilla Wafers Family Size (or Chessman cookies)
TOPPING CREAM
- 1 cup 240ml heavy whipping cream, cold
- 1 tbsp 12g granulated sugar
- 1 tsp pure vanilla extract
- Handful of crushed Nilla Wafers, for garnish
Instructions
- Whisk the cold whole milk and sweetened condensed milk together in a large bowl until smooth and combined.
- Gradually add the instant vanilla pudding mix while whisking continuously. Whisk for 2 minutes until smooth and slightly thickened.
- Refrigerate the pudding base for 5 minutes to firm up slightly.
- Pour the cold heavy cream into a separate chilled bowl. Beat with an electric hand mixer on medium-high until it begins to thicken.
- Add the sugar and vanilla extract. Continue beating until firm, silky peaks form, about 3–4 minutes total.
- Fold the whipped cream into the chilled pudding base in two additions using a rubber spatula. Use slow, sweeping motions to keep the mixture light and airy.
- Slice the bananas into ½-inch rounds just before assembling.
- Cover the bottom of the trifle dish with Nilla Wafers. Spread ¼ of the cream over the wafers. Arrange whole wafers upright along the dish walls. Add a layer of banana slices. Repeat with wafers, cream, and bananas until all ingredients are used, finishing with cream on top.
- Cover tightly with plastic wrap and refrigerate for at least 3 hours or overnight.
- Whip the topping cream with the sugar and vanilla until soft peaks form. Spread over the chilled pudding.
- Garnish with crushed Nilla Wafers and reserved banana slices. Serve immediately.
Notes

Hi, I’m Lily — the home baker and recipe creator behind Eat With Mellow.
Mom of three, design lover, and completely obsessed with turning overripe bananas into something golden and cozy. I started this blog one Sunday morning when I had three brown bananas on the counter and three hungry kids at the table. What came out of the oven that day became the recipe that started everything.
Every recipe here is tested in my real kitchen, written for real mornings, and made with simple ingredients you already have. No fancy equipment, no complicated techniques — just honest, naturally sweet baking that actually works.