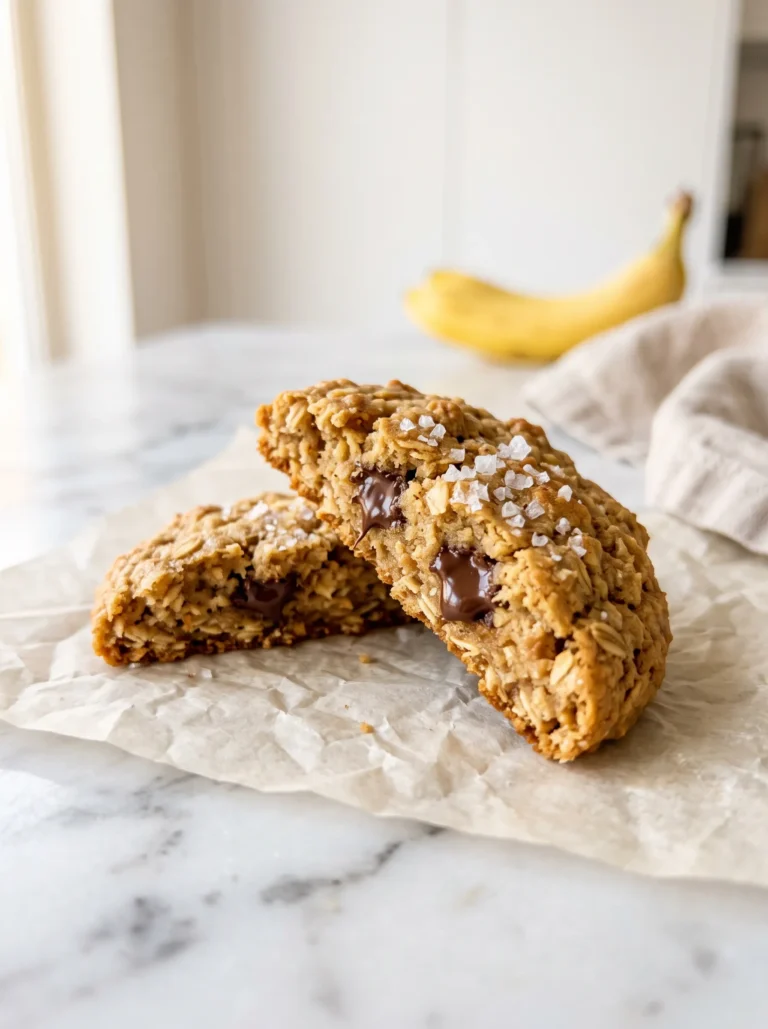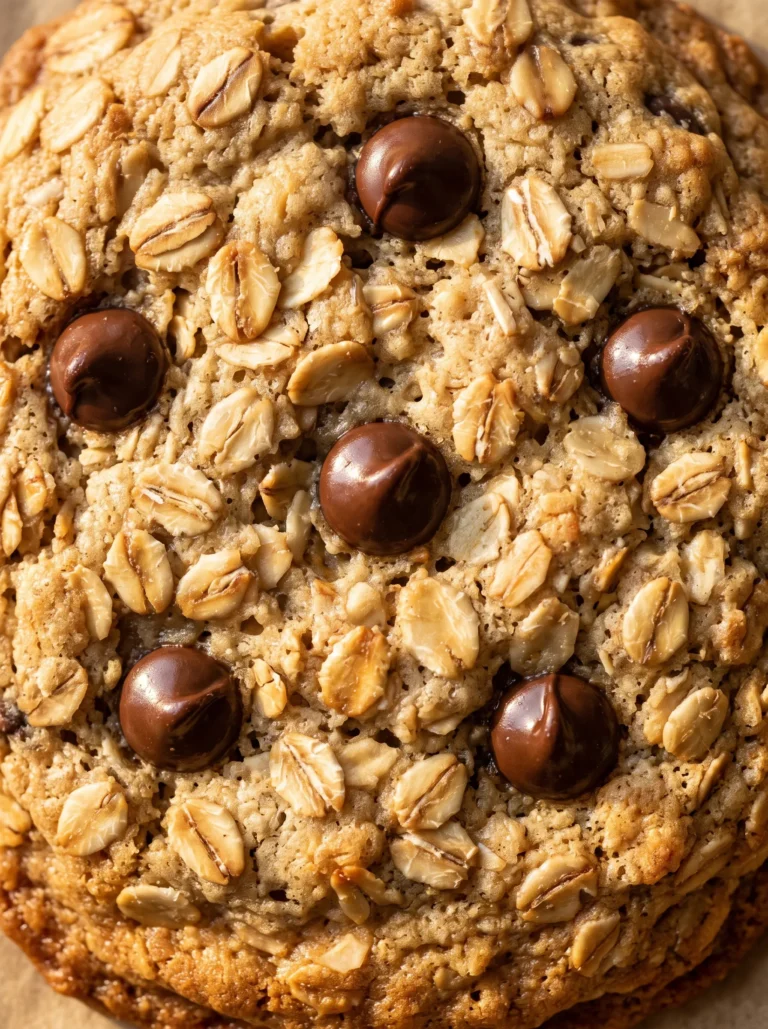

It was a Thursday morning, lunchboxes open on the counter, and I had three bananas that were way past their yellow-and-pretty days. Twenty minutes later these banana oat bars were in the oven. My kids took them to school, came home with empty boxes, and asked if I could make them again Friday.

That’s all the review I need. These bars are soft-baked, naturally sweet, completely nut-free, and made in one bowl with no refined sugar. If you love easy banana baking, you’ll want to bookmark our chewy banana oat cookies too — same pantry, different shape.
Want to save this recipe?
Why You’ll Love These Banana Oat Bars
These bars check every box for a real weekday snack — and then some.
- One bowl, no mixer, 10 minutes of prep. Mash, stir, pour, bake. That’s it.
- Naturally sweet — no refined sugar needed. Ripe bananas do the sweetening. The optional honey or maple syrup is just a touch if your bananas aren’t quite there yet.
- 100% nut-free. Safe for school lunchboxes, sports bags, and playdates — no peanuts, no tree nuts, nothing that gets flagged at the classroom door.
- Soft-baked and sturdy. They hold their shape when sliced and don’t crumble in a bag. Two eggs are the secret to that.
- Wholesome enough for breakfast, sweet enough for a snack. Rolled oats, banana, egg, cinnamon — you can feel good about putting these in a lunchbox every day.
Ingredients & Notes
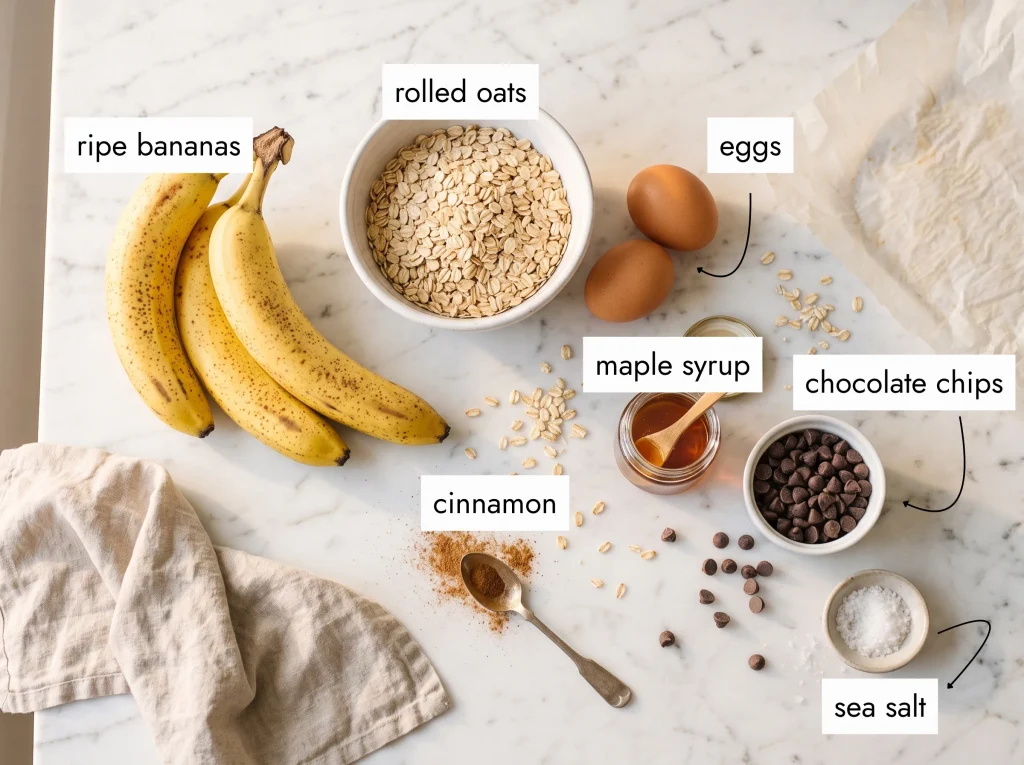
Everything you need is probably already in your kitchen.
The Base
Ripe bananas (3 medium, mashed). The riper, the better. Brown-spotted bananas are sweeter and mash more smoothly — they are what makes this recipe work without any added sugar. I always keep a few in the freezer for exactly this kind of morning.
Rolled oats (2 cups / 180g). Use old-fashioned rolled oats, not quick oats. Quick oats absorb too much moisture and make the bars dense and gummy. If you need a gluten-free version, certified GF rolled oats work perfectly here — the texture is identical. You can also turn these into our warm banana baked oatmeal with almost the same ingredients if you want something more spoonable.
Eggs (2 large). This is what makes these bars different from cookies. Two eggs give the bars a soft, cake-like texture that holds its shape when cut and doesn’t fall apart in a bag. I wouldn’t skip them — they are the reason these bars travel so well.
Cinnamon (1 tsp). Warm and cozy. You can go up to 1½ tsp if you love cinnamon.
Vanilla extract (1 tsp). Pure vanilla, not imitation, makes a difference here.
Honey or pure maple syrup (2 tbsp, optional). Skip it entirely if your bananas are very ripe and spotted. Add it if your bananas are still a bit pale — it rounds out the sweetness without being cloying. For a fully vegan bar, use maple syrup.
Salt (¼ tsp). Never skip salt in baking. It balances the sweetness and makes everything taste more like itself.
The Topping
Chocolate chips (3–4 tbsp). Sprinkled on top before baking so they melt slightly and set into a beautiful spotted top. I use semi-sweet. Dairy-free chips work just as well for a vegan version.
How to Make Banana Oat Bars
The whole thing comes together in one bowl — here’s how.
Step 1 — Prep Your Oven and Pan
Preheat your oven to 350°F (180°C). Line a 8×8 inch (20×20 cm) square baking pan with parchment paper, leaving a little overhang on two sides so you can lift the bars out cleanly. No parchment? Grease the pan well with a little coconut oil or butter.
Step 2 — Mash the Bananas
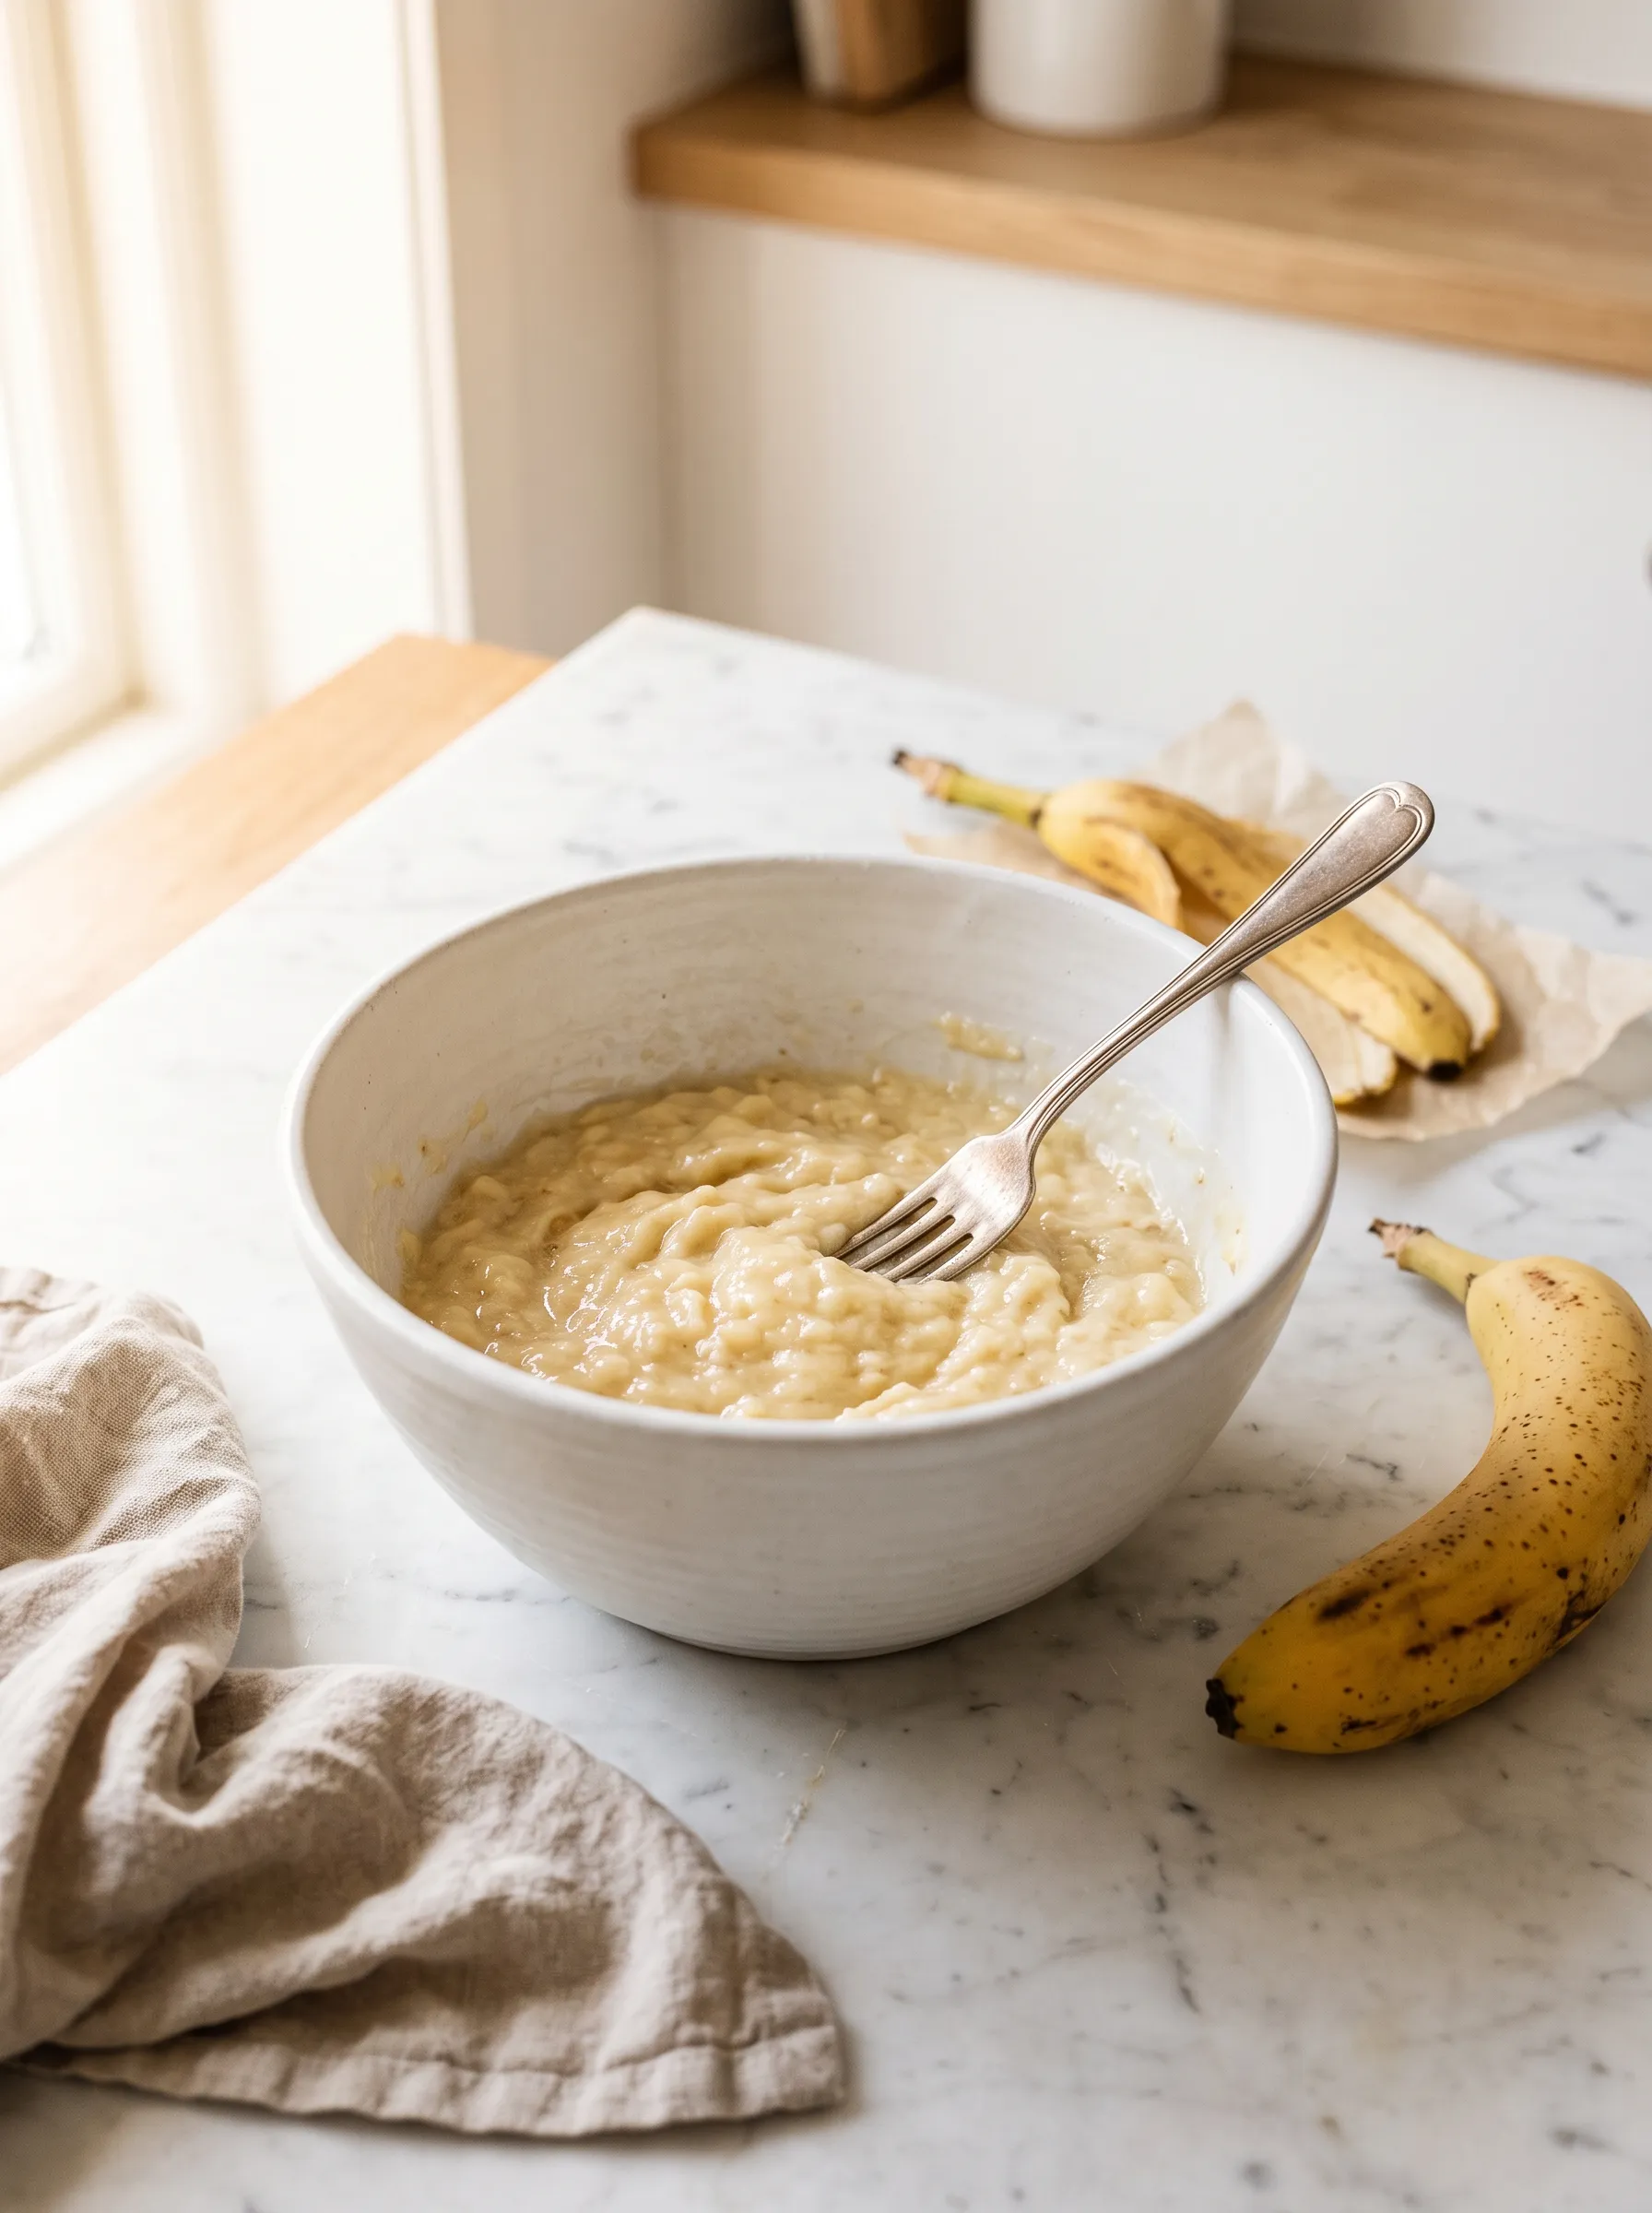
Mash the 3 ripe bananas in a large mixing bowl using a fork. Keep going until the mixture is smooth with only a few small lumps — about 1 minute of mashing. The smoother the bananas, the more evenly the bars will bake.
You want your banana mash to look like a thick, pale yellow purée — not chunky.
Step 3 — Mix Everything Together
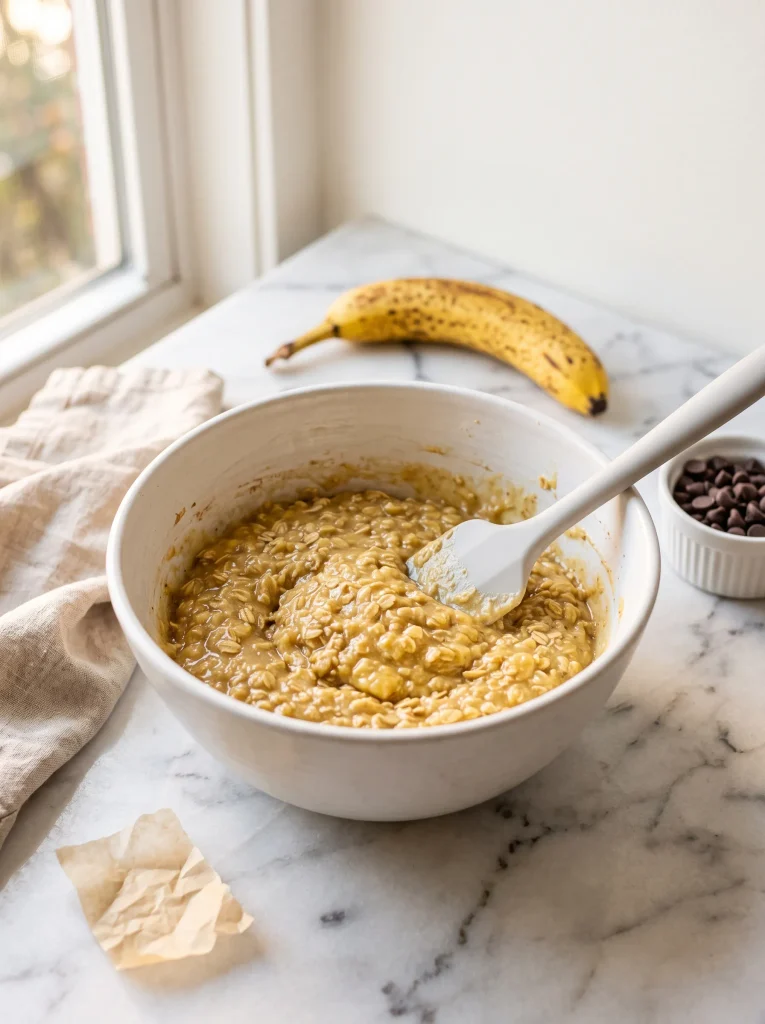
Add the rolled oats, 2 beaten eggs, cinnamon, vanilla extract, optional honey or maple syrup, and salt directly into the banana mash. Stir with a spatula until all the oats are fully coated and the mixture looks uniform. It will be thick and a little sticky — that’s exactly right.
Step 4 — Pour, Smooth, and Top
Transfer the mixture into your prepared pan and use the back of the spatula to spread it into an even layer all the way to the edges. Scatter the chocolate chips evenly over the top and press them down very lightly so they stay put during baking.
The layer should be about ¾ inch (2 cm) thick — thin enough to bake through, thick enough to slice into proper bars.
Step 5 — Bake
Bake for 20 to 25 minutes, until the top is set and golden at the edges, and a toothpick inserted in the center comes out clean or with just a few moist crumbs. Every oven is slightly different — start checking at 20 minutes.
Cool completely in the pan on a wire rack before cutting. I know it’s hard to wait, but the bars firm up as they cool. Cut them warm and they’ll fall apart.
Step 6 — Slice into Bars
Lift the slab out of the pan using the parchment overhang and place it on a cutting board. Cut lengthwise down the center, then make 4 cuts across the width to get 10 equal rectangular bars.


Use a sharp knife and a single downward motion — don’t saw back and forth or the bars will crumble at the edges.
Lily’s Tips
A few things I’ve learned after making these bars at least a dozen times.
- Use the ripest bananas you can find. Brown-spotted bananas contain up to 80% more natural sugar than yellow ones — that natural sweetness is what makes these bars work without refined sugar. The blacker the peel, the better the bar.
- Don’t overbake. Pull the bars when the edges are golden and the center looks just set. They will firm up significantly as they cool. Overbaked bars are dry; underbaked ones are fudgy and delicious.
- Press the chocolate chips into the batter. Just a light press after scattering them keeps them from rolling off when you lift the slab out of the pan.
- Let them cool fully before cutting. I cannot stress this enough. Warm bars are fragile. Room-temperature bars slice clean. If you’re in a hurry, 15 minutes in the fridge after baking speeds things up.
- “I test every recipe at least three times in my kitchen before it goes on the blog.” These bars were tested 4 times — twice with honey, twice without. The verdict: very ripe bananas need nothing extra. Slightly under-ripe bananas benefit from the 2 tablespoons of maple syrup.
Variations
The base recipe is simple by design — and that simplicity makes it easy to riff on.
Make Them Even Simpler — 3 Ingredients
If you want to strip things back completely, you can make these bars with just bananas, oats, and eggs — skip the cinnamon, vanilla, sweetener, and even the chocolate chips. They’ll be plainer but still wholesome and kid-approved. For that same minimalist spirit in a different format, our 3-ingredient banana cookies are worth bookmarking.
Make Them No-Bake
Not turning on the oven today? Use the same banana-oat ratio but skip the eggs, press the mixture into a lined pan, and refrigerate for 2 hours. They’ll be chewier and denser — more like an energy bar than a soft-baked one. For a no-bake snack that’s even easier to grab, these no-bake banana energy balls use nearly the same ingredients.
Make Them With Peanut Butter
Not a nut-free household? Add 2 tablespoons of peanut butter or almond butter into the batter along with the eggs. It adds richness and a little more protein. Our peanut butter banana cookies take that combination even further if you want a nuttier, richer bite.
Make Them Higher Protein
Add 2 tablespoons of your favorite unflavored or vanilla protein powder to the batter. You may need to add a tablespoon of milk (dairy or plant-based) to keep the consistency right. The texture will be slightly denser but still soft and sliceable.
Make Them for Toddlers
Skip the chocolate chips and the optional sweetener entirely. The bananas provide all the sweetness a toddler needs, and the soft texture is easy for little ones to eat. Cut into small squares instead of bars. These pass the school lunchbox test for ages 1 and up.
How to Store
These bars keep beautifully — which makes them ideal for meal prep.
Counter: 2 days — covered loosely at room temperature. The banana keeps them moist, so they actually taste better on day 2 than day 1.
Fridge: Up to 6 days in an airtight container. Take one out 10 minutes before eating or warm it for 15 seconds in the microwave. The texture softens nicely.
Freezer: Up to 3 months. Wrap each bar individually in parchment paper and freeze in a zip-lock bag or airtight container. Thaw at room temperature for 30–45 minutes, or overnight in the fridge. They come out of the freezer tasting exactly like they did on baking day.
Meal prep tip: I bake a double batch every Sunday — the second tray goes straight into the freezer in individual wraps. Monday through Friday lunchboxes are sorted before the week even starts. If you love the crunchy bar format for meal prep, our banana granola bars freeze just as well and give you a completely different texture.
Love, Lily 🍌
These banana oat bars are the kind of recipe I make on autopilot now — bananas getting too ripe, oven on, bars done before the kids finish breakfast. I hope they earn a regular spot in your week too.
Tag me on Instagram @eatwithmellow or leave a star rating below — it genuinely helps more people find this recipe.
If you love this, try our 3-ingredient banana cookies or this warm banana baked oatmeal next!
Love, Lily 🍌

Banana Oat Bars
Equipment
- 8×8 inch (20×20 cm) square baking pan
- Large mixing bowl
- Fork or potato masher
- Silicone spatula
- Wire cooling rack
Ingredients
WET INGREDIENTS
- 3 medium ripe bananas about 300g, mashed
- 2 large eggs beaten
- 2 tbsp 30ml honey or pure maple syrup (optional)
- 1 tsp 5ml pure vanilla extract
DRY INGREDIENTS
- 2 cups 180g old-fashioned rolled oats
- 1 tsp 2g ground cinnamon
- ¼ tsp 1g fine sea salt
TOPPINGS
- 3–4 tbsp 45–60g semi-sweet chocolate chips
Instructions
- Preheat the oven to 350°F (180°C). Line an 8×8-inch baking pan with parchment paper, leaving overhang on two sides.
- Mash the ripe bananas in a large bowl with a fork until smooth.
- Add the rolled oats, beaten eggs, cinnamon, vanilla extract, optional honey or maple syrup, and salt. Stir with a spatula until fully combined.
- Transfer the batter to the prepared pan and spread into an even layer. Scatter the chocolate chips over the top and press lightly.
- Bake for 20–25 minutes, until the top is set, the edges are golden, and a toothpick inserted into the center comes out clean.
- Cool completely in the pan on a wire rack. Lift out using the parchment overhang and cut into 10 rectangular bars.
Notes

Hi, I’m Lily — the home baker and recipe creator behind Eat With Mellow.
Mom of three, design lover, and completely obsessed with turning overripe bananas into something golden and cozy. I started this blog one Sunday morning when I had three brown bananas on the counter and three hungry kids at the table. What came out of the oven that day became the recipe that started everything.
Every recipe here is tested in my real kitchen, written for real mornings, and made with simple ingredients you already have. No fancy equipment, no complicated techniques — just honest, naturally sweet baking that actually works.