
Some mornings, six minutes is all you have — and all you need. I discovered this recipe when I had one slightly overripe banana, a cold skillet, and two kids pulling at my sleeve. I drizzled on some maple syrup, sprinkled cinnamon, and by the time I’d poured the oat milk in my coffee, the kitchen smelled like something I’d planned.
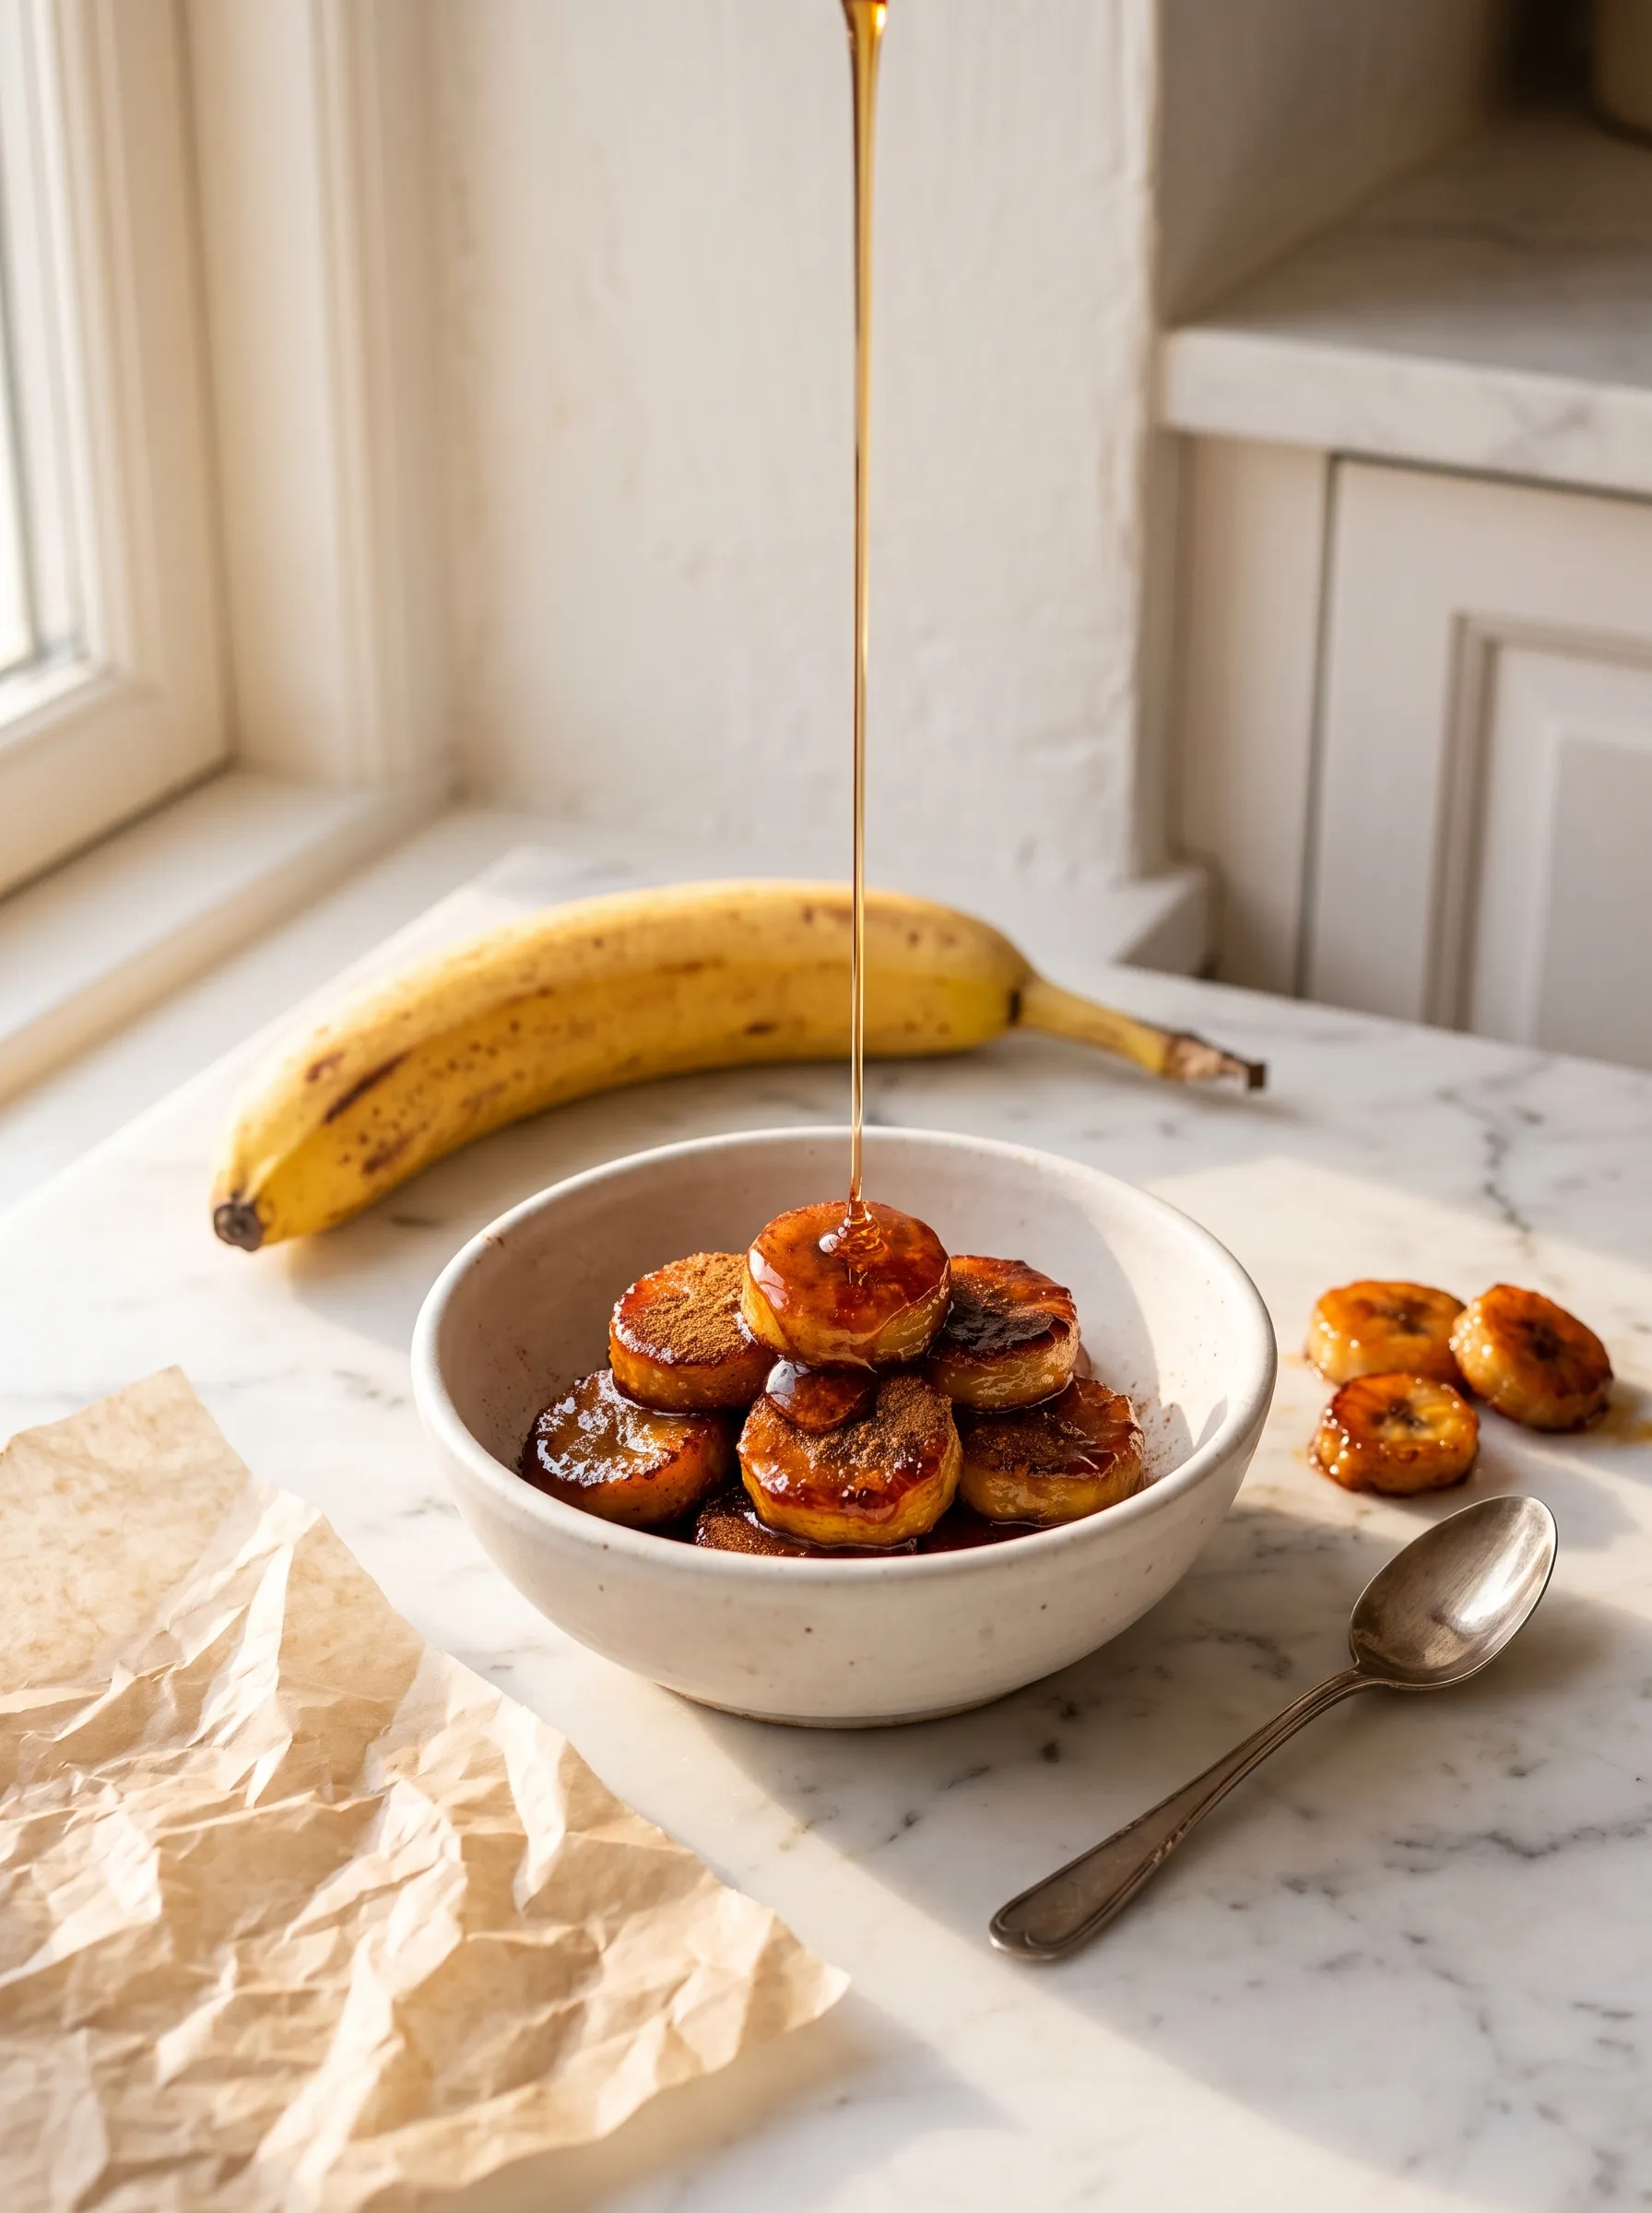
These caramelized bananas are the easiest warm dessert in my rotation — three ingredients, one pan, and they work over yogurt, oatmeal, pancakes, or ice cream. If you love cozy banana breakfasts, try our warm banana oatmeal bowl too.
Why You’ll Love This Caramelized Banana Recipe
- Ready in 6 minutes. No oven, no mixer, no fuss — just a skillet and three ingredients.
- Naturally sweet. The ripe banana and pure maple syrup do all the sweetening. No refined sugar needed.
- Incredibly versatile. Spoon these over yogurt, pancakes, oatmeal, waffles, or vanilla ice cream and it instantly feels like a real dessert.
- Gluten-free and dairy-free. As long as you skip the butter, this recipe is naturally vegan and allergen-friendly.
- Real kitchen magic. The caramelization transforms a humble banana into something golden, glossy, and deeply comforting.
Ingredients & Notes
This recipe uses just three core ingredients. Each one matters.

Bananas. Use ripe but firm bananas — yellow with just a few small spots. Avoid overly brown bananas here: unlike a banana bread where softness is an asset, a too-ripe banana will turn to mush in the hot pan instead of caramelizing. You want a banana that holds its shape. Slice into rounds of ½ inch (1.2–1.5 cm) — not thinner, or they’ll collapse under the heat.
Pure maple syrup. 1 tablespoon is all you need. Maple syrup (Grade A dark) caramelizes at a slightly lower temperature than refined sugar, which means it develops a rich, complex caramel without burning the fruit. If you substitute honey, lower the heat slightly — fructose burns faster.
Ground cinnamon. ¼ to ½ tsp, depending on how much warmth you like. It blooms the moment it hits the hot syrup, making the whole pan smell incredible.
Coconut oil or butter (optional). Just ½ tsp. In a good non-stick skillet you don’t technically need it, but a small amount of fat helps conduct heat evenly across the full surface of each banana round and creates a silky emulsion with the maple syrup. Use coconut oil to keep the recipe vegan.
Serving note: These bananas are stunning over vegan yogurt, Greek yogurt, or a scoop of vanilla ice cream. For an even simpler pairing, spoon them directly onto our one-ingredient banana nice cream — the contrast of warm and cold is something else.
How to Make Caramelized Bananas
Step 1 — Slice the Bananas
Slice your banana into even rounds, about ½ inch (1.2–1.5 cm) thick. Even slices are the key to even caramelization — if some pieces are thinner, they’ll soften too fast while the thicker ones are still cooking.
Step 2 — Heat the Skillet
Place a non-stick skillet over medium heat and let it warm for about 30 seconds. If using coconut oil or butter, add it now and swirl to coat the surface. A properly heated pan means the banana makes contact with consistent heat from the first second — that’s what triggers the caramelization.
Step 3 — Arrange in a Single Layer
Arrange the banana slices flat in the pan, leaving a little space between each one. No overlapping — every surface needs direct contact with the heat.
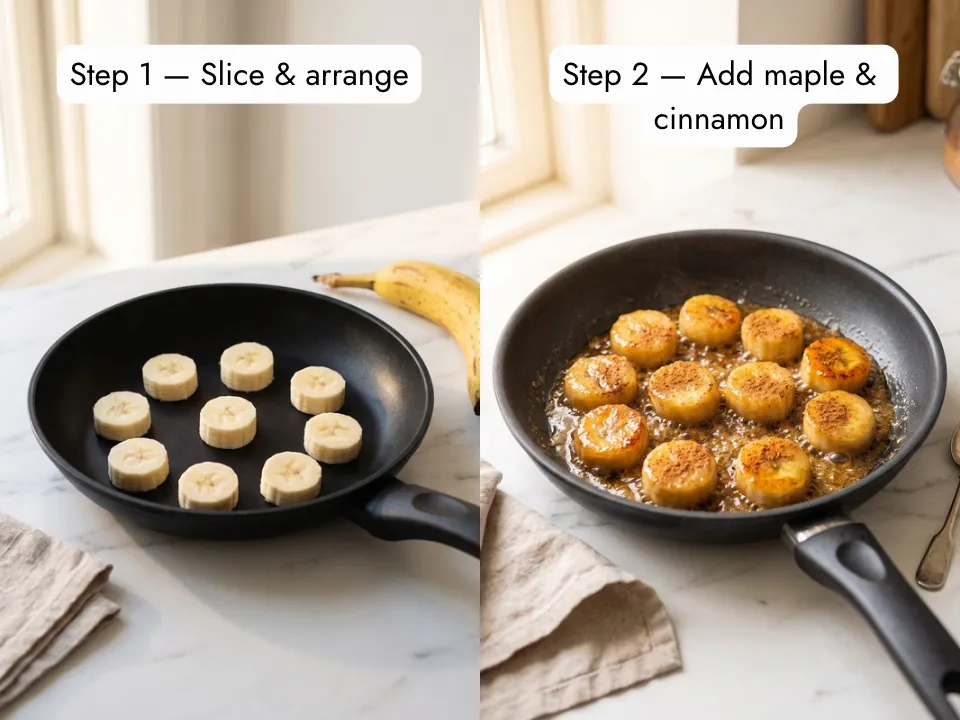
Step 4 — Add Maple Syrup & Cinnamon
Drizzle the maple syrup evenly over all the slices. Sprinkle the cinnamon on top. You’ll hear a gentle sizzle — that’s the sugar starting to caramelize.
Step 5 — Cook Without Touching
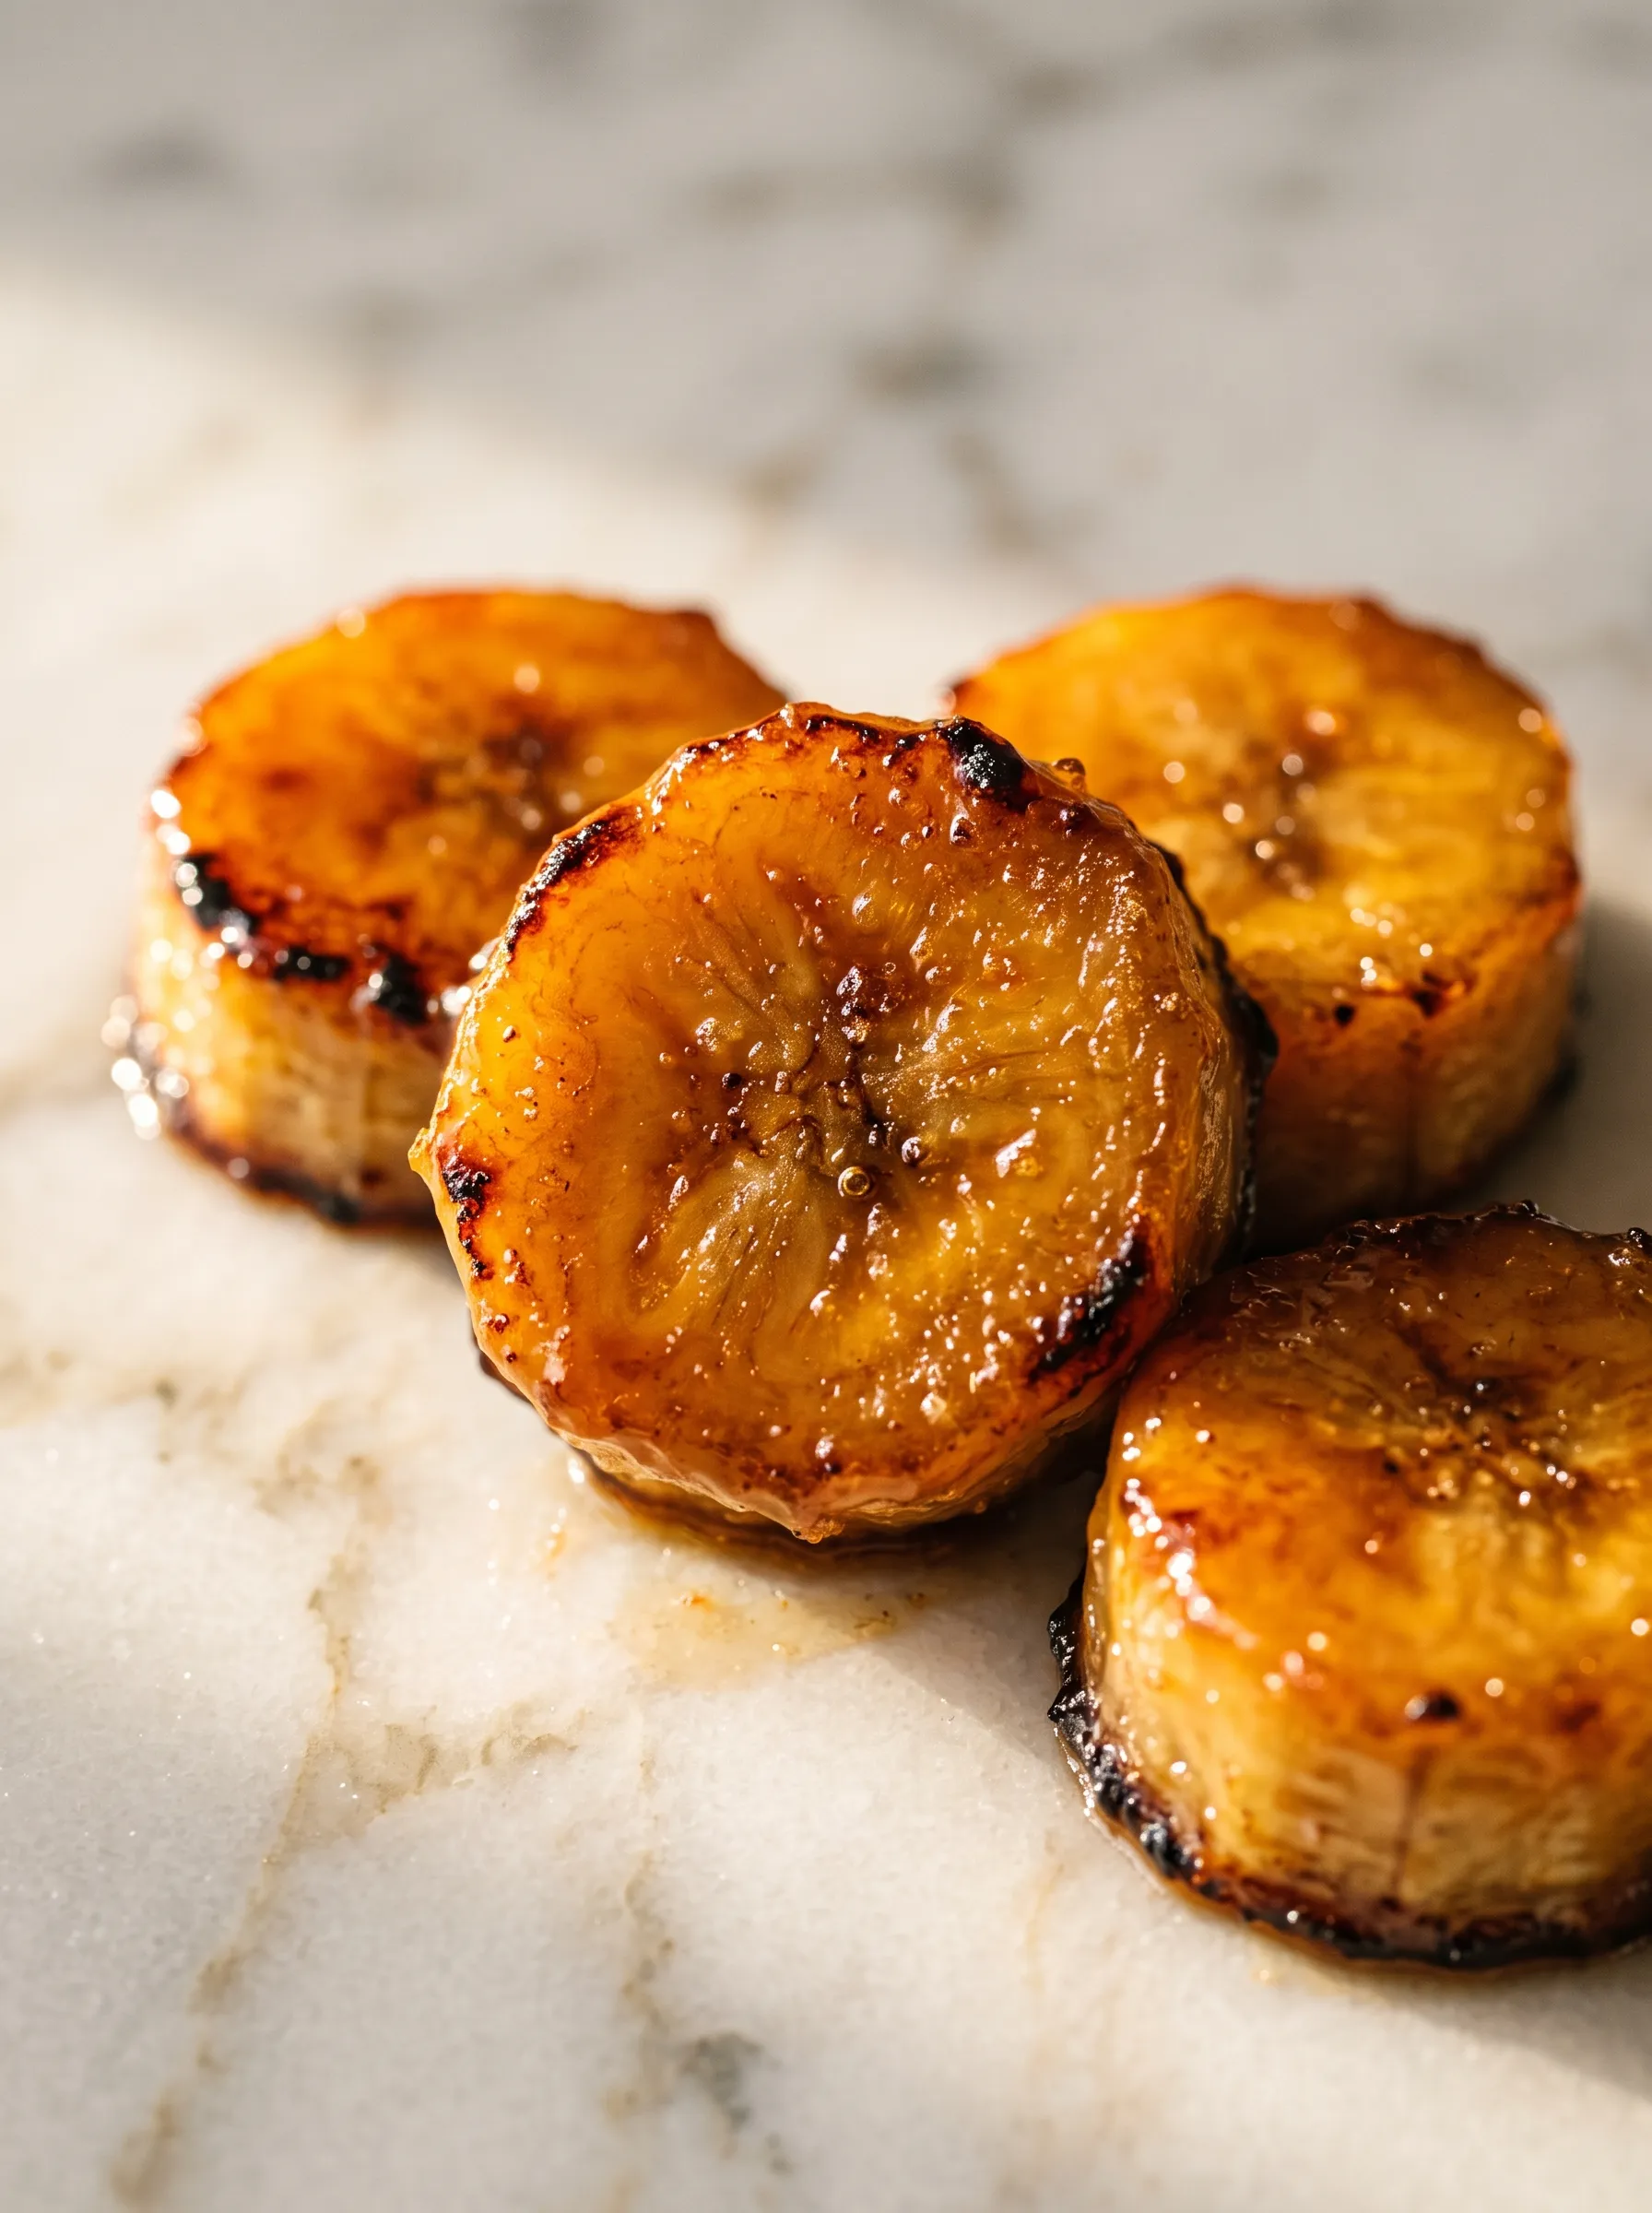
Leave the bananas undisturbed for 2 to 3 minutes. This is the hardest part — resist every urge to stir. It’s this uninterrupted contact with the hot pan that triggers the Maillard reaction and builds that golden caramel crust. You’ll know they’re ready when the underside turns deep golden-brown and the edges look glossy.
Step 6 — Flip & Finish
Flip each slice gently using a small spatula or spoon. Cook for another 1 to 2 minutes on the second side. The banana will look glossy, slightly translucent, and deeply caramelized.
Step 7 — Serve Immediately
Transfer to a plate right away and serve warm. These are best eaten fresh, spooned over your choice of yogurt, pancakes, oatmeal, or ice cream.
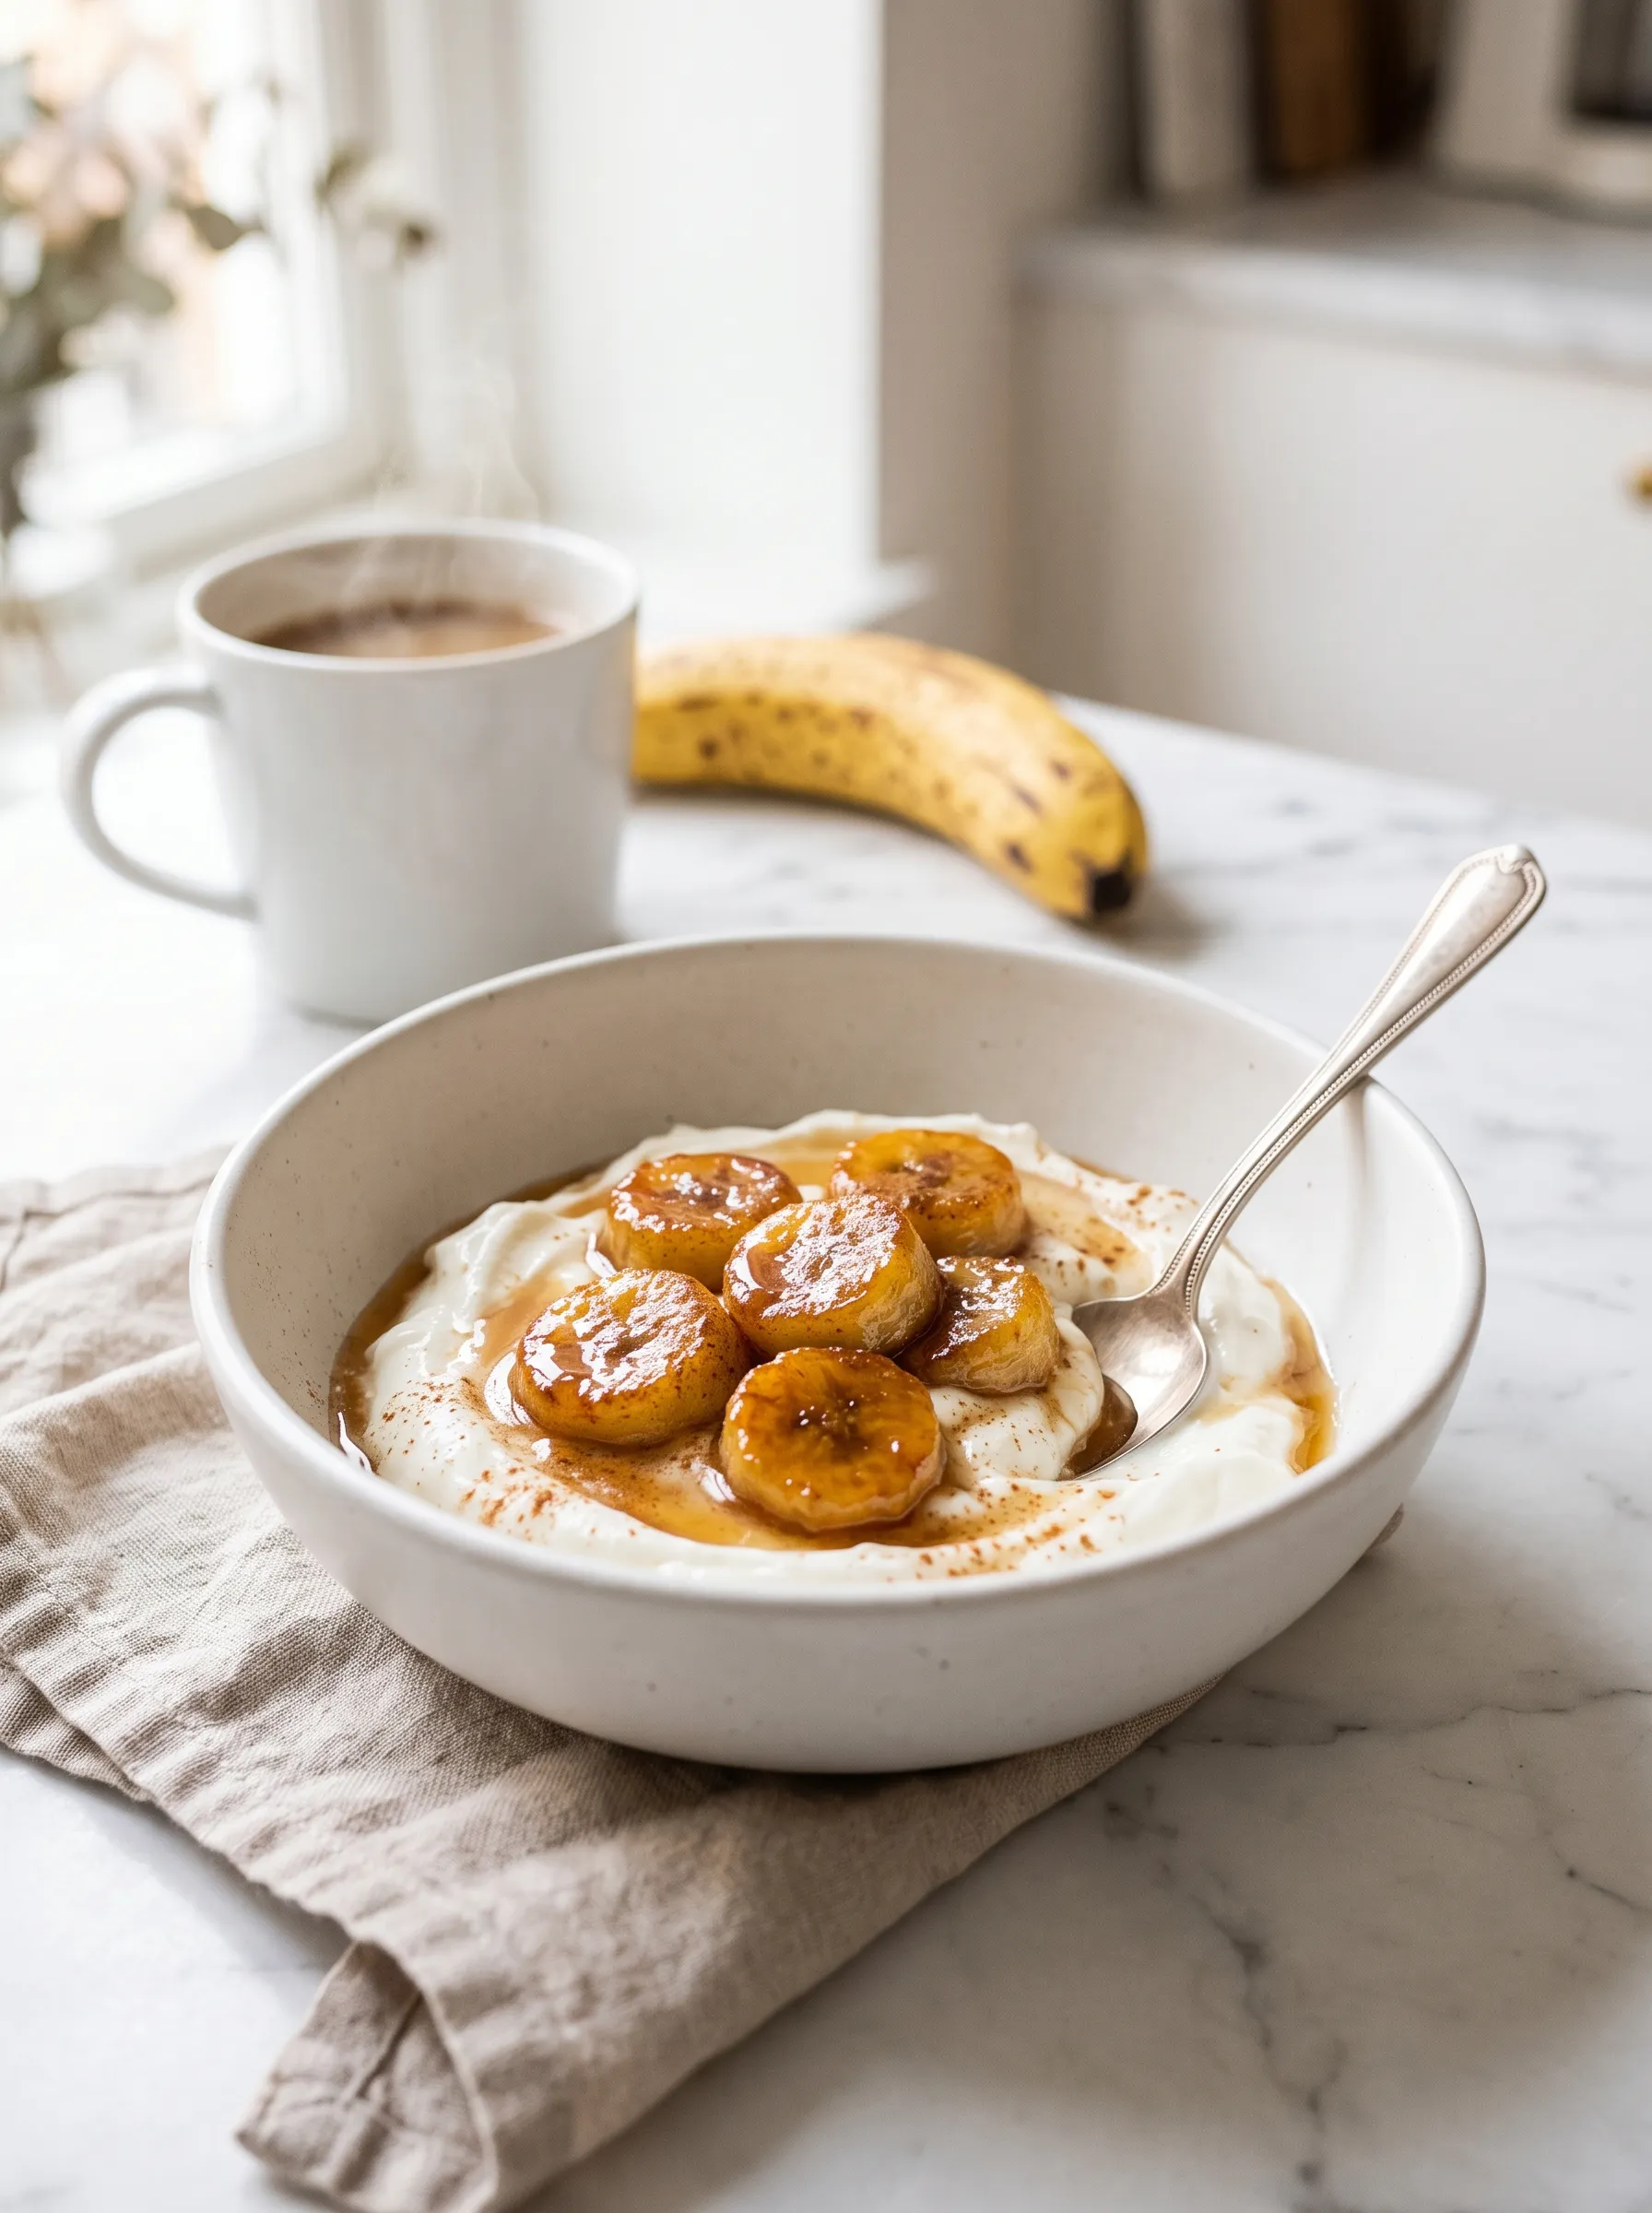
The contrast of warm caramelized bananas against cool yogurt is what makes this recipe.
Lily’s Tips
I’ve made this on repeat since the first Tuesday I tried it. A few things I’ve learned along the way that make a real difference:
Choose the right ripeness — it changes everything. For this skillet recipe, you want yellow bananas with minimal spots — just firm enough to hold their shape in a hot pan. Save your very spotty bananas for our classic banana bread where softness is the whole point. The rule of thumb: if it would mash easily with a fork, it’s too soft for caramelizing.
Cut thick, not thin. A ½ inch (1.2–1.5 cm) round keeps a tender, almost melting center while the outside caramelizes. Anything thinner turns to mush before it has a chance to develop color.
Don’t touch the pan. The biggest mistake people make is stirring. Put the slices down, add the syrup, and walk away for 2 to 3 minutes. That uninterrupted contact is what creates the golden crust. Move them too early and you lose it.
Use dark maple syrup for more depth. Grade A Dark (formerly Grade B) has stronger caramel notes and caramelizes at a slightly lower temperature than refined white sugar — which means a richer result with less risk of burning.
“The riper your bananas, the less sugar you’ll need — nature does the sweetening for you.”
Banana fact: One ripe banana contains about 12g of natural sugar and 3g of fiber — which means these caramelized bananas are genuinely nourishing, not just a treat.
Variations
These bananas are a blank canvas. Here’s how I like to riff on them depending on the day.

Served as a Dessert
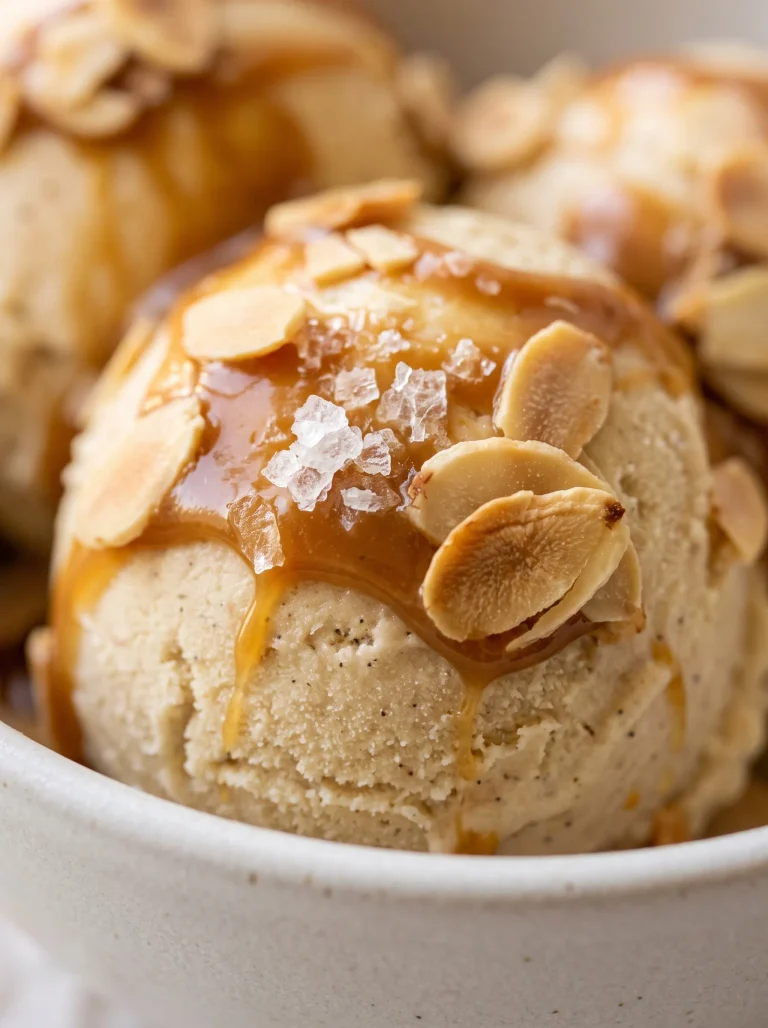
Spoon them warm over a scoop of vanilla ice cream or our one-ingredient banana nice cream for a two-minute dessert that feels genuinely special. The warm-cold contrast is everything.
As a Breakfast Topping
Lay them over our banana oat pancakes or stir them through a warm oatmeal bowl — they add a natural caramel sweetness that replaces any added sugar. If you’re into that combination, our golden banana baked oatmeal is built for exactly this kind of topping.
With a Rum or Vanilla Twist
Add a tiny splash of vanilla extract (½ tsp) to the pan in the last 30 seconds — it elevates the whole thing. Or, for a Bananas Foster-style version, add a splash of dark rum at the flip stage and let it cook off for 60 seconds.
Pan-Fried Banana Style
For a slightly crispier texture, increase the heat to medium-high and reduce the maple syrup by half. The result is a pan-fried banana with a firmer bite — great for topping thick French toast.
Air Fryer Version
Arrange the slices on a parchment-lined air fryer tray, drizzle with syrup and cinnamon, and air fry at 375°F (190°C) for 5–6 minutes. No flipping needed. The texture is slightly different — less glossy, more concentrated — but it works.
How to Store
These are at their absolute best eaten fresh from the pan — warm and glossy. That said:
Counter: Not recommended — they soften quickly at room temperature.
Fridge: Up to 2 days in an airtight container. Reheat in a dry non-stick skillet over medium-low for 1 to 2 minutes, or microwave for 30 seconds. They won’t be quite as glossy but still delicious spooned over yogurt.
Freezer: Not ideal — the texture changes significantly and they release water on thawing. Better to freeze whole ripe bananas and make a fresh batch in 6 minutes.
Meal prep tip: You can slice your bananas the night before and store them in an airtight container in the fridge (add a squeeze of lemon to slow browning). In the morning, the actual cooking is only 4 minutes — fast enough for a school day.
Love, Lily 🍌
Six minutes. One pan. Three ingredients. That’s it. I keep coming back to this recipe because it makes a banana feel like dessert without any effort — and my kids are absolutely obsessed with it over ice cream on Friday nights.
Tag me on Instagram @eatwithmellow or leave a star rating below — I read every single one.
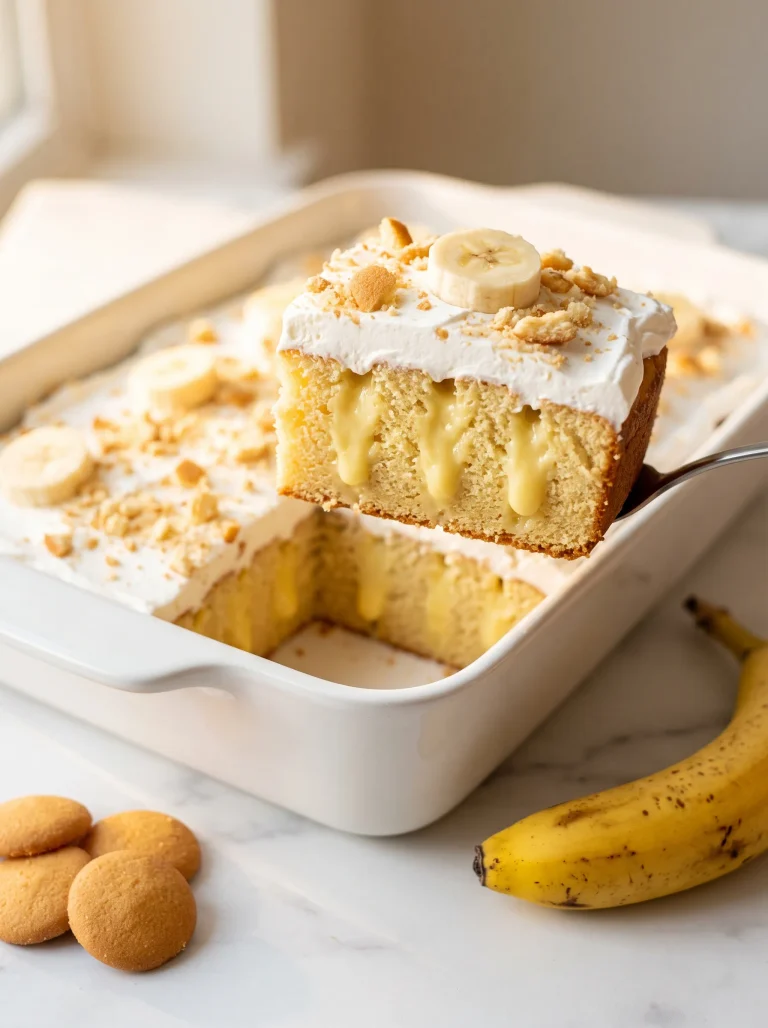
If you love this, try this cozy banana pudding or our caramelized banana upside down cake next — same golden caramel energy, a little more occasion.
Love, Lily 🍌
Want to save this recipe?

Warm Caramelized Bananas
Equipment
- Non-stick skillet (10 inch)
- Small spatula or spoon
- Cutting board + knife
Ingredients
CORE INGREDIENTS
- 1–2 ripe but firm bananas sliced into ½-inch (1.2cm) rounds
- 1 tbsp 15ml pure maple syrup (Grade A dark recommended)
- ¼ – ½ tsp 0.5–1g ground cinnamon
OPTIONAL
- ½ tsp 2ml coconut oil or unsalted butter (optional)
TO SERVE
- Greek yogurt vegan yogurt, or vanilla ice cream (optional, for serving)
Instructions
- Slice the bananas into even rounds, about ½ inch (1.2–1.5cm) thick.
- Heat a non-stick skillet over medium heat for 30 seconds. Add the coconut oil or butter, if using, and swirl to coat.
- Arrange the banana slices in a single layer without overlapping.
- Drizzle the maple syrup evenly over the slices and sprinkle with cinnamon.
- Cook undisturbed for 2–3 minutes, until the undersides are deep golden-brown and glossy.
- Gently flip each slice and cook for another 1–2 minutes.
- Serve immediately over yogurt, oatmeal, pancakes, or ice cream.
Notes

Hi, I’m Lily — the home baker and recipe creator behind Eat With Mellow.
Mom of three, design lover, and completely obsessed with turning overripe bananas into something golden and cozy. I started this blog one Sunday morning when I had three brown bananas on the counter and three hungry kids at the table. What came out of the oven that day became the recipe that started everything.
Every recipe here is tested in my real kitchen, written for real mornings, and made with simple ingredients you already have. No fancy equipment, no complicated techniques — just honest, naturally sweet baking that actually works.